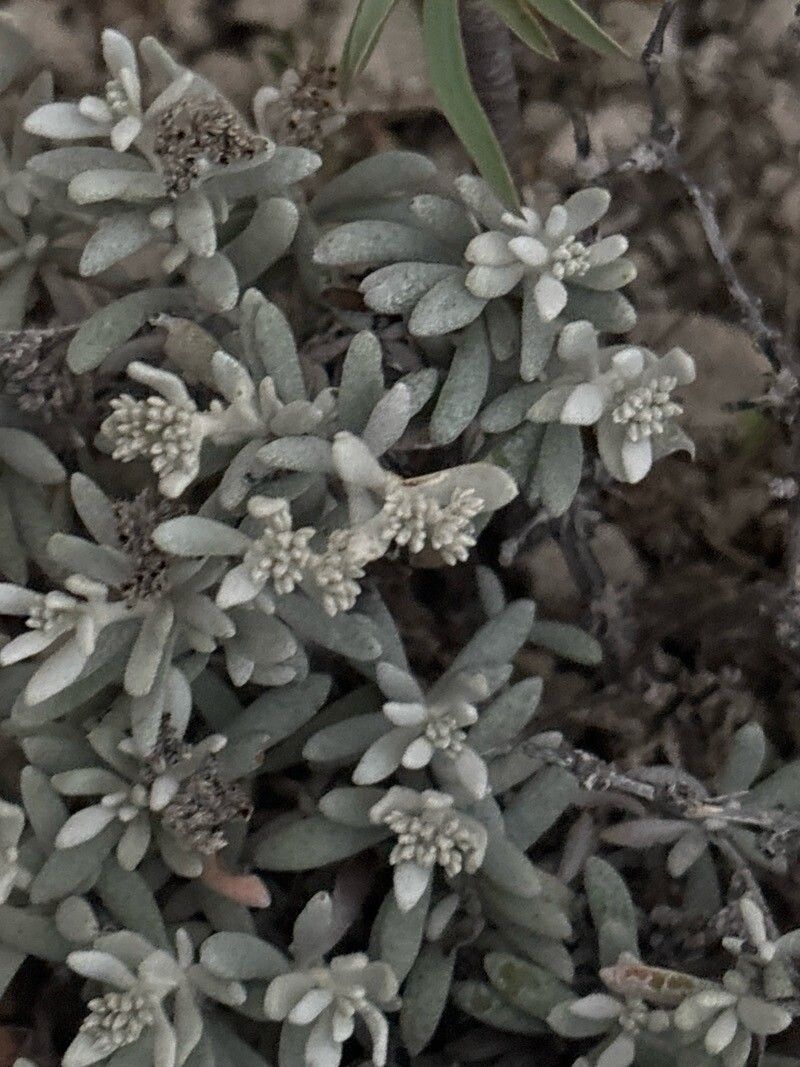
Hello there, fellow plant enthusiasts! It’s so lovely to see you in my little corner of the garden. Today, we’re going to delve into the delightful world of Polycarpaea nivea, a plant that, in my opinion, deserves a spot in every sunny garden. Its delicate, snow-white flowers are truly a sight for sore eyes. And the best part? It’s surprisingly rewarding to multiply. If you’re new to the propagation game, don’t fret. While it might not be the absolute easiest for your very first foray, with a little attention, you’ll find Polycarpaea nivea to be a rather cooperative plant to work with.
The Best Time to Start
For the highest chances of success, I always recommend starting your propagation efforts in the late spring or early summer. This is when the plant is actively growing and has plenty of energy to put into developing new roots. You’re essentially catching it at its most vigorous, and that really makes a difference. Look for stems that are firm but not woody – sort of in that “new growth” phase.
Supplies You’ll Need
Gathering your tools beforehand makes the whole process so much smoother. Here’s what I typically have on hand:
- Sharp pruning shears or a clean knife: For taking clean cuts.
- Well-draining potting mix: A good blend for succulents or cacti works wonderfully.
- Small pots or propagation trays: With drainage holes, of course!
- Rooting hormone (optional but recommended): This gives your cuttings a real boost.
- Plastic bag or propagator: To create a humid environment.
- Watering can with a fine rose or spray bottle: For gentle watering.
- Labels and a marker: To keep track of what you’ve planted.
Propagation Methods
Polycarpaea nivea is quite amenable to a few different methods, but stem cuttings are my go-to.
Stem Cuttings:
- First, select a healthy stem from your mature plant. I look for one that’s about 4-6 inches long.
- Using your sharp pruning shears or knife, make a clean cut just below a leaf node. A leaf node is that little bump where leaves emerge from the stem. This is where roots are most likely to form.
- Gently remove any lower leaves from the cutting. You want to expose a few nodes for rooting.
- If you’re using rooting hormone, dip the cut end into the powder or gel, tapping off any excess.
- Now, insert the cutting into your prepared, moist potting mix. Make sure at least one or two leaf nodes are buried in the soil.
- Gently firm the soil around the cutting.
- Carefully water the soil until it’s moist but not waterlogged.
- Finally, cover the pot or tray with a plastic bag or place it in a propagator. This creates a mini-greenhouse, keeping humidity high, which is crucial for cuttings to root without drying out. Place it in a bright spot, but out of direct, scorching sun.
The “Secret Sauce” (Pro Tips)
Here are a couple of tricks I’ve learned over the years that can really up your propagation game:
- Don’t let the leaves touch the water (if you were to try water propagation, which I find less reliable for this plant): While some plants thrive in water, for many, including Polycarpaea, keeping the leaves submerged can lead to rot before any roots even form. If you do find yourself opting for water, ensure only the cut stem is in the water.
- Bottom heat is your friend: If you have a heated propagator or can place your pots on a gentle heat mat, this can significantly speed up the rooting process. Polycarpaea nivea loves a bit of warmth from below, mimicking those lovely summer soil temperatures.
Aftercare & Troubleshooting
Once you see signs of new growth, that’s a fantastic indicator that your cutting has rooted! You might notice tiny new leaves appearing. At this point, you can gradually acclimate your new plant to its surroundings. Start by removing the plastic bag for short periods, gradually increasing the time until it’s fully uncovered. Keep the soil consistently moist but not soggy.
The most common issue you might encounter is rot. This usually happens if the soil stays too wet or if the humidity is too high without any air circulation. If you see your cutting turning mushy or black at the base, it’s likely rotted. Unfortunately, there’s usually not much that can be done at that point. Just try, try again! Patience is key here.
A Little Encouragement
Propagating any plant is a journey, and seeing new life emerge from a simple cutting is such a special joy. Don’t be discouraged if your first attempts aren’t perfect. Keep experimenting, observe your plants, and enjoy the process of nurturing something new into being. Happy growing!
Resource:
https://identify.plantnet.org/k-world-flora/species/Polycarpaea%20nivea%20(Aiton)%20Webb/data