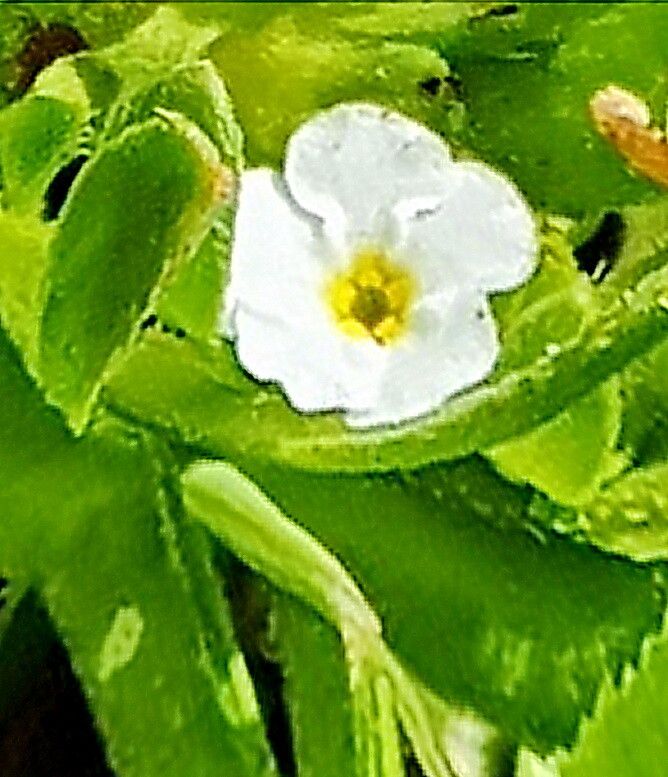
Hello, lovely gardeners! Today, I want to chat about a plant that’s stolen a little piece of my heart over the years: Plagiobothrys acanthocarpus. You might know it by its more common names, like woolly popcorn flower or desert popcorn. It’s got these adorable little white flowers that just scream sunshine and open spaces. Honestly, watching these delicate blossoms emerge is such a joy.
Propagating them is pretty straightforward, which makes it a really rewarding project. Even if you’re just dipping your toes into the world of plant propagation, I think you’ll find Plagiobothrys acanthocarpus to be a delightful companion on your journey.
The Best Time to Start
I’ve found the sweet spot for propagating Plagiobothrys acanthocarpus is usually in late spring to early summer. This is when the parent plant is actively growing, and the cuttings have a good chance of developing strong roots before the intense heat of midsummer or the chill of fall sets in. If you’re looking at division, spring is also your friend, right as new growth is starting to show.
Supplies You’ll Need
Here’s what I always have on hand when I’m about to get my hands dirty with some popcorn flower propagation:
- Sharp, clean pruning shears or a craft knife: For making precise cuts.
- Well-draining potting mix: I like a blend of 50% potting soil and 50% perlite or coarse sand. This is crucial!
- Small pots or seed trays: With drainage holes, of course.
- Rooting hormone (optional, but helpful): A powder or gel.
- Watering can with a fine rose or a spray bottle: For gentle watering.
- Labels: To keep track of what you’ve planted!
- A sunny, bright spot: But out of direct, scorching sun, especially for cuttings.
- A plastic bag or cloche (for cuttings): To maintain humidity.
Propagation Methods
Let’s get to the good stuff – actually making more plants!
Stem Cuttings
This is my go-to method for Plagiobothrys acanthocarpus.
- Select your parent plant: Choose a healthy, vigorous specimen.
- Take cuttings: In the late spring or early summer, use your sharp shears to take 4-6 inch tip cuttings. Look for stems that are actively growing but not yet flowering, or have just finished flowering. Make your cut just below a leaf node (where a leaf attaches to the stem).
- Prepare the cuttings: Gently remove the lower leaves. You want to expose about an inch or so of the stem for rooting. If there are any flower buds, snip those off too; we want the plant to focus its energy on roots, not flowers.
- Apply rooting hormone (optional): Dip the cut end of the stem into your rooting hormone, tapping off any excess.
- Pot them up: Fill your pots or trays with the well-draining potting mix. Make a small hole in the center with your finger or a pencil.
- Insert the cuttings: Place the cut end of each stem into the hole and gently firm the soil around it.
- Water gently: Water thoroughly but be careful not to dislodge the cuttings.
- Create humidity: Cover the pots with a clear plastic bag or a cloche. This will create a mini-greenhouse effect. Make sure the leaves aren’t touching the plastic if you can help it. Place them in a bright location, but away from direct, hot afternoon sun.
Division
This method is best done in early spring as the plant is waking up.
- Gently remove the plant: Carefully lift the entire Plagiobothrys acanthocarpus from its pot or garden bed.
- Loosen the roots: Gently tease apart the soil until you can see the root structure.
- Divide the root ball: Using your hands or a clean knife, carefully split the clump into smaller sections. Each section should have a healthy amount of roots and some foliage.
- Pot up the divisions: Plant each division into its own pot filled with your well-draining mix.
- Water and place: Water them in well and place them in a bright spot, keeping them consistently moist but not soggy until they establish.
The “Secret Sauce”
Now, for a couple of little insider tricks that often make a big difference:
- Bottom heat is your friend! For stem cuttings, placing the pots on a heat mat designed for plants can significantly speed up root development. It mimics that lovely, warm soil temperature that plants crave when they’re putting down new roots. You don’t need anything fancy, just a gentle warmth.
- Don’t be tempted to overwater. This is probably the most common mistake! While cuttings and divisions need moisture, soggy soil is a fast track to rot. Let the surface of the soil dry out slightly between waterings. It’s better to err on the side of slightly too dry than too wet.
Aftercare & Troubleshooting
Once you see those little roots starting to emerge (you might see them poking out the drainage holes, or the plant will feel more stable when you gently tug it), it’s time for a change of pace.
- Gradually remove humidity: Once roots are forming, slowly start to acclimate your new plants to the regular air. Start by removing the plastic bag for an hour or two each day, then extend the time until they are fully accustomed to ambient humidity.
- Watering: Continue to keep the soil evenly moist but not waterlogged. As they grow stronger, you can gradually reduce watering frequency, just as you would for a mature plant.
- Light: Place your young plants in a bright, indirect light spot. As they get bigger and stronger, you can introduce them to more direct sunlight, especially if they’re destined for a sunny garden spot.
The most common culprit for failure is rot, which usually stems from overwatering and poor drainage. If you notice a cutting turning yellow and mushy, or the base of the stem looking dark and slimy, it’s likely rot. Unfortunately, at that point, it’s usually best to discard the affected cutting and learn from the experience. Also, keep an eye out for wilting. While some initial droop is normal, persistent wilting could mean they aren’t getting enough water or aren’t able to absorb it due to poor root development.
A Little Patience Goes a Long Way
Propagating plants is a journey, and each one has its own rhythm. Don’t get discouraged if not every cutting takes. The beauty of Plagiobothrys acanthocarpus is how readily it produces seeds too, so you have multiple avenues to explore! Just keep trying, enjoy the process of nurturing these tiny new lives, and before you know it, you’ll have a little patch of popcorn flowers to brighten your garden and your spirit. Happy propagating!
Resource: