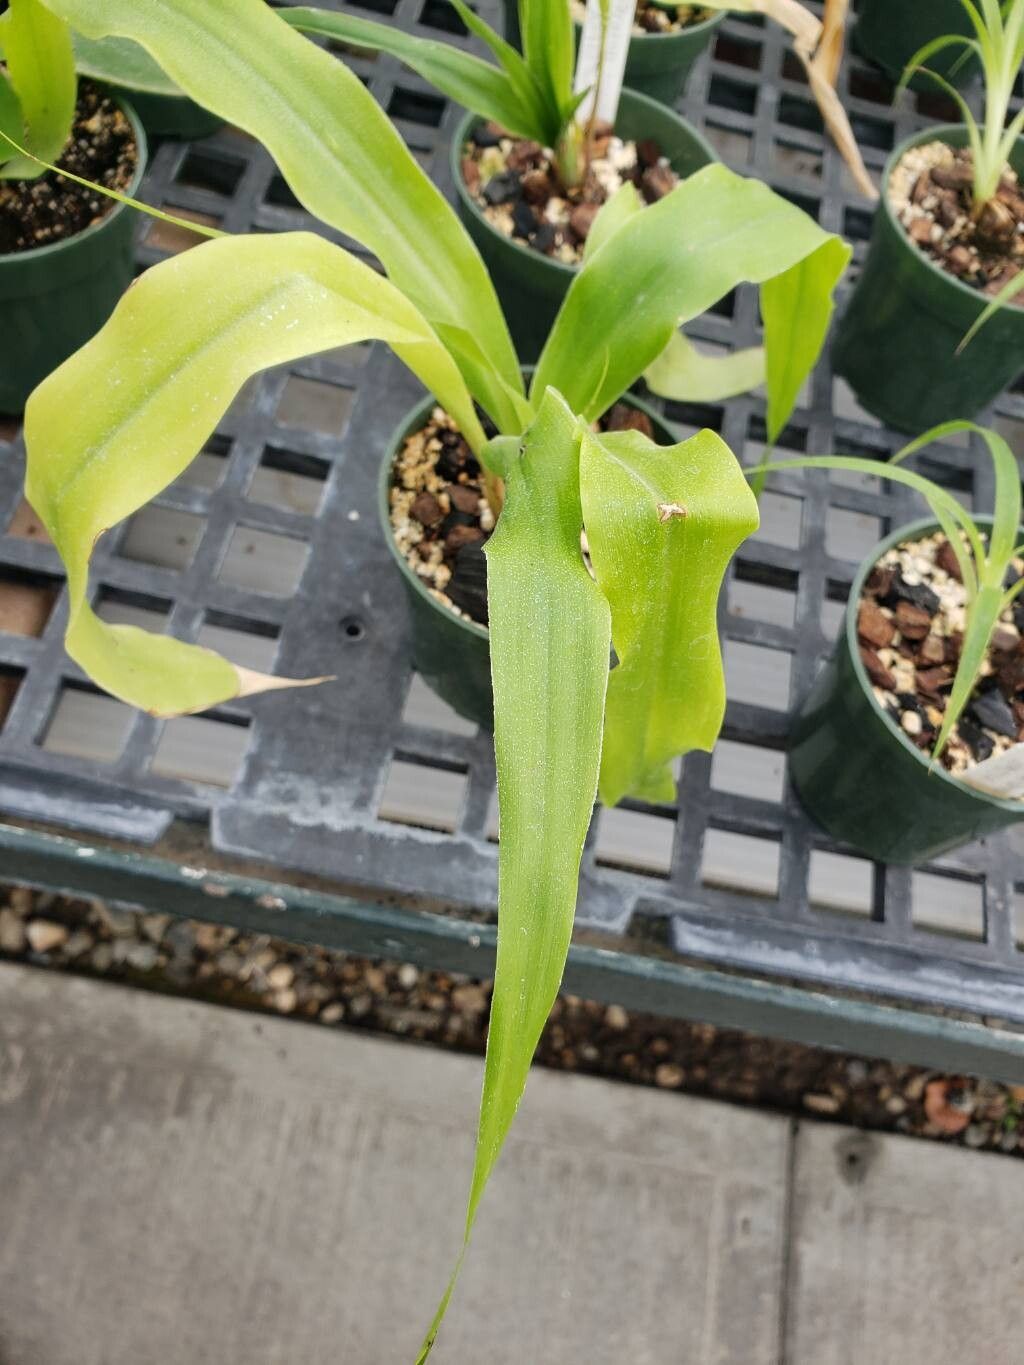
Hello fellow plant enthusiasts!
You know, there are some plants that just have that certain something. That captivating beauty that makes you stop and stare. For me, that’s definitely the Pitcairnia imbricata. With its striking, architectural foliage, it brings a touch of the exotic to any space. And the most rewarding way to truly appreciate it? Propagating it yourself, of course! Now, can beginners tackle this? I’d say it’s a moderately easy plant to propagate once you get the hang of it. Nothing too daunting, but a little patience goes a long way.
The Best Time to Start
Timing is everything when it comes to coaxing new life from your plants. For Pitcairnia imbricata, my favorite time to get propagating is in the late spring or early summer. This is when the plant is in its most vigorous growth phase. It’s actively producing energy and is generally more receptive to the stresses of propagation. Think of it as planting a seed when the soil is just right – the conditions are perfect for success.
Supplies You’ll Need
Before we dive in, let’s gather our toolkit. Having everything ready makes the whole process smoother.
- Sharp Pruning Shears or a Clean Knife: For making clean cuts.
- Rooting Hormone (Optional, but recommended): Especially for cuttings, this really boosts your success rate. I like a powder form.
- Well-Draining Potting Mix: A blend of perlite, coco coir, and a bit of orchid bark works wonderfully. You want it airy, not soggy.
- Small Pots or Propagation Trays: Clean ones are a must to prevent disease.
- Watering Can with a Fine Rose: For gentle watering.
- Clear Plastic Bag or Dome: To create a mini-greenhouse effect.
- Labels: To keep track of what you’ve propagated and when!
Propagation Methods
Pitcairnia imbricata is primarily propagated through division, which I find to be the most successful and straightforward method.
Division
This is where you’ll be separating new plantlets that naturally grow from the base of the mother plant.
- Gently Remove from Pot: Carefully take your Pitcairnia imbricata out of its current pot. You might need to loosen the soil around the edges a bit.
- Inspect the Base: Look for offsets or pups – these are smaller plants growing directly from the main plant’s base or roots. They’ll usually have their own small leaves.
- Separate Carefully: Using your clean pruning shears or knife, gently cut away the offset from the mother plant. Try to get some of its own roots attached to it as you do. It’s okay if it’s not a perfect separation; just aim for a clean break from the parent root system.
- Pot Up the New Plant: Plant the separated offset in its own small pot filled with that good, well-draining mix. Make sure the base of the new plant is at the same level it was before.
- Water Lightly: Give it a gentle watering once. You don’t want to drown it, just moisten the soil.
- Provide Humidity: Pop a clear plastic bag loosely over the pot or place it under a cloche. This helps retain moisture for the new plant while it establishes.
The “Secret Sauce” (Pro Tips)
Now for a few things I’ve picked up over the years that can really make a difference:
- Don’t Be Afraid of the Knife: A sharp, clean blade is your best friend. It makes clean cuts that heal better and reduces the risk of introducing disease. Always sterilize your tools with rubbing alcohol between cuts, especially if you’re propagating multiple plants.
- Bottom Heat is Your Friend: If you can, placing your pots on a propagation mat that provides gentle bottom heat can significantly speed up root development. It mimics the warmth of spring soil and encourages those roots to get growing.
- Be Patient with Watering: When you first pot up divisions, err on the side of slightly drier rather than wetter. Overwatering is the quickest way to invite rot. Let the top inch of soil dry out between waterings.
Aftercare & Troubleshooting
Once your new Pitcairnia imbricata is planted, give it some TLC.
- Bright, Indirect Light: Place your new plants in a spot with bright, indirect light. Direct sun can scorch their delicate new leaves.
- Gradual Acclimation: After a week or two under the plastic bag or dome, start to gradually introduce it to normal humidity levels. Poke a few holes in the bag, then remove it for a few hours each day, increasing the time it’s out until it’s fully acclimated.
- Watch for Soggy Signs: The biggest problem you’ll encounter is rot. If the leaves start to turn mushy or yellow and fall off, it’s likely from too much moisture. If you see signs of rot, unpot the plant, remove any rotted parts with a clean knife, and repot in fresh, dry soil. You might even need to let the cut end callous over for a day or two before replanting.
Keep Growing!
Propagating plants is a journey, and each new little Pitcairnia imbricata is a testament to your dedication. Don’t be discouraged if a few don’t make it. Every gardener has had their share of… well, let’s just say learning experiences! Keep at it, enjoy the process of nurturing new life, and soon you’ll have a whole collection of these stunning beauties to admire. Happy planting!
Resource:
https://identify.plantnet.org/k-world-flora/species/Pitcairnia%20imbricata%20(Brongn.)%20Regel/data