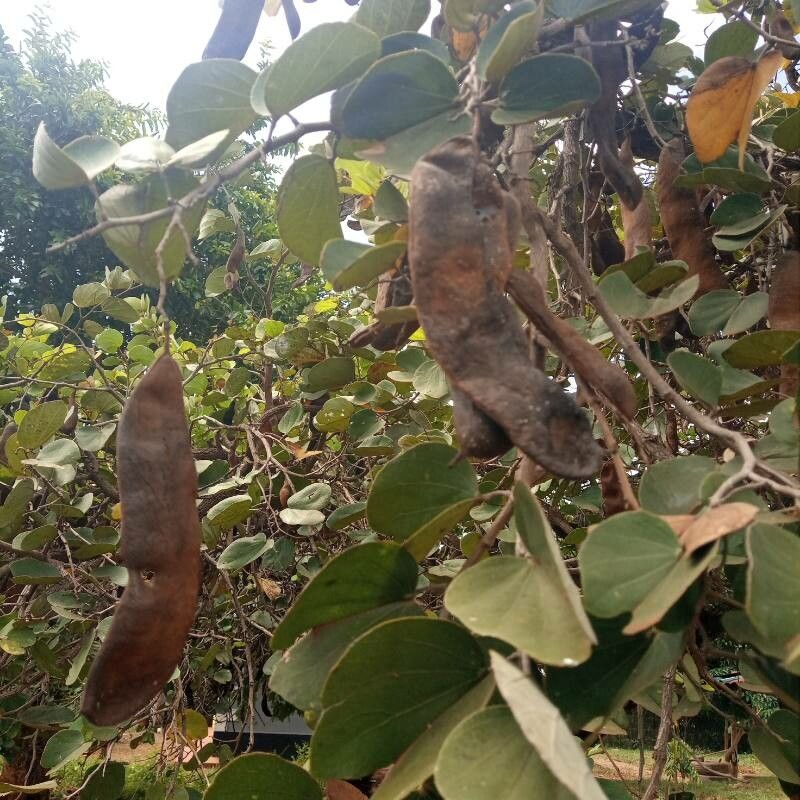
Oh, hello there! Come on in, pull up a chair. I’ve got my favorite mug brewing, and I’m so excited to chat with you about a plant that holds a special place in my heart: Piliostigma reticulatum. You know, the one with those beautiful, intricate leaves that look like delicate lace? It’s just a stunner, isn’t it? And the best part? You can easily bring more of that beauty into your own garden by propagating it.
I know for some of you, the idea of propagation might seem a little daunting, but honestly, Piliostigma reticulatum is pretty forgiving. It’s a wonderful plant for beginners looking to dip their toes into the world of multiplying their green buddies.
The Best Time to Start
For the absolute best success, I always aim to propagate Piliostigma reticulatum in the spring or early summer. This is when the plant is naturally entering its vigorous growth phase. New, healthy shoots are abundant, and they have plenty of warm, sunny days ahead to establish themselves before cooler weather sets in. You can try it later in the season, but you might need to be a bit more diligent with warmth and light.
Supplies You’ll Need
Don’t worry, it’s not a huge shopping list! Here’s what I find indispensable:
- Sharp Pruning Shears or a Clean Knife: For making clean cuts.
- Rooting Hormone (Optional but Recommended): A little help goes a long way to encourage strong root development. I prefer a powder form.
- Well-Draining Potting Mix: A good blend of peat moss, perlite, and a bit of coarse sand works wonders. You want air to circulate!
- Small Pots or Seed Starting Trays: Clean ones are crucial to prevent disease.
- Clear Plastic Bags or a Propagator Lid: To create a humid environment.
- Watering Can with a Gentle Rose: To avoid disturbing your precious cuttings.
- Gloves (Optional): If you prefer to keep your hands clean.
Propagation Methods: Let’s Get Growing!
The method I find most reliable for Piliostigma reticulatum is stem cuttings. It’s straightforward and usually gives excellent results.
Stem Cuttings:
- Select Your Cuttings: Look for healthy, non-flowering stems that are about 4-6 inches long. A stem that’s slightly woody at the base but still pliable at the tip is ideal. You can tell it’s ready if it snaps cleanly rather than bends.
- Make the Cut: Using your sharp shears or knife, make a clean cut just below a leaf node. This is a little swollen point on the stem where leaves emerge. Roots tend to form more readily there.
- Prepare the Cutting: Gently remove the lower leaves, leaving just a few at the top. This prevents them from rotting in the soil. If the remaining leaves are very large, I sometimes cut them in half horizontally to reduce water loss.
- Apply Rooting Hormone: Dip the cut end of the stem into your rooting hormone, tapping off any excess.
- Plant Your Cuttings: Fill your small pots or trays with your well-draining potting mix. Make a small hole with your finger or a pencil, and insert the cutting. Gently firm the soil around the base of the stem.
- Water Gently: Water thoroughly until the soil is moist but not waterlogged.
- Create Humidity: Cover the pots with a clear plastic bag or a propagator lid. Make sure the leaves don’t touch the sides of the bag if you can help it. Place them in a bright spot, but out of direct, harsh sunlight.
The “Secret Sauce” (Pro Tips)
Now, for a few little tricks I’ve learned over the years that can really boost your success with Piliostigma reticulatum:
- Bottom Heat is Your Friend: If you can, place your pots on a heat mat designed for propagation. This gentle warmth from below encourages root formation much faster. It’s like giving your cuttings a cozy little spa day!
- Don’t Let the Leaves Touch the Water (if water propagating briefly): While I primarily use soil for this plant, if you decide to try rooting a cutting in water for a short period to see root development, ensure the leaves are entirely above the waterline. Any submerged foliage will likely rot and can infect the stem.
- Air Circulation is Key: After your cuttings have developed roots, gradually introduce them to more air by opening the plastic bag or propagator lid a little each day. This helps them adjust to the drier conditions of your home or garden.
Aftercare & Troubleshooting
Once you start to see new leaf growth or feel resistance when gently tugging on the cutting, it’s a good sign that roots have formed!
- Transplant Carefully: When the roots are well-established (you might see them peeking out of the drainage holes), it’s time to move your new plant into a slightly larger pot with fresh potting mix.
- Continue Gentle Watering: Keep the soil consistently moist but not soggy. As the plant matures, it will become more tolerant.
- Watch for Rot: The most common problem you might encounter is rot. This usually happens if the soil is too wet and there isn’t enough air circulation. If you see the stem turning mushy and brown, or the leaves wilting and turning black, it’s likely rot. Unfortunately, it’s very difficult to save a rotting cutting. Prevention is key here – good drainage and not overwatering are your best defenses.
A Little Patience Goes a Long Way
Watching a new plant grow from a tiny cutting is one of the most satisfying feelings a gardener can have. Don’t get discouraged if not every cutting takes. Gardening is all about learning and experimenting. Be patient with your new Piliostigma reticulatum babies, give them a little love and the right conditions, and soon you’ll be happily sharing your beautiful plants with friends! Happy growing!
Resource:
https://identify.plantnet.org/k-world-flora/species/Piliostigma%20reticulatum%20(DC.)%20Hochst./data