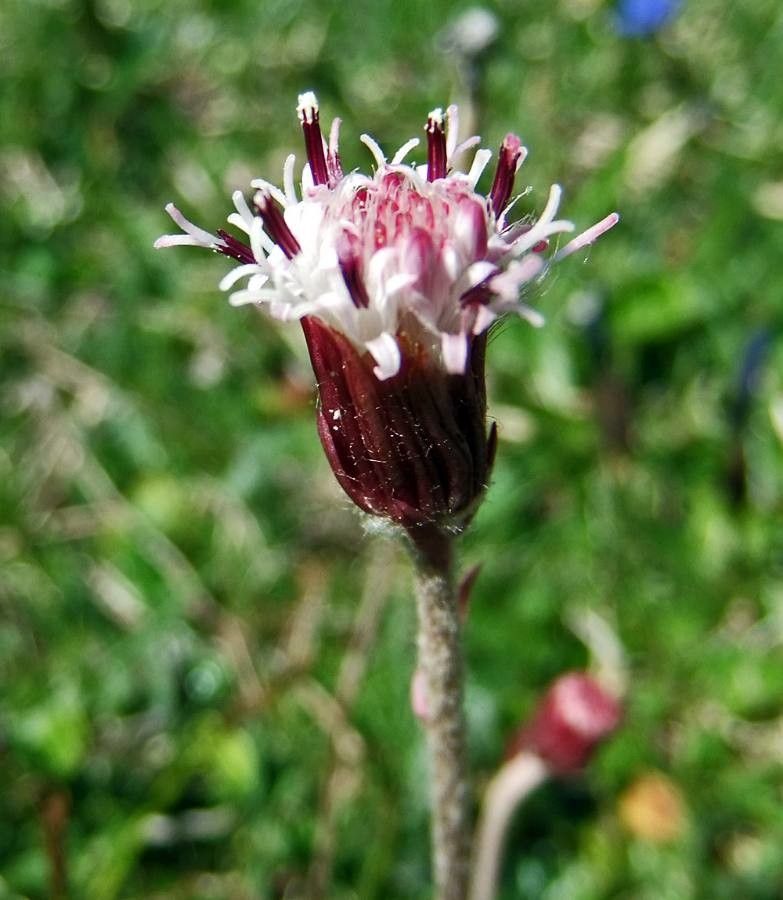
Hey there, fellow garden enthusiasts! I’m so excited to talk about Homogyne alpina with you today. If you haven’t met this little gem, imagine carpets of velvety, dark green leaves, often tinged with a lovely purplish hue, especially in cooler weather. And then, in summer, those delightful little daisy-like flowers appear, usually a soft mauve or lilac. It’s just gorgeous for edging, rock gardens, or even as a groundcover in shadier spots.
Propagating Homogyne alpina is a really satisfying way to expand your collection or share these beauties with friends. Now, for beginners, I’d say it’s moderately easy. It’s not as straightforward as, say, a spider plant, but with a little attention, you’ll be successful.
The Best Time to Start
The sweet spot for propagating Homogyne alpina is generally in late spring or early summer, right after it’s finished blooming. This is when the plant is actively growing and has a good amount of energy to put into developing new roots. You can also take cuttings in early autumn, but success rates might be slightly lower as the plant starts to prepare for dormancy.
Supplies You’ll Need
Gathering your supplies beforehand makes the whole process so much smoother. Here’s what I like to have on hand:
- Sharp pruning shears or a clean knife: For taking precise cuttings without crushing stems.
- Rooting hormone (optional but recommended): A powder or gel that encourages root development.
- Well-draining potting mix: A mix of peat moss, perlite, and a little bit of compost works wonderfully. You can also find good commercial seed-starting or propagation mixes.
- Small pots or trays with drainage holes: Terracotta pots are great as they allow for good air circulation.
- Clear plastic bags or a propagator: To create a humid environment for your cuttings.
- Labels: To keep track of what you’ve planted and when!
Propagation Methods
Homogyne alpina is most commonly and successfully propagated through stem cuttings and division.
Stem Cuttings
This is my go-to method for increasing my stock.
- Select a healthy stem: Look for a non-flowering, healthy stem that’s about 3-4 inches long. You want a stem that’s firm but not woody.
- Make the cut: Using your clean shears or knife, make a clean cut just below a leaf node (the point where a leaf grows from the stem).
- Prepare the cutting: Gently remove the lower leaves, leaving just the top few. If the leaves are quite large, you can even snip them in half to reduce water loss.
- Apply rooting hormone (if using): Dip the cut end into rooting hormone, tapping off any excess.
- Plant the cutting: Fill your small pots with your well-draining mix. Make a small hole with your finger or a pencil and insert the cutting, ensuring the leaf nodes are in the soil. Gently firm the soil around the base.
- Water gently: Water thoroughly but carefully, so you don’t dislodge the cutting.
- Create humidity: Cover the pot with a clear plastic bag or place it in a propagator. Make sure the bag doesn’t touch the leaves too much.
- Find a good spot: Place the pot in a bright location with indirect light. Avoid direct sun, which can scorch the young cuttings. A warm spot is also beneficial.
Division
This is a great option if you have an established clump that’s getting a bit crowded.
- Gently unearth the plant: In late spring or early summer, carefully dig up the entire plant.
- Loosen the root ball: Gently shake off excess soil. You should be able to see distinct sections of the plant.
- Separate the divisions: Using your hands or a clean trowel, carefully pull the plant apart into smaller sections. Each section should have a good amount of roots and some leafy growth. If the roots are very tangled, a clean knife can help you slice through them.
- Replant immediately: Plant each division into its new location in your garden or into separate pots filled with your potting mix. Ensure they are planted at the same depth they were previously growing.
- Water well: Water the newly planted divisions thoroughly.
The “Secret Sauce” (Pro Tips)
Here are a couple of things I’ve learned over the years that can really make a difference:
- Don’t let the leaves touch the water (for cuttings): If you’re using a method like water propagation (though I find soil cuttings more reliable for Homogyne alpina), make sure the leaves are above the water level. Rot sets in quickly if they are submerged.
- Bottom heat is your friend: For stem cuttings, placing your pots on a heated propagator mat can significantly speed up root development. The warmth encourages the plant to send out roots more actively.
Aftercare & Troubleshooting
Once your cuttings have roots (you can check by giving them a very gentle tug – if there’s resistance, they’ve rooted!) or you’ve replanted divisions, it’s time for ongoing care.
Keep the soil consistently moist but not waterlogged. The humidity tent can stay on for the first few weeks, gradually being opened for longer periods to acclimate the new plant to drier air. Once they’re established and growing actively, you can slowly introduce them to more direct light, but always watch for signs of stress.
The most common issue you’ll face is rot. This usually happens from overwatering or poor drainage. If you see mushy, black stems, or the cutting simply wilts and turns black, it’s likely rot. Unfortunately, there’s usually no coming back from severe rot. Prevention is key! Ensure good air circulation and don’t let your pots sit in saucers full of water.
A Encouraging Closing
Propagating plants is a journey, and sometimes it doesn’t go perfectly the first time. But that’s all part of the learning process! Be patient with your Homogyne alpina cuttings and divisions. Watch them closely, give them the right conditions, and enjoy the magic of growing something new from a piece of an existing plant. Happy gardening!
Resource:
https://identify.plantnet.org/k-world-flora/species/Homogyne%20alpina%20(L.)%20Cass./data