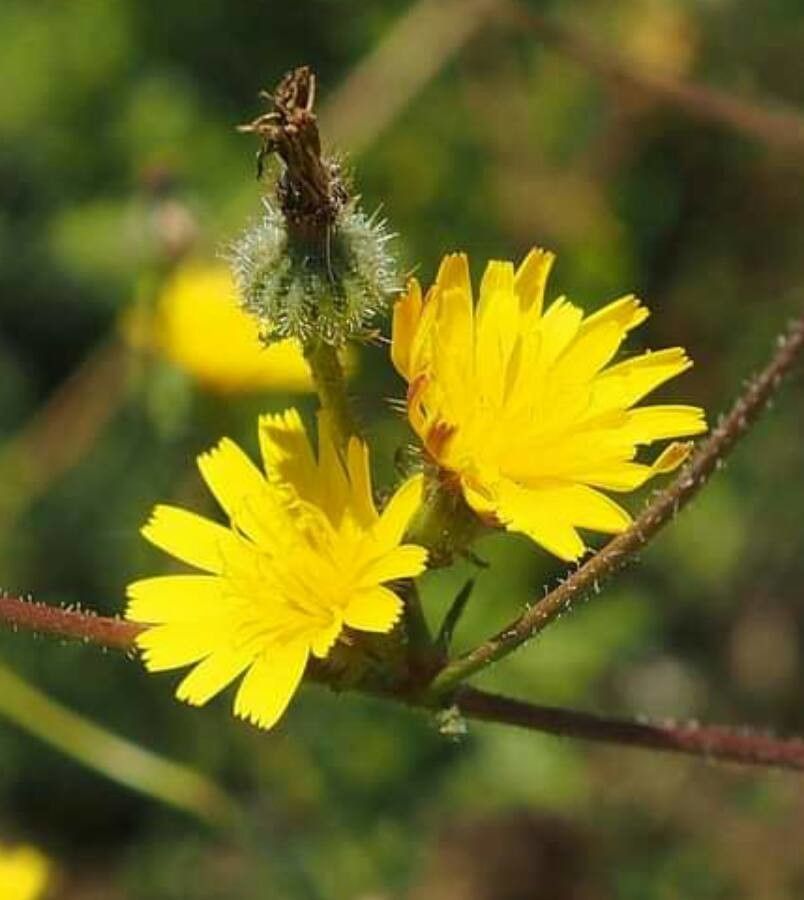
Oh, hello there! Pull up a chair and let’s chat about a little gem of a plant: Picris rhagadioloides. I’ve been smitten with this charming daisy-like flower for years. It’s got this lovely way of bringing a cheerful splash of yellow to the garden, not to mention it’s quite a pollinator magnet. And the best part? It’s wonderfully easy to share! Propagating Picris rhagadioloides is a truly rewarding experience. You’ll be amazed at how many new plants you can create from just one, and believe me, it’s a fantastic project for even if you’re just dipping your toes into the world of plant propagation.
The Best Time to Start
For the most success with Picris rhagadioloides, I always aim to propagate in late spring or early summer. This is when the plant is actively growing and has plenty of energy to put into developing new roots. You’ll want to look for young, non-flowering shoots that are supple but not too leggy.
Supplies You’ll Need
Here’s what you’ll want to have on hand before you get started:
- Sharp, clean pruning shears or a sharp knife
- Rooting hormone (optional, but can give a nice boost)
- A well-draining potting mix – I like a blend of equal parts peat moss and perlite, or a commercially available seed-starting mix.
- Small pots or trays with drainage holes
- A watering can or spray bottle
- A plastic bag or propagator lid (to create a humid environment)
Propagation Methods
Picris rhagadioloides is a breeze to propagate, and stem cuttings are my go-to method.
Stem Cuttings:
- Take Your Cuttings: Using your clean shears, select a healthy, non-flowering stem. Cut a piece about 3-4 inches long. Make the cut just below a leaf node – that’s the spot where a leaf attaches to the stem. The nodes are where roots love to form!
- Prepare the Cuttings: Gently remove the lower leaves from the cutting, leaving just a few at the top. This prevents them from rotting in the soil and encourages the plant to focus its energy on root development.
- Apply Rooting Hormone (Optional): If you’re using rooting hormone, dip the cut end of the stem into the powder. Tap off any excess.
- Pot Up: Fill your small pots or trays with your prepared potting mix. Make a small hole in the center of the mix with your finger or a pencil.
- Insert Cuttings: Carefully insert the cut end of each prepared cutting into the hole you made. Gently firm the soil around the base of the cutting to ensure good contact. You can usually fit a few cuttings in a single pot, just give them a little space.
- Water Gently: Water the soil thoroughly but gently, so as not to dislodge the cuttings.
The “Secret Sauce” (Pro Tips)
Here are a couple of tricks I’ve learned over the years that really help:
- Bottom Heat is Your Friend: If you can, place your pots on a heat mat designed for propagation. This gentle warmth from below encourages root formation much faster than ambient room temperature alone.
- Keep Them Humid, but Not Soggy: Once you’ve potted your cuttings, cover the pots with a clear plastic bag or a propagator lid. This creates a mini-greenhouse effect, keeping the humidity high, which is crucial for cuttings to root before they dry out. Open the bag for about 15 minutes each day to allow for air circulation and prevent fungal issues.
Aftercare & Troubleshooting
Once your cuttings are planted, the waiting game begins! Keep them in a bright spot out of direct, scorching sunlight. Water them when the top inch of soil feels dry to the touch. You’ll know your cuttings have rooted when you see new leaf growth or gentle resistance when you lightly tug on a cutting. This usually takes a few weeks.
Sometimes, things don’t go as planned. The most common culprit for failure is rot. If a cutting turns mushy and brown, it’s likely rotted. This can happen from overwatering or insufficient air circulation. Don’t be discouraged; just toss the rotted cutting and try again!
A Encouraging Closing
So there you have it! Propagating Picris rhagadioloides is a simple joy. Be patient with your little green babies. It’s a magical process to watch roots emerge and new life begin. Happy planting!
Resource:
https://identify.plantnet.org/k-world-flora/species/Picris%20rhagadioloides%20(L.)%20Desf./data