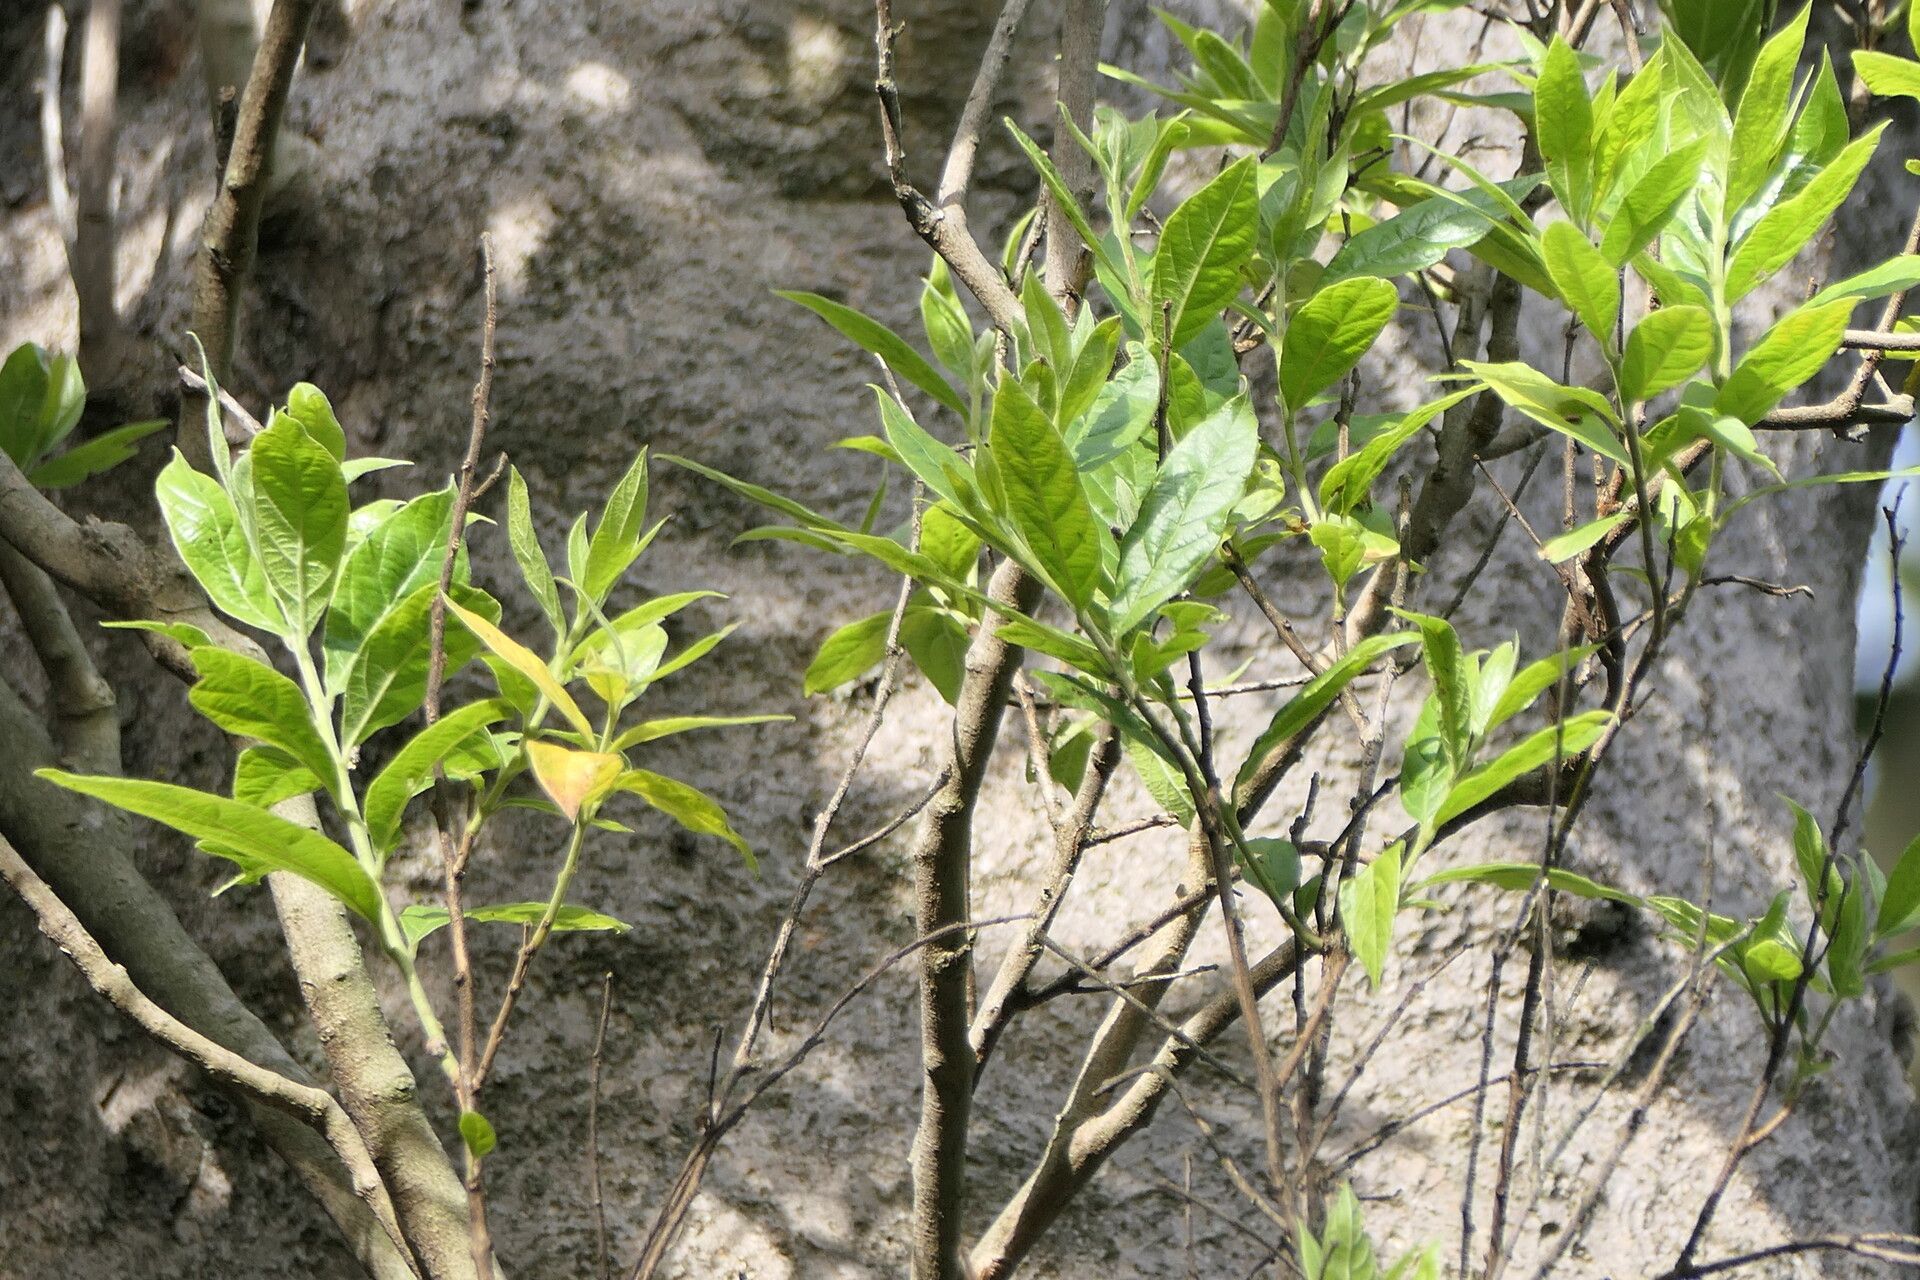
Hello, fellow gardeners! I’ve been coaxing life from cuttings and seeds for two decades now, and there’s a special kind of joy in multiplying the plants we love. Today, we’re diving into the world of Combretum erythrophyllum, also known as the River Bush Willow. This gorgeous South African native boasts beautiful, soft green leaves and a spectacular display of fiery red-brown flower heads in summer. It’s a real showstopper, and growing your own from cuttings is incredibly rewarding.
Now, for the beginner question: Is it easy? I’d say Combretum erythrophyllum is moderately easy to propagate. It’s not tricky, but it does appreciate a little attention to detail. With a bit of patience and following a few simple steps, you’ll be well on your way to a whole new bush.
The Best Time to Start
Timing is everything, right? For the best success with Combretum erythrophyllum, aim to take cuttings in late spring or early summer. This is when the plant is actively growing, and the new, soft growth contains plenty of hormones that encourage rooting. Look for stems that are flexible but not woody. Too much old, hard wood, and they might struggle to root.
Supplies You’ll Need
Gathering your tools before you start makes the whole process smoother. Here’s what I usually have on hand:
- Sharp pruning shears or a clean, sharp knife: Essential for making clean cuts.
- Rooting hormone (powder or gel): This isn’t always strictly necessary, but it gives your cuttings a significant boost.
- A well-draining potting mix: I like a blend of perlite, peat moss, and sharp sand in equal parts, or a good quality seedling mix. Avoid heavy garden soil.
- Small pots or trays: Clean ones are key to preventing disease.
- A plastic bag or propagator: To create a humid environment.
- Small pebbles or grit: For covering the surface of the pot to prevent damping off.
- Watering can with a fine rose: For gentle watering.
Propagation Methods: Stem Cuttings in Soil
This is my go-to method for Combretum erythrophyllum, and it generally yields the best results.
- Select Your Cuttings: Head out to your Combretum and identify healthy, non-flowering stems. You’re looking for pieces about 10-15 cm (4-6 inches) long.
- Make the Cut: Using your clean shears, make a clean, angled cut just below a leaf node. A leaf node is where a leaf attaches to the stem. This is where roots are most likely to form. Remove the lower leaves, leaving just two or three at the top.
- Apply Rooting Hormone: Dip the cut end of the stem into your rooting hormone, tapping off any excess.
- Prepare Your Pots: Fill your pots with your prepared, moistened potting mix.
- Plant Your Cuttings: Make a small hole in the soil with a pencil or your finger. Insert the cutting into the hole, ensuring the leaf nodes are covered by the soil. Gently firm the soil around the stem.
- Water Gently: Water the pots thoroughly but gently so you don’t dislodge the cuttings.
- Create Humidity: Cover the pots with a plastic bag, a plastic dome, or place them in a propagator. Make sure the leaves aren’t touching the plastic if possible.
The “Secret Sauce” (Pro Tips)
Over the years, I’ve learned a few tricks that really make a difference.
- Bottom Heat is Your Friend: While not strictly essential, placing your pots on a heated propagation mat can significantly speed up the rooting process. The gentle warmth encourages root development from below.
- Don’t Overwater! This is a big one. Soggy soil is the quickest way to rot off your cuttings. The potting mix should be consistently moist, not wet. Check the soil moisture with your finger – if it feels dry an inch down, it’s time for a light watering.
- Light, Not Direct Sun: Once your cuttings are planted, place them in a spot with bright, indirect light. Direct sunlight will scorch the leaves and dry out the cutting too quickly. A bright windowsill that doesn’t get harsh afternoon sun is usually perfect.
Aftercare & Troubleshooting
Be patient! It can take anywhere from 4 to 8 weeks, sometimes longer, for your Combretum cuttings to develop roots.
You’ll know they’re ready when you gently tug on a cutting and feel resistance, or when you see new leaf growth. Once they have a good root system, you can gradually acclimatize them to normal room conditions by opening the propagator or plastic bag a little more each day for about a week. Then, you can pot them up into slightly larger individual pots.
The most common sign of failure is the cutting wilting, turning black, or becoming mushy at the base. This is usually a sign of rot, often caused by too much moisture or poor drainage. If you see this, it’s best to discard the cutting and start again, paying extra attention to keeping the soil just moist.
A Little Patience Goes a Long Way
Growing new plants from cuttings is a beautiful dance with nature. It takes a bit of practice, and not every cutting will make it, but that’s okay! The satisfaction of nurturing a tiny wilting stem into a thriving new plant is enormous. So, grab your shears, get your hands dirty, and enjoy the journey of multiplying your beloved Combretum erythrophyllum. Happy propagating!
Resource: