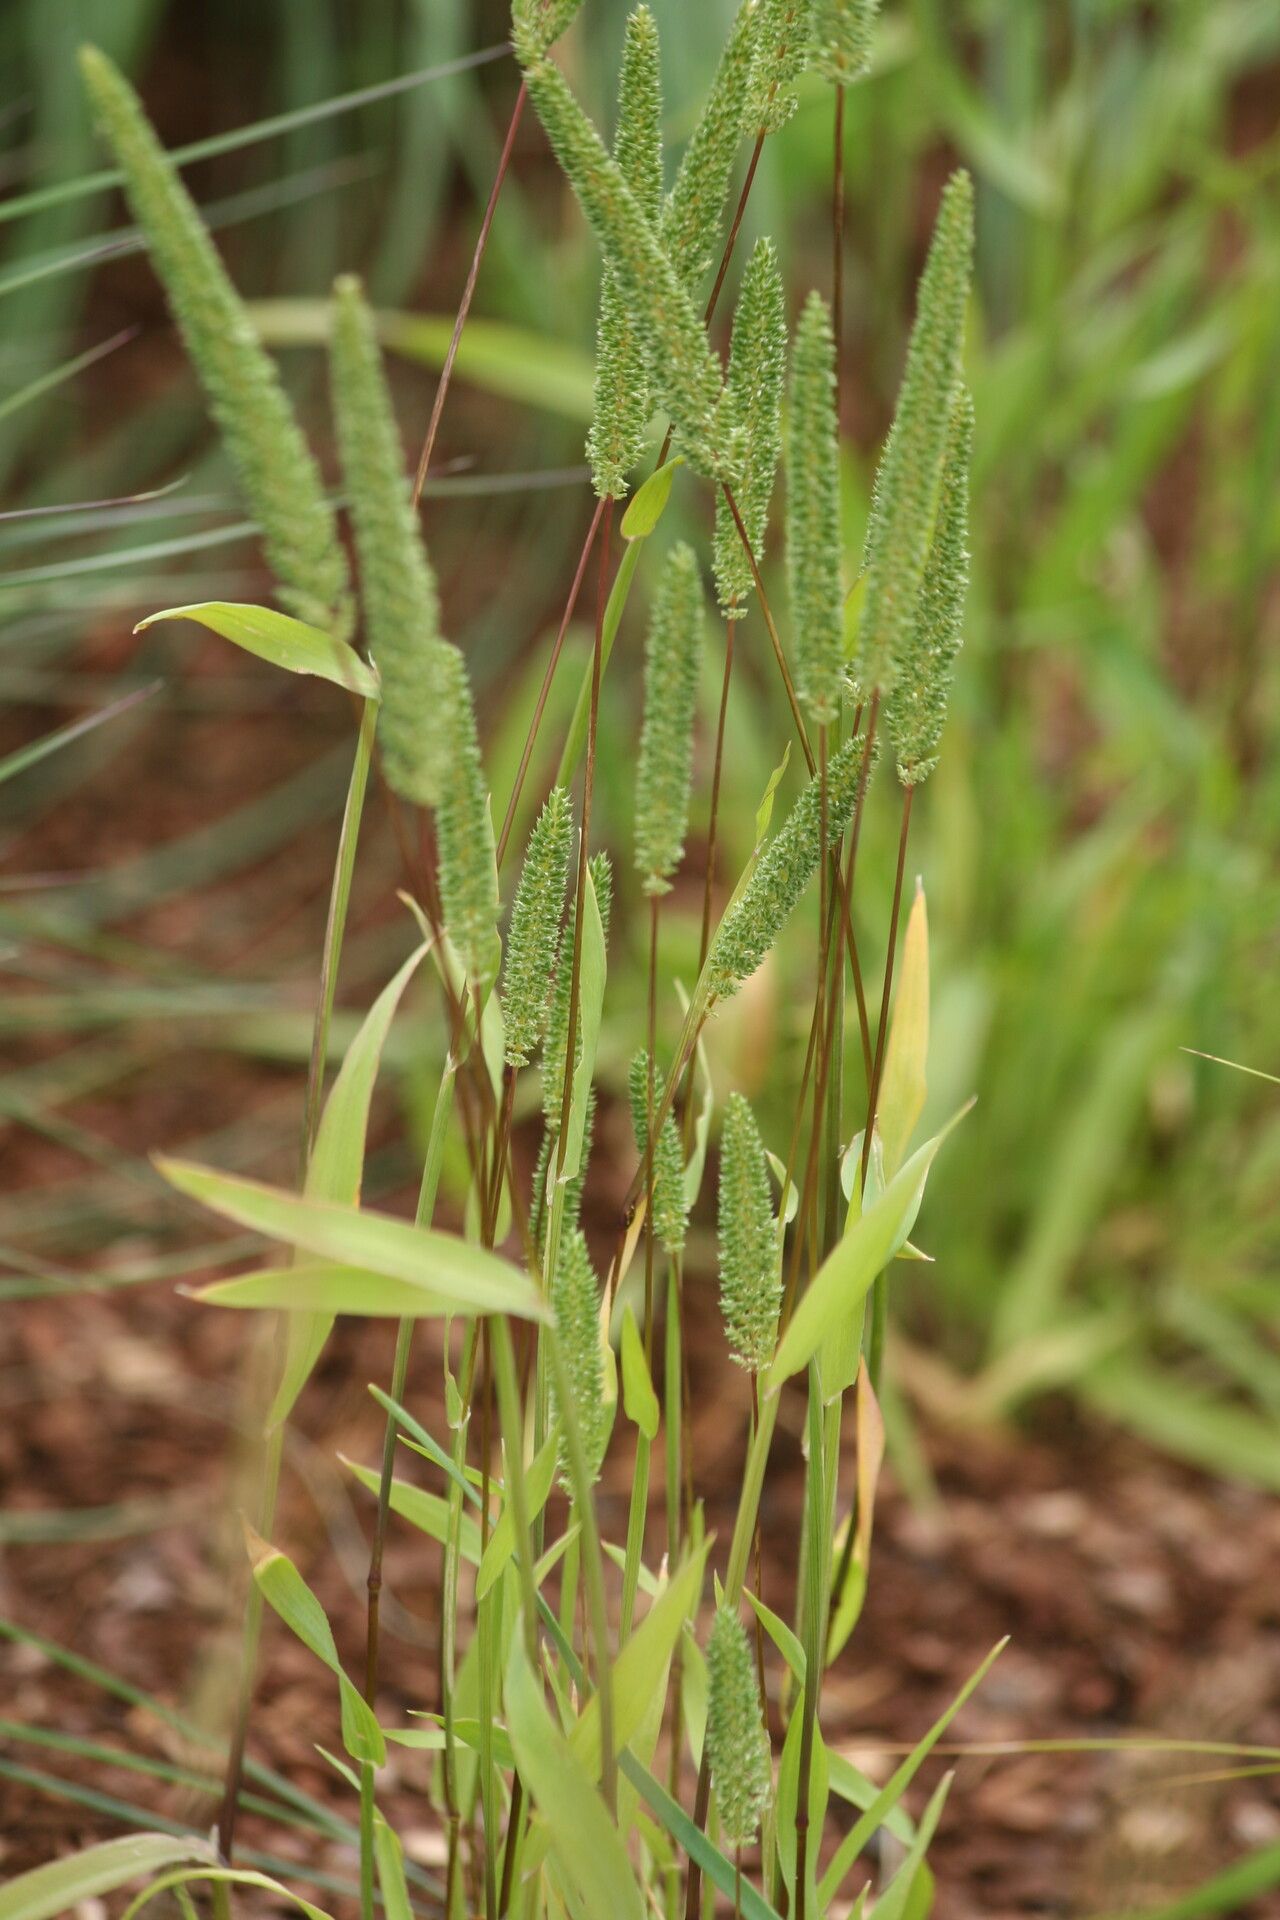
Oh, hello there! Come on in, grab a mug. Let’s chat about Phleum paniculatum, or as many of us affectionately call it, Field Timothy. You know, those lovely, airy grasses that sway so gracefully in the breeze? I just adore them for their texture and the gentle movement they bring to a garden. And the best part? They’re surprisingly rewarding to propagate. If you’re just dipping your toes into the world of plant propagation, I think you’ll find Field Timothy to be a pretty good and encouraging starting point. It’s not too fussy, which is always a win in my book!
When is the Best Time to Get Started?
For Field Timothy, spring is your best bet. As the weather warms up and the days get longer, the plant is really starting to wake up and put on new growth. This active growth phase means it’s more vigorous and better equipped to handle the stress of being divided or having cuttings taken. You’ll see the most success when you catch it in this enthusiastic, brand-new growth stage.
What You’ll Need for Success
Gathering your supplies beforehand makes the whole process much smoother. Here’s a little list of what I usually have on hand:
- Sharp pruning shears or a clean, sharp knife: For making precise cuts.
- A good quality, well-draining potting mix: I like a blend of peat moss, perlite, and a bit of compost.
- Small pots or seed trays: Whatever suits the size of your cuttings or divisions.
- Hand trowel or garden fork: For gently separating root balls.
- Watering can with a fine rose nozzle: To water delicately.
- (Optional) Rooting hormone powder: While often not strictly necessary for Field Timothy, it can give an extra boost.
- Labels and a marker: To keep track of what you’ve planted and when!
How to Propagate Field Timothy
Field Timothy is a clumping grass, so division is your absolute go-to method. It’s simple, effective, and really helps rejuvenate the parent plant too!
Method 1: Division (Your New Best Friend)
- Gently excavate: In spring, when the plant is actively growing, carefully dig up the entire clump. You can do this with your hands if the soil is loose, or use a trowel to loosen the soil around the edges.
- Clean the roots a bit: Gently shake off excess soil so you can clearly see the root structure.
- Divide the clump: This is the fun part! You can often pull large clumps apart with your hands. For tougher divisions, use your clean knife or the edge of your trowel to carefully slice through the root ball. Aim for sections that have both roots and some leafy growth. Don’t be afraid to make smaller divisions; Field Timothy is a trooper!
- Replant immediately: Get your new divisions into their own pots filled with your well-draining soil mix. Make sure they’re planted at the same depth they were before.
- Water them in: Give them a good, gentle watering to settle the soil around the roots.
Method 2: Seed (A Bit More Patience)
If you’re starting from seed, you’ll need to wait for the seed heads to mature and dry on the plant.
- Collect seeds: Once the seed heads are brown and dry, gently rub them over a tray or paper to collect the tiny seeds.
- Sow in fall or early spring: You can sow them directly outdoors in the fall for natural stratification, or indoors in early spring about 6-8 weeks before your last frost date. Use a seed-starting mix.
- Keep moist and cool: Seeds need consistent moisture and cool temperatures to germinate. Don’t let them dry out!
The “Secret Sauce” – My Insider Tips
Here are a couple of little tricks I’ve picked up over the years that really make a difference:
- Don’t overwater the divisions early on. While they need moisture, overly soggy conditions can lead to rot before new roots establish. Let the top inch of soil dry out slightly between waterings.
- Embrace a bit of shade for new divisions. Immediately after dividing and replanting, pop your new pots into a spot that gets bright, indirect light. Direct hot sun can be too stressful for them while they’re getting their roots settled.
Aftercare and What to Watch For
Once your divisions are planted, keep them consistently moist but not waterlogged. You’ll see new shoots start to emerge in a few weeks, which is a clear sign that your new plants are happy and growing! Gradually acclimate them to more sun as they establish.
The main thing to watch out for is rot. If your new division starts to look yellow and mushy at the base, it’s likely getting too much water and not enough air circulation. In this case, you might need to gently lift it, trim away any rotted parts with your clean knife, and replant in fresh, drier soil.
Keep Going, Green Thumb!
Propagating plants is such a wonderful way to connect with nature and expand your garden for free! Be patient with your newly divided Field Timothy. They might look a little stunned for a week or two, but give them time and care, and you’ll soon have lovely new clumps to enjoy or share. Happy gardening!
Resource:
https://identify.plantnet.org/k-world-flora/species/Phleum%20paniculatum%20Huds./data