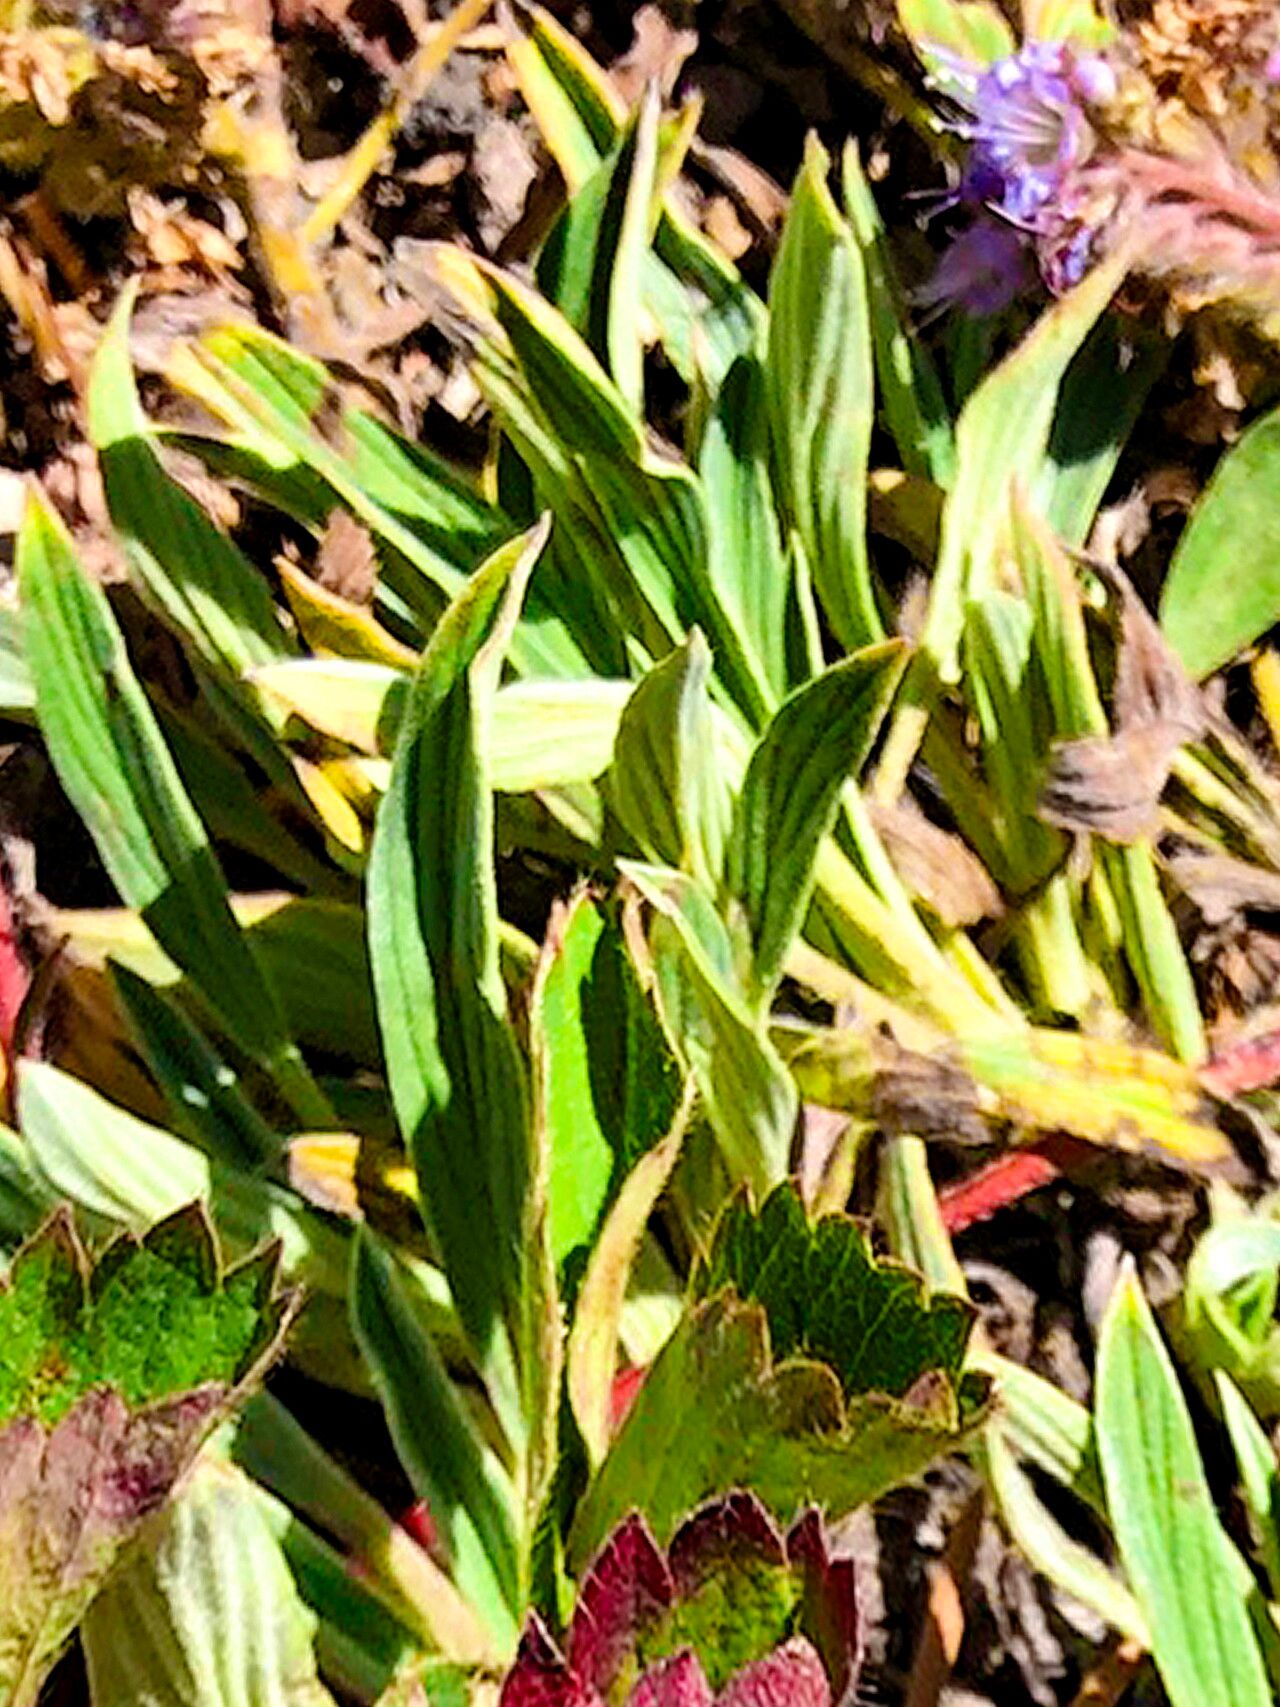
Oh, hello there! Grab a cuppa, won’t you? I’m so delighted you’re interested in propagating Phacelia hastata, also known as Silverleaf Scorpionweed. If you’re looking for a native stunner that’ll draw in pollinators by the dozen and add a touch of silvery charm to your garden borders, then this is the plant for you. Its delicate, bell-shaped flowers are a magnet for bees, and the fuzzy, grey-green foliage has a unique appeal.
Now, if you’re just dipping your toes into the world of plant propagation, you might be wondering if Phacelia hastata is a good starting point. I’d say it’s moderately easy. It’s not quite as straightforward as, say, a succulent, but with a little attention and the right approach, you’ll be rewarded with plenty of new little beauties. It’s a truly satisfying experience to grow a whole new plant from a tiny piece of its parent!
The Best Time to Start
For the highest chance of success with Phacelia hastata, I always aim to start my propagation efforts in late spring to early summer. This is when the plant is actively growing and has plenty of energy to put into developing new roots. Look for stems that are new growth but have started to firm up a bit – not the super soft, floppy tip, but not the woody older growth either. You want that happy medium!
Supplies You’ll Need
Before we get our hands dirty, let’s make sure we have everything at the ready. A bit of preparation goes a long way!
- Sharp Pruning Shears or a Clean Knife: For making clean cuts.
- Rooting Hormone (Optional but Recommended): This can give your cuttings a nice little boost. Look for one formulated for herbaceous cuttings.
- Small Pots or Seed Starting Trays: With drainage holes, of course!
- A Well-Draining Potting Mix: I like a blend of potting soil, perlite, and a bit of coarse sand (about a 2:1:1 ratio). This ensures good aeration and prevents waterlogging.
- A Watering Can or Spray Bottle: For gentle watering.
- Clear Plastic Bags or a Propagation Dome: To create a humid environment.
- Labels: So you don’t forget what you planted where!
- A Warm Location: For optimal root development.
Propagation Methods
Phacelia hastata is quite amenable to propagation from stem cuttings. It’s my go-to method for this lovely plant, and it usually yields great results.
- Take Your Cuttings: Using your sharp shears, select healthy, non-flowering stems. Make a cut just below a leaf node (where a leaf attaches to the stem). You’re looking for cuttings that are about 3-4 inches long. Remove the lower leaves, leaving just a few at the top.
- Prepare the Cuttings: If you’re using rooting hormone, dip the cut end of each stem into the powder, tapping off any excess.
- Plant Your Cuttings: Fill your chosen pots or trays with your well-draining potting mix. Make a small hole in the center of the mix with your finger or a pencil, then gently insert the cut end of the Phacelia hastata cutting. Firm the soil gently around the stem.
- Create a Humid Environment: Water the soil thoroughly but gently. Then, cover the pots with a clear plastic bag or place them under a propagation dome. This traps moisture and keeps the humidity high, which is crucial for cuttings that haven’t developed roots yet. Ensure the leaves don’t touch the plastic, or they might rot.
- Provide Warmth: Place your pots in a warm location, out of direct, harsh sunlight. A bright windowsill or a spot near a heat mat (if you have one) works wonders.
The “Secret Sauce” (Pro Tips)
Here are a couple of things I’ve learned over the years that really make a difference when propagating Phacelia hastata:
- Don’t Be Afraid of the Bottom Heat! While not strictly necessary, placing your pots on a gentle heat mat designed for propagation can dramatically speed up root formation. The warmth encourages the plant to expend energy on root development rather than leaf growth.
- Patience is Key with Watering: It’s tempting to keep the soil constantly soggy, but that’s a fast track to rot. You want the soil to be consistently moist, but not waterlogged. I usually check the moisture level by gently poking my finger into the soil an inch down. If it feels dry, it’s time for a water.
Aftercare & Troubleshooting
Once your Phacelia hastata cuttings have started to root – and you’ll know by giving them a gentle tug and feeling resistance, or by seeing new growth – it’s time to transition them.
Carefully remove the plastic bag or dome gradually over a few days to acclimatize your new plants to normal humidity. Continue to water them when the top inch of soil feels dry. Once they have a good root system and are showing consistent growth, you can transplant them into slightly larger pots as needed.
The most common sign of failure is rot. This usually happens if the cuttings are kept too wet or if the drainage isn’t adequate. If you see stems looking mushy or yellowing and wilting despite being watered, it’s usually a sign of too much moisture. Unfortunately, at that point, it’s usually game over for that particular cutting. Don’t despair, though! Just try again, perhaps with a slightly drier approach to watering.
A Encouraging Closing
See? It’s not so daunting, is it? Propagating Phacelia hastata is a wonderful way to multiply your enjoyment of this beautiful plant. Be patient with your little cuttings, give them that warm, humid environment they love, and remember that even experienced gardeners have a few failures along the way. The joy of nurturing a new life from a simple cutting is truly one of gardening’s greatest pleasures. Happy propagating!
Resource:
https://identify.plantnet.org/k-world-flora/species/Phacelia%20hastata%20Douglas%20ex%20Lehm./data