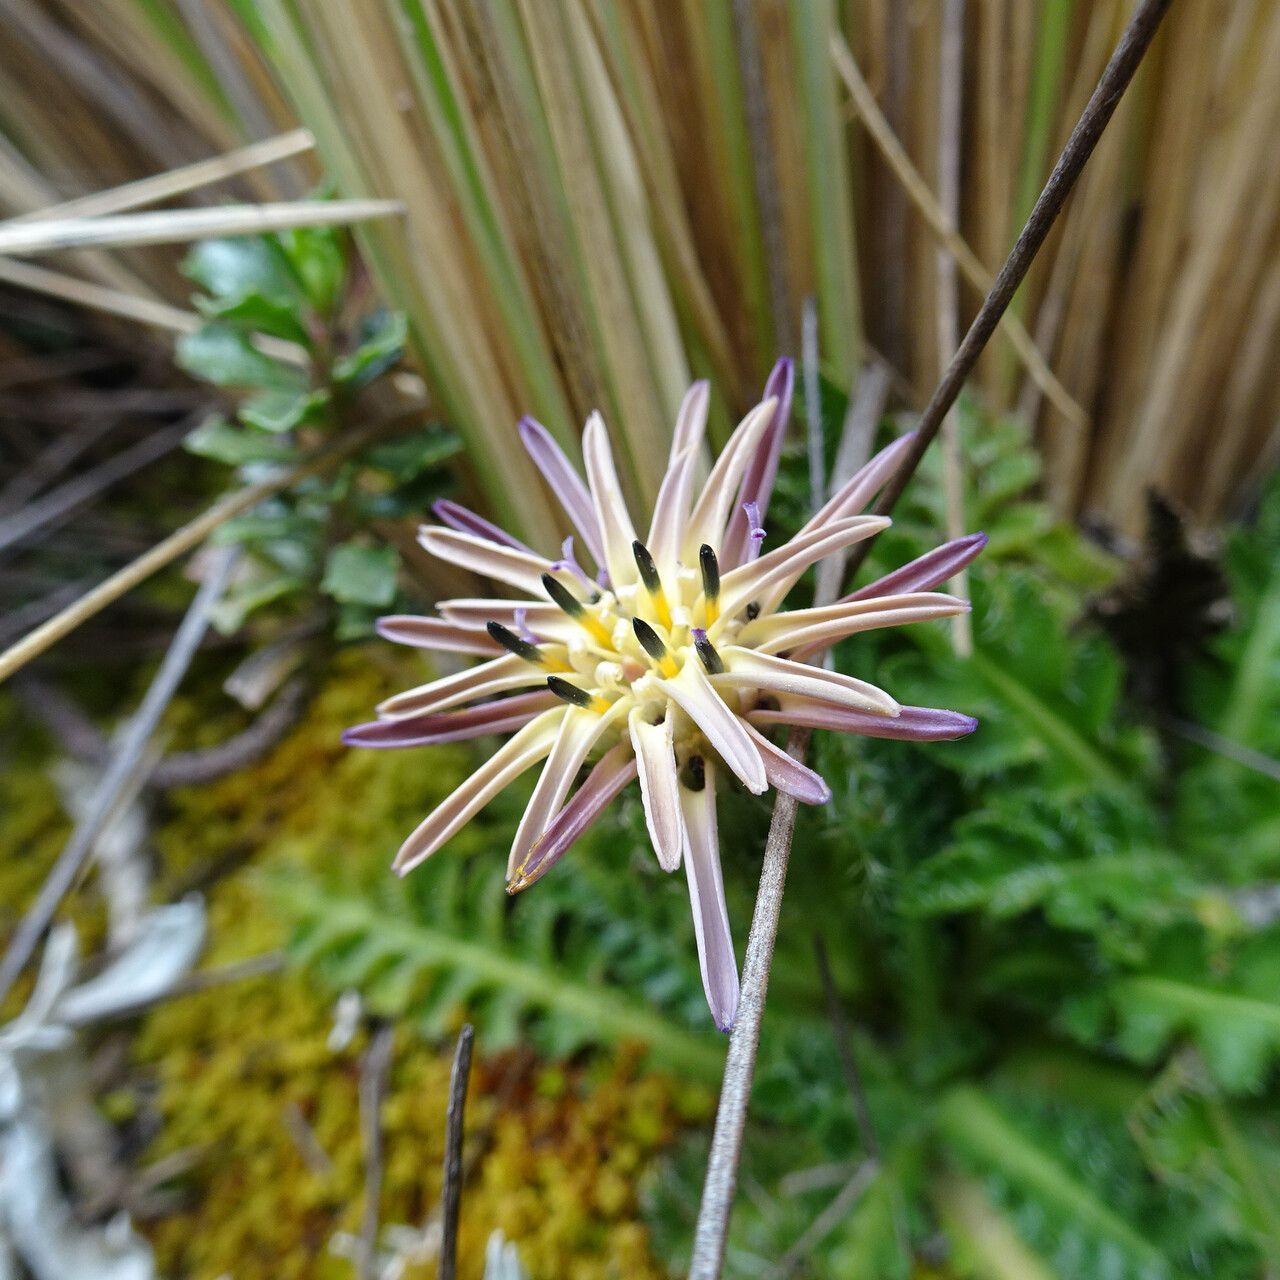
Hello, fellow garden enthusiasts! I’m so happy you’ve stopped by. Today, we’re going to talk about a truly special plant: Perezia coerulescens. If you’re drawn to foliage that boasts stunning silvery-blue hues and a delicate, almost ethereal quality, then this plant will steal your heart. Its upright habit and lovely blooms make it a real garden showstopper. And the best part? Successfully propagating it is incredibly satisfying. Now, I won’t lie and say it’s as foolproof as a spider plant for absolute beginners, but with a little care and attention, you’ll be rewarded with new plants to share or fill your own space.
The Best Time to Start
For Perezia coerulescens, the sweet spot for propagation is definitely late spring or early summer. This is when the plant is actively growing and has plenty of energy to put into developing new roots. You want to take cuttings from healthy, vigorous stems that are neither too soft and new nor too woody. Think of it as taking cuttings from a stem that’s just getting serious about its growing season – firm but still flexible.
Supplies You’ll Need
Here’s what I always have on hand when I’m propagating Perezia:
- Sharp pruning shears or a clean knife: For making clean cuts.
- Rooting hormone powder: Crucial for giving those cuttings a healthy start. I prefer a powder form.
- A well-draining potting mix: A blend of equal parts perlite, peat moss, and a good quality potting soil works wonders. You can also buy specific succulent or cactus mixes.
- Small pots or trays: Clean ones are a must to prevent disease.
- Watering can or spray bottle: For gentle watering.
- Plastic bags or a mini-greenhouse: To keep humidity high around the cuttings.
- Optional: A heat mat: This can really speed up root development.
Propagation Methods
The most successful way I’ve found to propagate Perezia coerulescens is through stem cuttings. It’s straightforward and yields great results.
- Select your stem: Look for a healthy, semi-ripe stem about 4-6 inches long.
- Make the cut: Using your clean shears or knife, make a clean cut just below a leaf node. This is the little bump on the stem where a leaf grows from, and it’s where roots are most likely to form.
- Prepare the cutting: Gently remove the lower leaves from the cutting, leaving just two or three leaves at the top. If the remaining leaves are very large, you can cut them in half horizontally to reduce water loss.
- Apply rooting hormone: Dip the cut end of the stem into your rooting hormone powder. Tap off any excess.
- Plant your cutting: Fill your small pots with your prepared potting mix. Gently insert the cut end of the stem into the soil, ensuring the node where you removed the leaves is buried. Firm the soil gently around the stem.
- Water gently: Water the soil thoroughly but very gently. You don’t want to dislodge the cutting.
- Create a humid environment: Cover the pot with a clear plastic bag, or place it in a mini-greenhouse. This creates a humid microclimate that helps the cutting stay turgid and encourages root formation. You can prop the bag up with a few twigs so it doesn’t touch the leaves.
- Provide light: Place the pots in a bright spot with indirect light. Avoid direct sunlight, which can scorch the delicate cuttings.
The “Secret Sauce” (Pro Tips)
Now, for a couple of little tricks I’ve learned over the years that really boost your success rate:
- The humidity shield: When you cover your cuttings, make sure absolutely no part of the leaves touch the inside of the plastic bag. Condensation is good, but direct contact can lead to rot. If they droop and touch, gently prop them up.
- Be patient with bottom heat: If you have a heat mat, place the pots on it before covering them. That gentle warmth from below mimics natural conditions and really encourages those roots to get going much faster. Don’t overdo the heat, just a gentle warmth is perfect.
- Don’t overwater, ever! This is probably the biggest killer of cuttings. The soil should be consistently moist, but never soggy. If you can stick your finger in about an inch and it feels dry, it’s time to water. If it feels damp, wait.
Aftercare & Troubleshooting
Once you see signs of new growth – tiny leaves unfurling or resistance when you gently tug the cutting – that’s a good indication that roots have formed. You can start to gradually acclimate your new plant to normal humidity by opening the plastic bag a little each day over a week.
The most common issue you’ll encounter is rot. If your cutting turns mushy and black, it’s usually a sign of too much moisture and not enough air circulation. If this happens, unfortunately, you’ll have to discard it and start again. Another sign of failure is if the leaves shrivel up and fall off entirely, and you see no sign of root development after a few weeks. Again, don’t be disheartened; just clean your pot and try again.
A Encouraging Closing
Propagating Perezia coerulescens is a journey, and like all good gardening endeavors, it requires a bit of patience and observation. Don’t you worry if your first few attempts aren’t perfect. Every gardener has had their share of misses! The joy is in the attempt, learning what works best in your own space, and eventually, holding a brand new, precious plant in your hands. So go ahead, get your hands dirty, and enjoy the magic of bringing new life into your garden! Happy propagating!
Resource:
https://identify.plantnet.org/k-world-flora/species/Perezia%20coerulescens%20Wedd./data