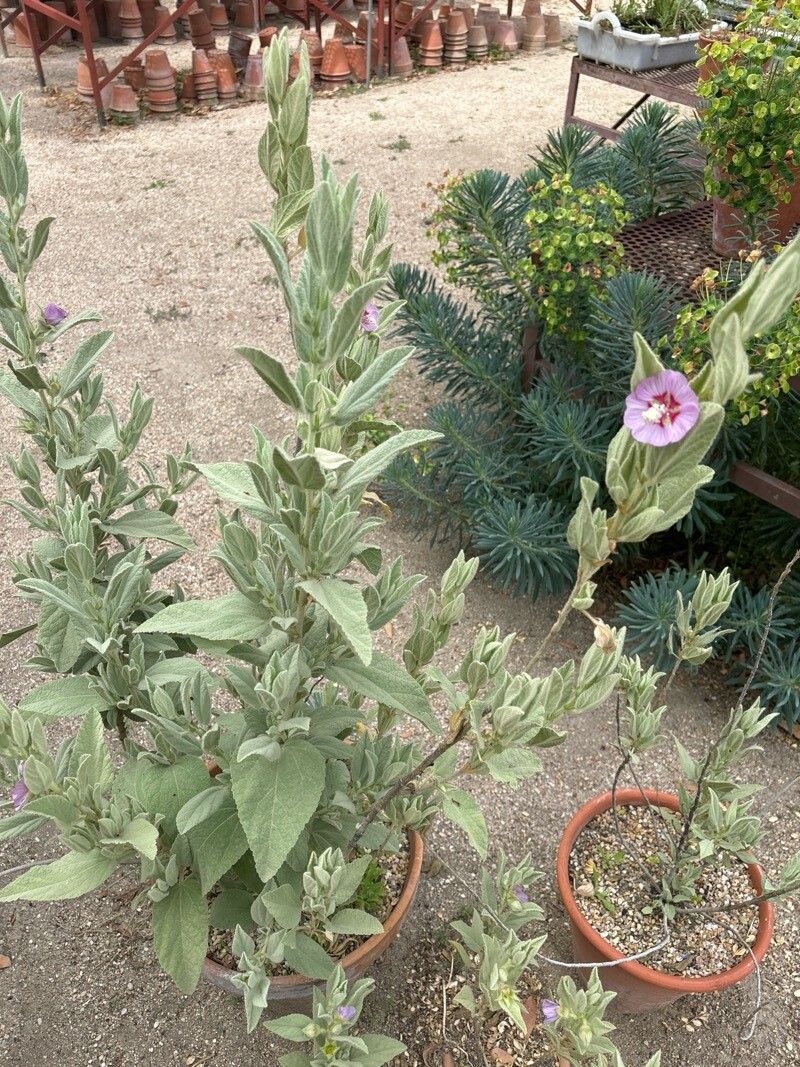
Oh, hello there! It’s so lovely to have you join me for a chat about Malva oblongifolia. If you’ve ever seen this beauty in bloom, you know what I mean when I say it’s a charmer. Those delicate, often vibrant, flowers bring such a joyful splash of color to the garden. And the best part? You can easily multiply this joy! I’ve been growing and propagating these for years, and I can tell you, it’s a truly rewarding experience, especially for those of you just starting to get your hands dirty. Don’t be intimidated; Malva oblongifolia is quite forgiving once you know a few simple tricks.
The Best Time to Start
For the highest success rate with Malva oblongifolia, I find that late spring or early summer is your golden ticket. This is when the plant is actively growing, full of vigor, and has plenty of young, pliable stems to work with. You want to look for stems that are not too woody but have started to firm up a bit after new growth has emerged.
Supplies You’ll Need
Here’s what I always have on hand when I’m getting ready to propagate:
- Sharp pruning shears or a clean razor blade: For making precise cuts.
- Rooting hormone (optional, but helpful): A little dip can make a big difference. I prefer the powder form.
- Well-draining potting mix: A good blend of perlite, peat moss, and sandy loam works wonders. You can also buy specific seed-starting or propagation mixes.
- Small pots or seed trays: Clean ones are key to preventing disease!
- Plastic bags or a propagator lid: To create a humid environment.
- Watering can or spray bottle: For gentle watering.
- Labels and a marker: So you don’t forget what you’ve planted!
Propagation Methods
Let’s dive into how we can get more of these delightful plants. I find stem cuttings to be the most reliable method for Malva oblongifolia.
Stem Cuttings
- Take your cuttings: In late spring or early summer, select healthy, non-flowering shoots. Use your sharp shears or razor to make a clean cut just below a leaf node (where a leaf attaches to the stem). You’re looking for cuttings that are about 4-6 inches long.
- Prepare the cuttings: Gently remove any lower leaves, leaving just a few at the top. This prevents them from rotting when buried. If you’re using rooting hormone, dip the cut end into the powder, tapping off any excess.
- Pot them up: Fill your small pots with your prepared potting mix. Make a small hole in the center with your finger or a pencil.
- Insert the cuttings: Gently place the cut end of each cutting into the hole and firm the soil around it. You can plant a few cuttings per pot, as long as they aren’t touching.
- Create a humid environment: Water the soil gently until it’s moist but not soggy. Then, either cover the pot loosely with a clear plastic bag (supported by stakes so it doesn’t touch the leaves) or place the pots inside a propagator with a lid.
- Find a good spot: Place the pots in a bright location that receives indirect sunlight. Direct sun can scorch young cuttings.
The “Secret Sauce” (Pro Tips)
Over the years, I’ve learned a few things that really boost my propagation success rates.
- Bottom Heat is Your Friend: If you have a heated propagator or a heat mat, use it! A gentle warmth from below can significantly speed up root development. Around 70-75°F (21-24°C) is ideal.
- Don’t Let Leaves Touch the Water (if using water for initial rooting): While I prefer soil for Malva oblongifolia, if you experiment with just water, make sure no leaves are submerged. Submerged leaves are prime candidates for rot. Only the stem should be in the water.
- Be Patient with the “Wiggle Test”: When you think your cuttings might be rooted, give them a very gentle tug. If you feel resistance, you’ve got roots! If they pull out easily, they need more time.
Aftercare & Troubleshooting
Once your cuttings have developed a good root system (usually after 3-6 weeks, depending on conditions), it’s time to move them into their own individual pots. Continue to water them regularly, but allow the top inch of soil to dry out between waterings. Keep them in bright, indirect light.
The most common issue you might encounter is rot. This usually happens if the soil is too wet or the humidity is too high for too long without good air circulation. If you see yellowing leaves or mushy stems, it’s a sign of trouble. Remove affected cuttings immediately. Proper drainage and a balance of moisture and air are crucial.
A Encouraging Closing
Propagating plants is all about patience and observation. Don’t get discouraged if every single cutting doesn’t make it. Gardening is a journey, and each attempt is a learning opportunity. So gather your supplies, find a sunny spot, and give it a try. Watching those tiny roots emerge and seeing your new Malva oblongifolia babies take hold is one of the most satisfying feelings in the world. Happy propagating!
Resource: