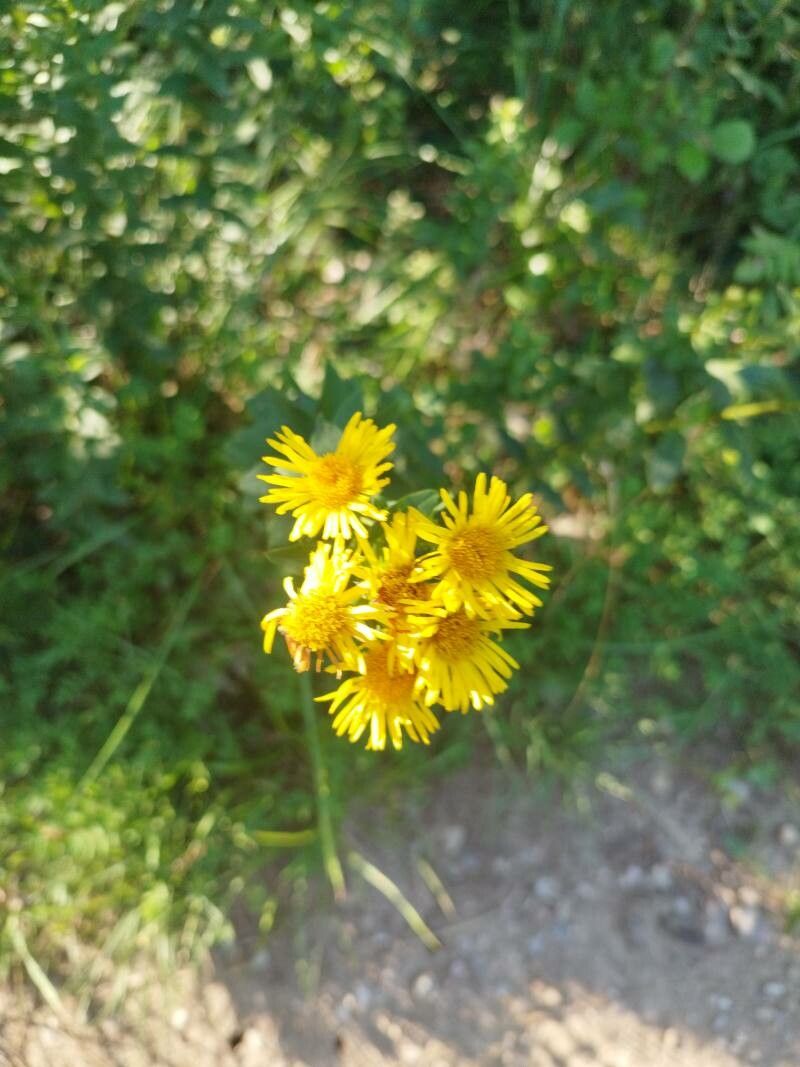
Hey there, fellow plant lovers! Today, we’re diving into the wonderful world of Pentanema spiraeifolium. If you’ve ever admired this beauty with its delicate, often daisy-like flowers and lovely foliage, you’re in for a treat. I’ve spent years gardening, and I can tell you, successfully propagating a plant you love is one of the most satisfying feelings. It’s like bottling a little piece of your garden’s magic!
Pentanema spiraeifolium is generally a pretty forgiving plant to propagate, making it a good choice even if you’re just starting on your propagation journey. The joy of seeing that tiny cutting develop into a full-fledged plant is just immense, and it means you can share these beauties with friends or simply expand your own collection without breaking the bank!
The Best Time to Start
For Pentanema spiraeifolium, spring or early summer is your golden window. This is when the plant is actively growing, full of energy, and eager to produce new shoots. You’ll find the stems are more pliable and have a better chance of rooting quickly. Trying to propagate when the plant is dormant or stressed is like asking someone to run a marathon without any training – it’s just not going to end well.
Supplies You’ll Need
Here’s what you’ll want to have on hand before you get started:
- Sharp Pruning Shears or a Clean Knife: For taking clean cuts.
- Small Pots or Seedling Trays: Cleanliness is key here!
- Well-Draining Potting Mix: A good blend of peat moss, perlite, and coarse sand works wonders. You can also find pre-made cuttings mixes at your local garden center.
- Rooting Hormone (Optional but Recommended): This can give your cuttings a significant boost.
- Plastic Bags or a Clear Dome: To create a mini-greenhouse effect.
- Watering Can with a Fine Rose: For gentle watering.
- Heat Mat (Optional): Especially helpful in cooler environments.
Propagation Methods
Pentanema spiraeifolium can be propagated quite effectively from stem cuttings. It’s straightforward and usually yields great results.
Stem Cuttings:
- Select Your Cuttings: Look for healthy, vigorous stems that are not flowering. You want non-woody, semi-hardwood stems – usually about 4-6 inches long. Gently bend a stem; if it snaps cleanly, it’s likely a good candidate.
- Make the Cut: Using your sharp pruning shears or knife, take cuttings just below a leaf node (where a leaf attaches to the stem). This is where the plant has the best chance of forming roots. Try to make clean, decisive cuts.
- Prepare the Cuttings: Gently remove the lower leaves from the cutting, leaving just the top two or three leaves. This prevents them from rotting in the soil. If the remaining leaves are very large, you can cut them in half horizontally to reduce water loss.
- Apply Rooting Hormone (If Using): Dip the cut end of the stem into rooting hormone, tapping off any excess. This powder or gel encourages cell development and speeds up rooting.
- Plant the Cuttings: Fill your clean pots with your well-draining potting mix. Make a hole in the center of the soil with a pencil or your finger. Insert the cut end of the cutting into the hole, ensuring it’s deep enough to be stable but not so deep that the leaves are buried. Gently firm the soil around the cutting.
- Water Gently: Water the soil thoroughly, but avoid over-saturating it. You want the soil to be consistently moist, not soggy.
- Create a Humid Environment: Place a clear plastic bag over the pot or cuttings – you can secure it with a rubber band – or use a clear plastic dome. This traps moisture and creates the humid conditions cuttings need to thrive. Ensure the leaves do not touch the sides of the bag if possible, as this can promote rot.
The “Secret Sauce” (Pro Tips)
Here are a couple of things I’ve learned over the years that can really make a difference:
- Bottom Heat is Your Friend: If you can, place your pots on a gentle heat mat. This warming from below encourages root development much faster than relying solely on ambient air temperature. It’s like giving those nascent roots a cozy bed to grow in.
- Don’t Over-Water, But Be Consistent: It’s a fine line. You want the soil to stay consistently moist, but never waterlogged. I like to check the moisture by gently poking my finger into the soil about an inch down. If it feels dry, it’s time for a small, gentle watering. Overwatering is the quickest route to disappointment.
Aftercare & Troubleshooting
Once your cuttings have successfully rooted – and you’ll know this because you’ll see new growth or feel a gentle tug when you lightly pull on the cutting – it’s time for a little more attention.
- Gradual Acclimatization: Slowly start to remove the plastic bag or dome for increasing periods each day. This helps the new plant adjust to the drier air of your home or garden.
- Move to a Brighter Spot: Once acclimatized, move your new plant to a location with bright, indirect light.
- Watering: Continue to water when the top inch of soil feels dry.
- Signs of Trouble: The most common issue is rot, which usually happens with overwatering. Cuttings will turn black and mushy at the base. Another sign of failure is wilting that doesn’t recover, often because the cutting isn’t rooting or is drying out too quickly. If you see signs of rot, unfortunately, you’ll likely need to discard the affected cutting.
A Little Patience Goes a Long Way
Remember, gardening is a journey, and propagation is a bit of an art. Don’t get discouraged if not every cutting takes. Keep experimenting, pay attention to your plants, and celebrate each success. The reward of nurturing new life is truly special. Happy propagating!
Resource: