Oh, hello there! Come on in, grab a mug. I’m so glad you popped by. Today, we’re going to talk about a plant that’s just captured my heart: Pavetta suffruticosa. If you’re looking for a truly delightful shrub with beautiful starry flowers and glossy leaves, you’ve come to the right place. And the best part? You can easily grow more of them yourself!
Why You’ll Love Propagating Pavetta
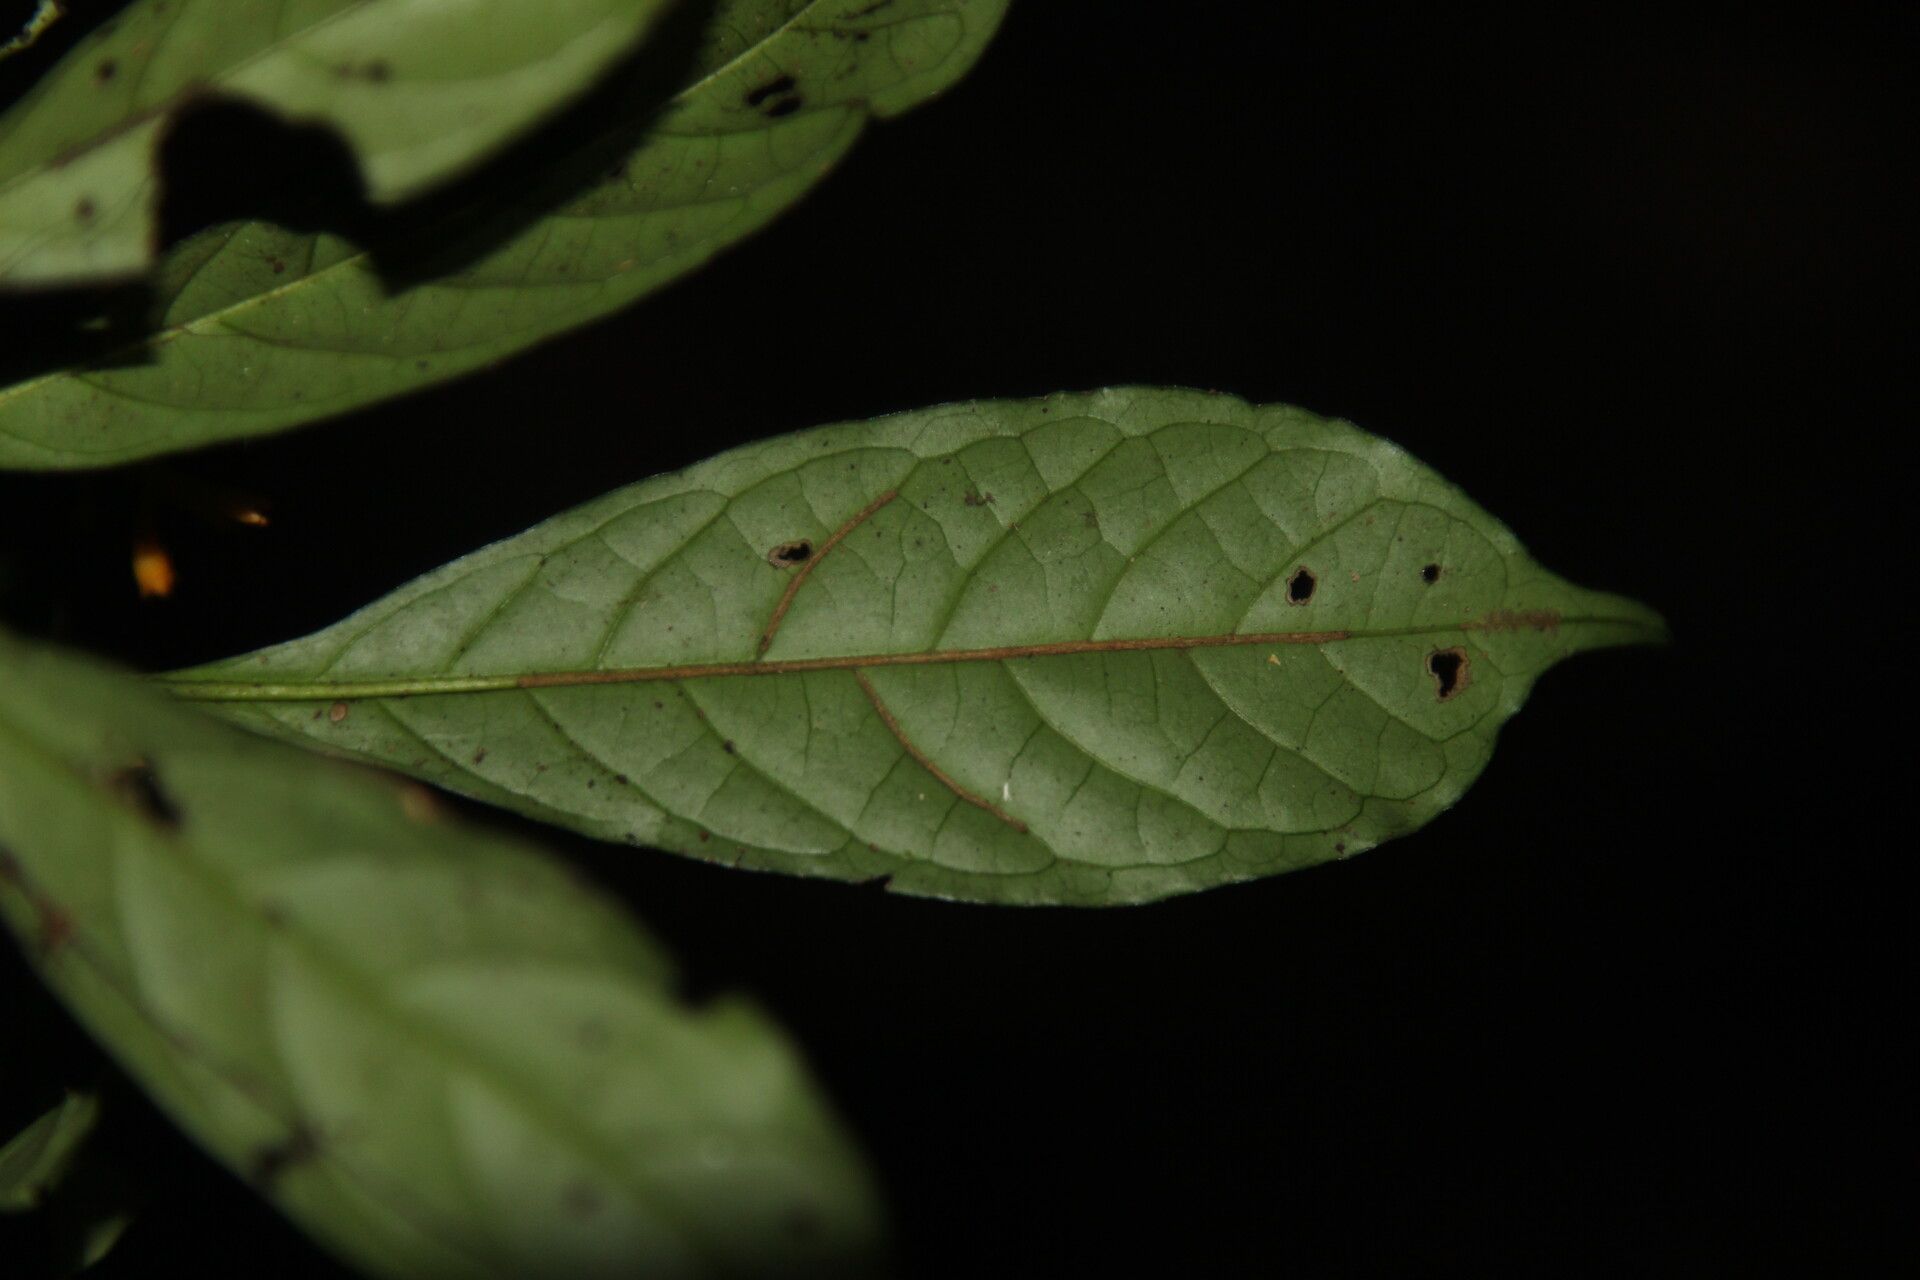
Pavetta suffruticosa is a stunner. Its delicate white flowers bloom in clusters, smelling ever so faintly sweet, and those lush, dark green leaves are a joy to behold year-round. Propagating it is incredibly satisfying. Watching a tiny cutting transform into a robust young plant feels like a little bit of gardening magic, and it’s a wonderful way to share this beauty with friends. Now, for beginners, I’d say Pavetta is moderately easy. It’s not a “set it and forget it” kind of plant for propagation, but with a little attention, you’ll be rewarded.
When to Get Your Hands Dirty
The absolute best time to start propagating Pavetta suffruticosa is during its active growing season, which is typically late spring to early summer. This is when the plant has plenty of energy to push out new roots and is more receptive to the propagation process. We’re looking for young, vigorous growth, not old, woody stems.
Gathering Your Garden Gear
Before we dive in, let’s make sure you have everything you need:
- Sharp Pruning Shears or a Clean Knife: For making clean cuts.
- Rooting Hormone: While not strictly necessary for Pavetta, it can give your cuttings a helpful boost. Look for a powder or gel.
- Potting Mix: A well-draining mix is key. I like a blend of equal parts peat moss and perlite, or a good quality potting soil mixed with extra perlite.
- Small Pots or Trays: Clean pots, about 4-6 inches in size, work perfectly.
- Plastic Bags or a Propagation Dome: To maintain humidity.
- Water: For misting and watering.
- Labels: To keep track of your precious new plants!
Let’s Get Growing: Stem Cuttings
This is, by far, the most common and effective way to propagate Pavetta suffruticosa. It’s straightforward, and you’ll often have a great success rate.
- Take Your Cuttings: During that prime late spring/early summer window, choose a healthy stem that’s about 4-6 inches long. You want a stem that has new growth at the tip, but the lower part of the stem should be firm, not floppy. Make a clean cut just below a leaf node (where a leaf attaches to the stem). Remove any lower leaves, leaving just a few at the very top.
- Prepare the Cutting: If you’re using rooting hormone, dip the cut end into it, tapping off any excess. This helps encourage root development.
- Plant Your Cuttings: Fill your clean pots with your well-draining potting mix. Make a hole with your finger or a pencil in the center of the soil, deep enough to insert the cutting. Gently place the cutting into the hole and firm the soil around it to ensure good contact.
- Water Gently: Water the potting mix thoroughly but gently. You don’t want to dislodge the cutting.
- Create a Humid Environment: This is crucial! Pop a plastic bag loosely over the pot, or place the pots under a propagation dome. This traps moisture and creates the humid environment that cuttings crave. Make sure the leaves don’t touch the plastic bag.
My Gardener’s “Secret Sauce”
After years of playing with plants, I’ve learned a few tricks that make a real difference.
- The Bottom Heat Trick: If you have access to a heating mat designed for propagation, use it! Placing your pots on a gentle heat source dramatically speeds up root formation. It mimics the warmth of the soil in spring and gives those little roots a wonderful nudge.
- Don’t Overwater from Above: Once your cuttings are planted and misted, try to avoid drenching the soil from above too often. A gentle misting on the leaves occasionally, and checking the soil moisture, is usually enough. Excess moisture can lead to rot, and that’s our enemy!
- Be Patient with the Nodules: Sometimes, you’ll see small, whitish bumps (calluses or early root nodules) forming on the stem where the leaves were removed. Don’t be tempted to poke at them! They are a sign that your cutting is working hard to develop roots.
What Happens Next & When Things Go Wrong
After about 4-8 weeks, you should start to see signs of new growth at the top of your cutting, which is a good indicator that roots are forming. You can also give a very gentle tug on the cutting; if there’s resistance, you’ve got roots!
Once roots have developed and you see new leaves emerging, it’s time to acclimate your new plant. Gradually remove the plastic bag or dome over a week or two, giving it more exposure to the drier air. Continue to keep the soil consistently moist but not soggy.
Now, for the not-so-fun part: troubleshooting. The most common issue is rot. If your cutting turns mushy, dark, or if mold appears on the soil, it’s usually a sign of too much moisture and poor air circulation. If you catch it early, you might be able to salvage it by removing the affected parts and repotting in fresh, drier soil, but often, it’s a goner. Don’t get discouraged – it happens to all of us!
Keep Growing and Enjoy!
Propagating Pavetta suffruticosa is a rewarding journey. It takes a little care and a lot of patience. Don’t be afraid to try again if your first attempt isn’t perfect. Every gardener has had cuttings that didn’t make it! Just keep learning, keep trying, and most importantly, enjoy the process of bringing new life into your garden. Happy growing!
Resource:
https://identify.plantnet.org/k-world-flora/species/Pavetta%20suffruticosa%20K.Schum./data