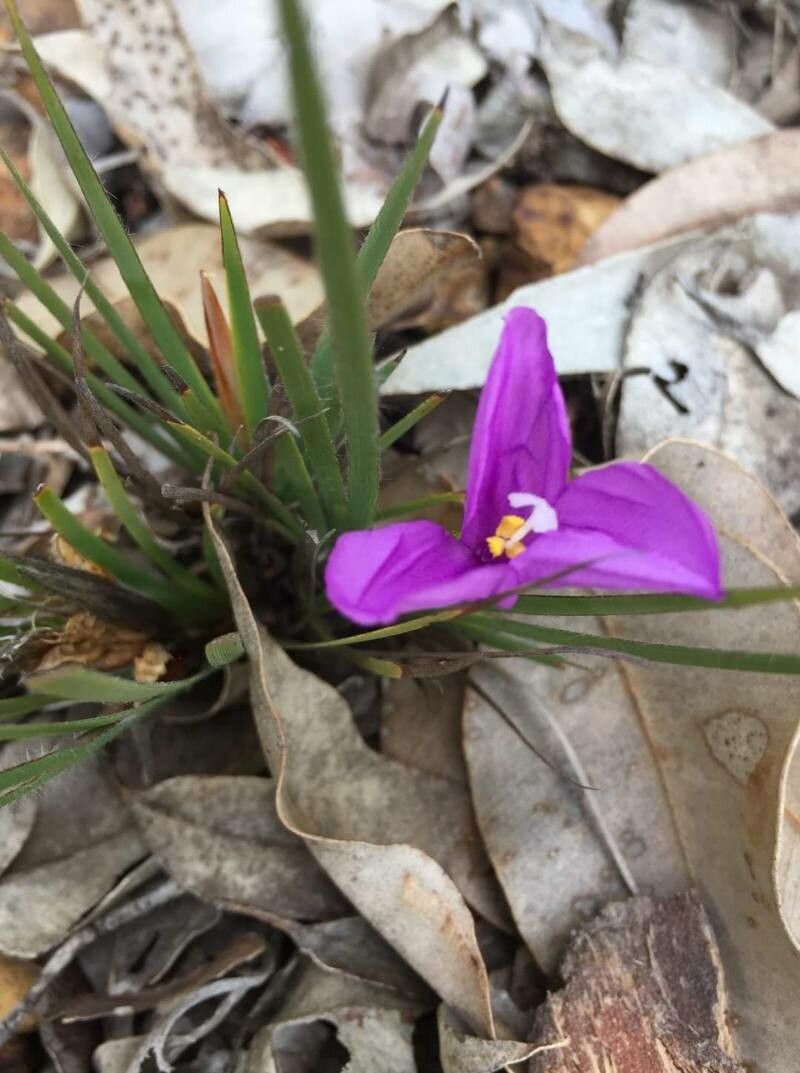
Hello, fellow plant lovers! Today, we’re talking about a gem that always brings a smile to my face: Patersonia pygmaea, often called the Dwarf Iris or Pygmy Iris. With its delicate, vibrant purple flowers that pop up seemingly out of nowhere, this little beauty is a true delight in any garden. And guess what? Propagating it is surprisingly rewarding, and while it might have a slight learning curve, it’s absolutely achievable for most gardeners. Let’s get those green thumbs busy!
The Best Time to Start
For Patersonia pygmaea, I find the best time to begin propagating is in late spring or early summer. This is when the plant is actively growing and has plenty of energy to put into new development. You’ll want to work with healthy, established plants that have finished their main flowering cycle.
Supplies You’ll Need
Here’s what I like to have on hand before I start:
- Sharp pruning shears or a clean knife: For making neat cuts.
- A well-draining potting mix: I usually go for a blend of equal parts perlite, coarse sand, and peat moss. This drains like a dream!
- Small pots or trays: Clean, of course!
- Rooting hormone (optional but helpful): A powdered form works well.
- Watering can with a fine rose: For gentle watering.
- Labels: To remember what you’ve planted and when!
Propagation Methods
The most straightforward way to multiply your Patersonia pygmaea is through division. These plants form clumps, and splitting them is like giving them a new lease on life.
- Gently excavate: Carefully dig up the entire plant from its pot or garden bed. Try not to damage the roots too much.
- Clean the roots: Gently brush away excess soil from the root ball. You want to see where the individual growth points are.
- Separate the clumps: Look for natural divisions in the clump. You should be able to see where new shoots are emerging from older sections of the plant. Using your hands or a firm but gentle pull, separate these sections. Each division should have some healthy roots attached. If a clump is particularly tough, a clean knife can help you slice through the root ball.
- Pot them up: Plant each division into its own pot filled with your well-draining potting mix. Ensure the top of the root ball is just below the soil surface.
- Water them in: Give them a good initial watering to settle the soil.
While division is my go-to, some folks have had success with stem cuttings, though it’s a little trickier. If you want to try this:
- Take cuttings: During the active growing season, take cuttings from healthy stems that are about 3-4 inches long. Make the cut just below a leaf node.
- Prepare the cutting: Remove the lower leaves, leaving just a couple at the top.
- Apply rooting hormone (optional): Dip the cut end into rooting hormone.
- Plant the cutting: Insert the cut end into a pot filled with your well-draining mix, ensuring the node where the leaves were removed is buried.
- Keep moist: Cover the pot loosely with a plastic bag to create a humid environment and keep the soil consistently moist, but not soggy.
The “Secret Sauce” (Pro Tips)
Here are a couple of things I’ve learned over the years that really make a difference:
- Firstly, when dividing, don’t be afraid to gently tease apart the roots. Sometimes a bit of patience here will reveal more viable sections to split. Just be mindful of the fine root hairs – they’re precious!
- Secondly, for any propagation, especially cuttings, avoid direct sunlight initially. Bright, indirect light is perfect. Too much sun will scorch those tender new leaves before they’ve had a chance to establish.
Aftercare & Troubleshooting
Once your divisions or cuttings are in their new homes, the key is consistent moisture. Keep the soil lightly moist, but never waterlogged. They’ll tell you they’re happy with new leaf growth.
The biggest thing to watch out for is rot. If you see stems turning mushy or leaves wilting drastically and turning black, it’s a sign of too much moisture or poor drainage. If you catch it early, you might be able to save the plant by removing the rotted parts and replanting in fresh, dry soil. For divisions, a little bit of wilting is normal as they establish, but avoid that mushy feel. Patience is your best friend here.
A Encouraging Closing
Propagating Patersonia pygmaea is such a satisfying way to expand your collection or share these lovely plants with friends. Don’t get discouraged if your first try isn’t perfect. Gardening is all about learning and observing. Keep at it, enjoy the process, and soon you’ll have a whole patch of these charming little irises gracing your space! Happy growing!
Resource:
https://identify.plantnet.org/k-world-flora/species/Patersonia%20pygmaea%20Lindl./data