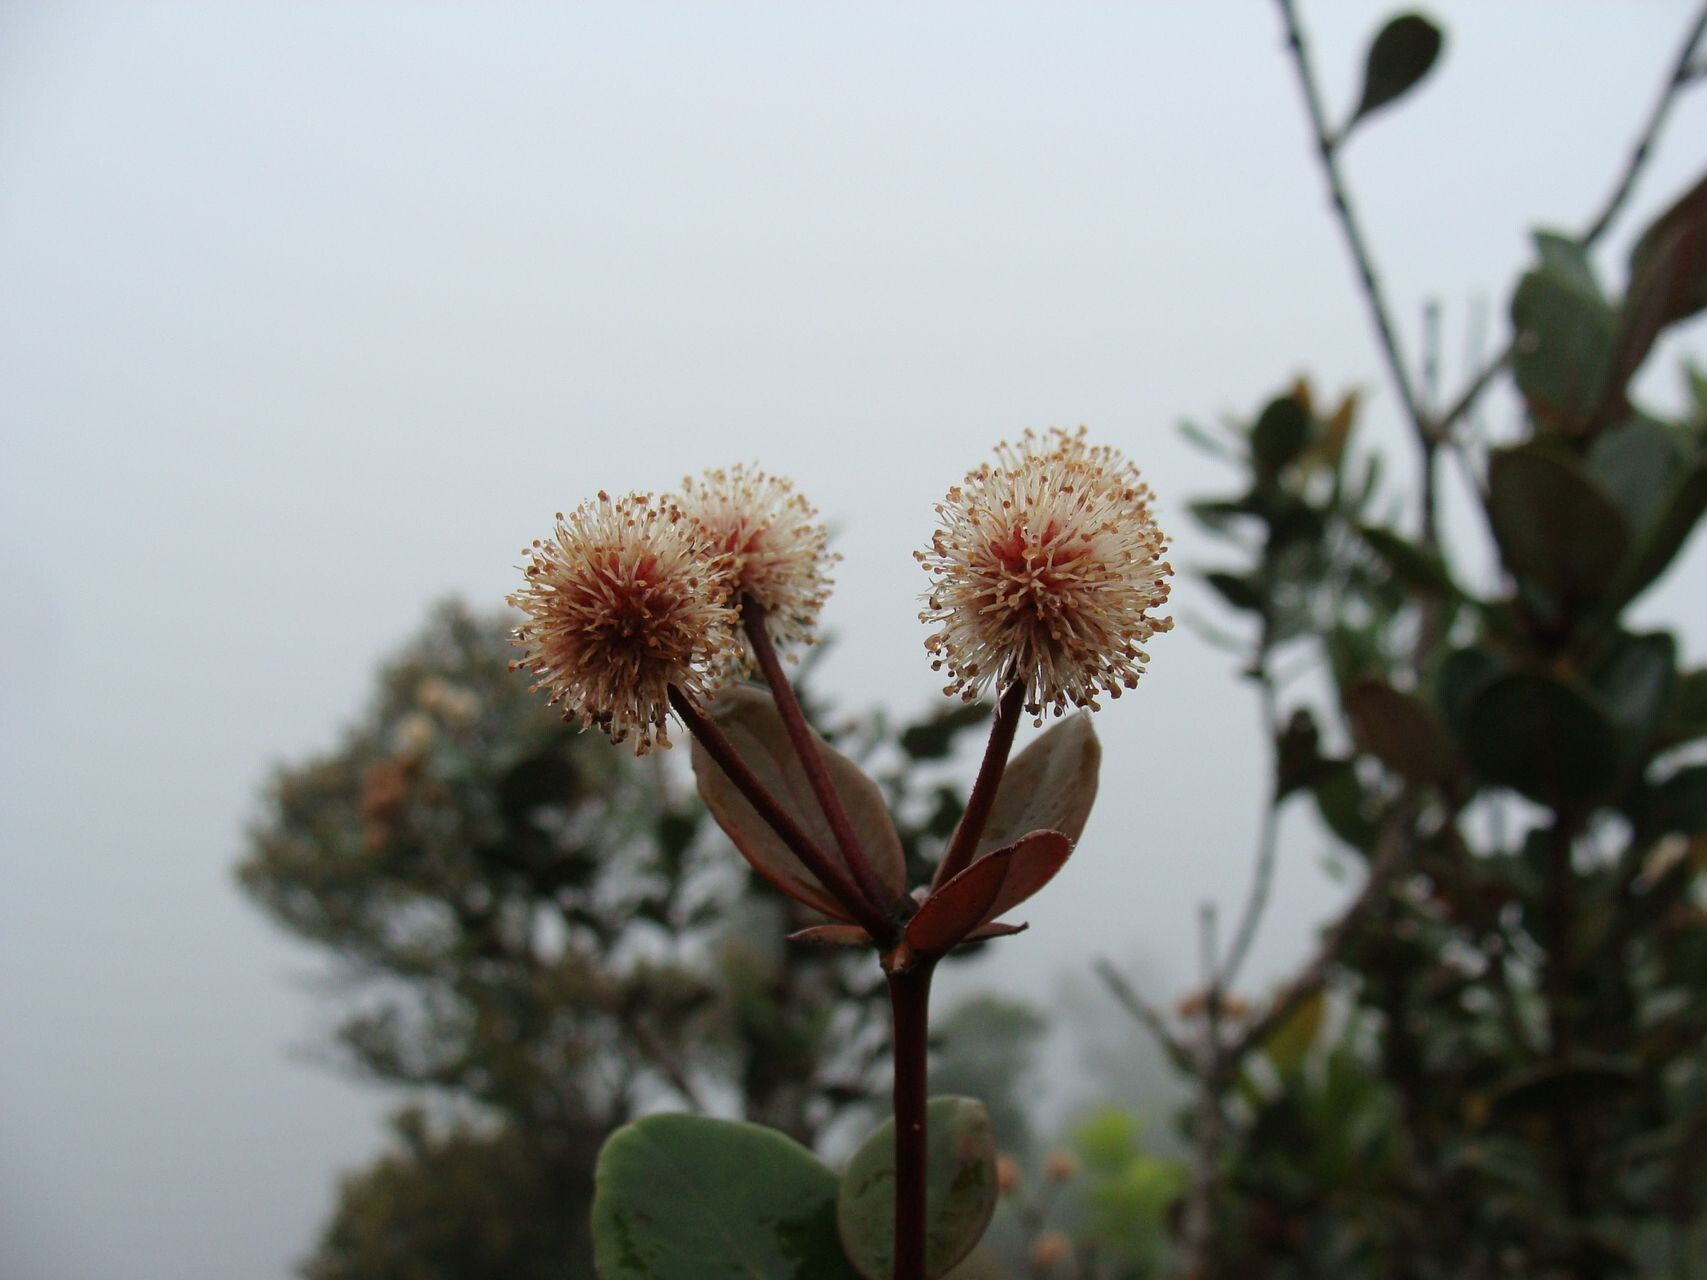
Oh, hello there! Come on in, grab a mug. I’m so glad you’re curious about Pancheria ouaiemensis. This striking beauty, with its lush, architectural foliage, is a real showstopper. And let me tell you, nurturing a new plant from a tiny clipping or division? There’s a special kind of magic in that. I’ve found Pancheria ouaiemensis to be moderately easy to propagate, which is fantastic news for all of us! You won’t be tearing your hair out, I promise.
The Best Time to Start
For the highest success rate with Pancheria ouaiemensis, aim for spring or early summer. This is when the plant is actively growing. New shoots are more vigorous and responsive to rooting. Trying to propagate when the plant is dormant, like in the dead of winter, is usually a recipe for disappointment. You want that natural energy of regrowth on your side!
Supplies You’ll Need
Gathering your tools beforehand makes the whole process so much smoother. Here’s what I always have on hand:
- Sharp pruning shears or a clean razor blade: For making clean cuts.
- Rooting hormone (optional but recommended): Especially good for encouraging quicker root development.
- Well-draining potting mix: A good blend of perlite, peat moss, and compost works wonders. I often use a pre-made succulent or cactus mix.
- Small pots or rooting trays: Clean pots are key to preventing disease.
- Plastic bags or a propagation dome: To create a humid environment.
- Spray bottle: For misting.
- Labels: To keep track of what you’ve planted!
Propagation Methods
Let’s get our hands dirty! I’ve had the most success with stem cuttings for Pancheria ouaiemensis.
Stem Cuttings:
- Select a healthy stem: Look for a young, non-flowering stem that’s about 4-6 inches long. You want a stem that’s firm but not woody.
- Make the cut: Using your sharp shears or razor, make a clean cut just below a leaf node (where a leaf attaches to the stem). This is where roots are most likely to form.
- Prepare the cutting: Gently remove the lower leaves from the bottom half of the stem. This prevents them from rotting when buried in the soil.
- Apply rooting hormone (if using): Dip the cut end into the rooting hormone powder, tapping off any excess.
- Plant the cutting: Insert the cut end into your prepared potting mix, making sure at least one leaf node is buried. Gently firm the soil around the stem.
- Water lightly: Give the soil a gentle watering, just enough to moisten it.
Water Propagation (Alternative):
While I prefer soil for Pancheria ouaiemensis, you can try water propagation.
- Prepare the cutting: Follow steps 1-3 above.
- Place in water: Submerge the cut end of the stem in a small jar or glass of clean water. Make sure no leaves are touching the water.
- Change water regularly: Change the water every few days to keep it fresh and prevent bacterial growth.
- Wait for roots: It can take a few weeks to see small roots emerge. Once the roots are about an inch long, you can carefully transplant them into soil.
The “Secret Sauce” (Pro Tips)
Here are a few things I’ve learned that really boost the success rate:
- Bottom Heat is Your Friend: If you can, place your potted cuttings on a heat mat designed for plants. This gentle warmth encourages root development from below, speeding things up significantly.
- Patience with Humidity: Don’t overwater! Once your cuttings are in their pots, cover them with a plastic bag or place them under a propagation dome. This traps humidity. I like to open the bag for a few minutes each day to allow for air circulation and prevent mold.
- Watch for the Wobble Test: Don’t be tempted to tug on your cuttings too soon! Wait until you feel a gentle resistance when you lightly pull. That’s your sign that roots have formed.
Aftercare & Troubleshooting
Once you see roots – hooray! Now, the aftercare is crucial. Keep the soil consistently moist but not soggy. Continue misting and maintaining that humid environment for a few weeks until the new plant is well-established. You’ll know it’s ready to go when it starts actively putting out new growth.
The most common sign of trouble is rot. If your cutting turns mushy or black, it’s likely rotted. This usually happens from too much moisture and poor air circulation. Don’t despair! Just toss the rotted cutting and try again, making sure to adjust your watering and ventilation. Yellowing leaves on an unrooted cutting can also mean it’s struggling – often a sign of too much or too little water, or not enough light.
A Little Encouragement
There you have it! Propagating Pancheria ouaiemensis is a truly rewarding journey. Be patient with your little ones, give them the care they need, and remember that every gardener has had cuttings that didn’t make it. Just keep trying, learn from each attempt, and enjoy the simple pleasure of creating new life from your own beloved plants. Happy growing!
Resource:
https://identify.plantnet.org/k-world-flora/species/Pancheria%20ouaiemensis%20J.Bradford/data