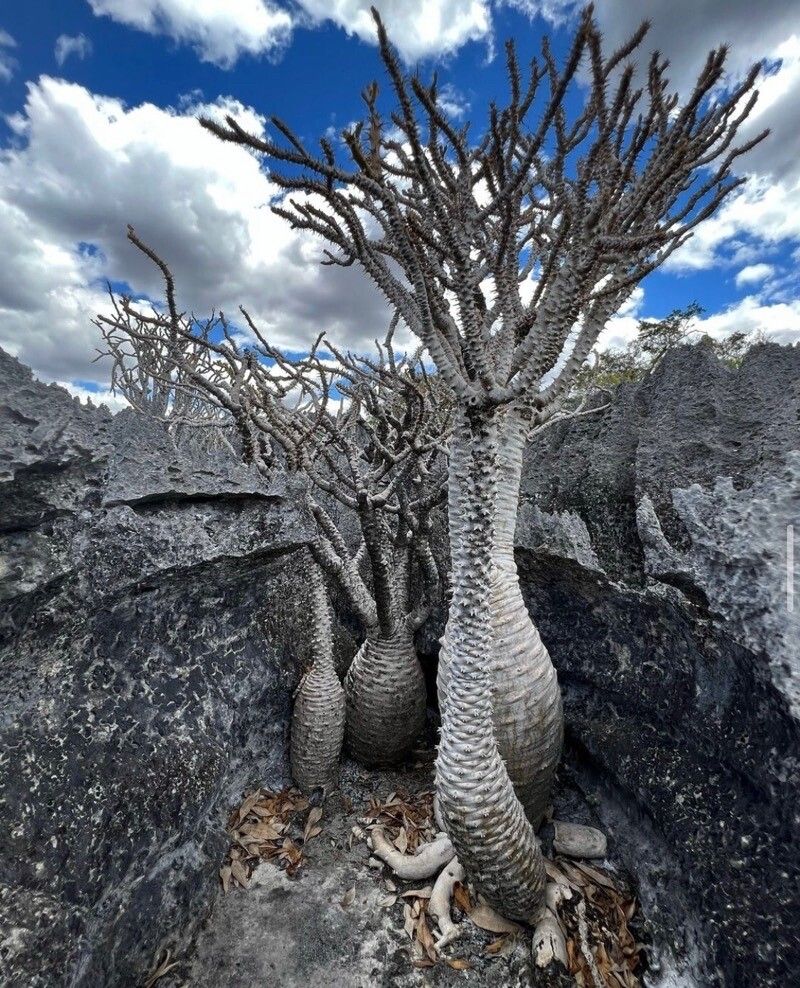
Hello fellow plant enthusiasts! I’m so excited to chat with you today about a real showstopper: Pachypodium ambongense. If you love plants with a bit of wild charm and a sculptural form, you’ll adore this one. Its thick, fuzzy trunk and elegant flower stalks are truly something special. Propagating these beauties is incredibly rewarding – it’s like creating new life from a treasured specimen. Now, I’ll be upfront: Pachypodium ambongense isn’t exactly a beginner-friendly plant for propagation. It requires a bit of attention to detail, but don’t let that deter you! With a little patience and these tips, you’ll be well on your way to success.
The Best Time to Start
For the highest chance of success, start your propagation efforts in the spring or early summer. This is when your Pachypodium is actively growing and has plenty of energy to put into developing roots and new shoots. Think of it as giving your cuttings the best possible start with ample sunlight and warmth.
Supplies You’ll Need
To give your new Pachypodium babies the best shot, gather these items:
- Well-draining potting mix: A mix for cacti and succulents, or a blend of perlite, coarse sand, and good quality potting soil is ideal. We want it to dry out quickly!
- Sharp, sterilized pruning shears or a clean knife: For taking clean cuts that heal well.
- Rooting hormone (optional but recommended): This can give your cuttings a significant boost.
- Clean pots or seed trays: Small ones are perfect for cuttings.
- Perlite or gravel: For drainage at the bottom of pots, if you choose.
- Watering can or spray bottle: For gentle watering.
- Gloves: Some Pachypodium can have irritating sap.
- Dibber or pencil: To make a hole for your cutting if needed.
Propagation Methods
Let’s get our hands dirty with the most effective ways to create new Pachypodium ambongense.
Stem Cuttings
This is my go-to method for Pachypodium.
- Select a healthy branch: Look for a firm, woody stem that’s at least 4-6 inches long. Avoid overly soft or new growth.
- Make the cut: Using your sterilized shears, make a clean, angled cut just below a leaf node. This is where roots are most likely to form.
- Allow to callus: This is crucial! You want the cut end to dry and form a protective scab. So, let your cutting sit in a cool, dry, shaded spot for several days to a week, until the wound is completely callused over. This prevents rot.
- Apply rooting hormone (optional): Dip the callused end into your rooting hormone powder just before planting.
- Plant your cutting: Prepare your small pot with well-draining mix. Gently insert the callused end deeply enough into the soil so it stands upright, about an inch or two down. You can use a dibber or pencil to make a pilot hole.
- Water lightly: Give it a very light watering to settle the soil. We don’t want soggy conditions.
- Placement: Keep the pot in a warm, bright location with indirect light. Avoid direct sun at this stage.
Water Propagation (with caution!)
While I generally prefer soil propagation for Pachypodium, you can try water for smaller stem sections, but it requires vigilance.
- Take your cutting: Follow steps 1-3 above for taking and callusing your cutting.
- Prepare your vessel: Use a clean glass jar or bottle.
- The “don’t let the leaves touch the water” rule: Fill the jar with clean water. Ensure that only the bottom of the stem is submerged. Any leaves in the water will rot and kill your cutting. You might need to prune lower leaves to achieve this.
- Placement: Place the jar in a bright spot away from direct sun.
- Change water regularly: Change the water every few days to keep it fresh and prevent bacterial growth.
- Watch for roots: Roots should appear in a few weeks. Once they are an inch or two long, carefully transplant the cutting into your well-draining potting mix.
The “Secret Sauce” (Pro Tips)
Here are a couple of tricks I’ve learned over the years that make a big difference:
- Bottom heat is your friend: If you can, place your pots on a seedling heat mat set to a low temperature (around 70-75°F or 21-24°C). This gentle warmth encourages root development from below, giving your cuttings a serious advantage.
- Don’t overwater – ever! Pachypodium are desert dwellers and despise soggy feet. Water sparingly, only when the soil is almost completely dry. It’s far better to underwater than to overwater your precious cuttings.
Aftercare & Troubleshooting
Once you start seeing signs of new growth – little leaves unfurling or a slight greening at the stem – you’re on the right track!
- Gradual acclimation: Slowly introduce your new plant to more direct sunlight as it grows stronger.
- Watering: Continue to water sparingly, allowing the soil to dry out between waterings.
- Troubleshooting: The biggest nemesis is rot. If your cutting looks mushy, dark, or smells foul, it’s likely rotted. Unfortunately, there’s usually no coming back from this. Prevention is key: ensure excellent drainage and avoid overwatering. Another sign of trouble is if the cutting shrivels up before any root growth. This might mean it was too dry, or it simply didn’t have enough stored energy to start.
A Bit of Patience Goes a Long Way
Growing new plants is a journey, and Pachypodium ambongense definitely teaches us patience. Don’t get discouraged if your first attempt isn’t a roaring success. Learn from each try, observe your plant, and enjoy the process of nurturing new life. Happy propagating!
Resource:
https://identify.plantnet.org/k-world-flora/species/Pachypodium%20ambongense%20Poiss./data