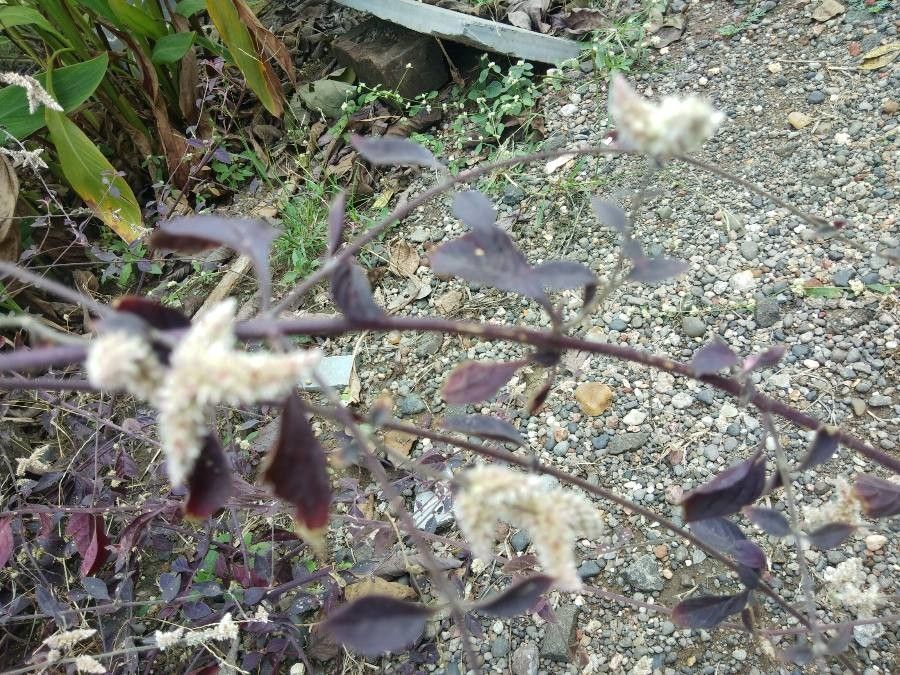
Hey there, fellow plant lovers! I’m so excited to chat with you today about a truly special plant: Ouret sanguinolenta. If you’ve ever fallen for its deep, velvety leaves and delicate bloom, you know exactly why I’m smitten. And the best part? You can invite more of this beauty into your life through propagation!
Why Propagate Ouret Sanguinolenta?
There’s a unique joy in creating new life from a plant you already cherish. It’s like sharing a secret with nature, and Ouret sanguinolenta is particularly rewarding because it’s not an overly fussy plant to propagate. While some plants can be downright frustrating, this one tends to be quite cooperative, making it a great project for those just dipping their toes into the world of plant multiplication. Plus, imagine gifting little Ouret sanguinolenta babies to your friends – how thoughtful is that?
The Best Time to Start
For the highest success rate with Ouret sanguinolenta, I always recommend starting your propagation efforts in late spring or early summer. This is when the plant is actively growing and has the most energy to put into developing new roots. You want to catch it in its vigorous growth phase, not when it’s slowing down for dormancy.
Supplies You’ll Need
Gathering your tools beforehand makes the whole process smoother. Here’s what I usually have on hand:
- Sharp Pruning Shears or a Clean Knife: For clean cuts that heal better.
- Potting Mix: A good quality, well-draining potting mix is essential. I often use a blend of peat moss, perlite, and a bit of compost. For Ouret, a slightly peat-heavy mix works wonders.
- Small Pots or Seed Starting Trays: Clean pots are a must to prevent disease.
- Rooting Hormone (Optional but Recommended): A little boost can make a big difference, especially for trickier bits. Look for one with IBA.
- Watering Can or Spray Bottle: For gentle watering.
- Plastic Bags or a Propagator: To maintain humidity.
- Labels and a Marker: To keep track of what you’ve propagated and when.
Propagation Methods for Ouret Sanguinolenta
Ouret sanguinolenta is fairly versatile, but here are my go-to methods:
Stem Cuttings
This is my absolute favorite way to propagate Ouret.
- Select a Healthy Stem: Look for a firm, non-flowering stem that’s at least 4-6 inches long. It should have several sets of leaves.
- Make the Cut: Using your sharp shears or knife, make a clean cut just below a leaf node. This is where the magic happens – new roots will emerge from this point.
- Prepare the Cutting: Gently remove the lower leaves, leaving just the top 2-3 sets. This prevents them from rotting in the soil and encourages the plant to focus energy on root development.
- Dip in Rooting Hormone (Optional): If you’re using rooting hormone, lightly dip the cut end into the powder or gel. Tap off any excess.
- Plant Your Cutting: Fill your small pot with your prepared potting mix. Make a small hole with your finger or a pencil and gently insert the cutting, ensuring the node is buried in the soil.
- Water Gently: Water thoroughly until the soil is evenly moist.
- Create a Humid Environment: Place the pot inside a clear plastic bag, or cover it with a propagator lid. This traps humidity, which is crucial for cuttings to root successfully. Make sure the leaves aren’t touching the plastic if possible.
- Find the Right Spot: Place the pot in bright, indirect light. Avoid direct sun, which can scorch the delicate cutting.
Water Propagation
If you’re a visual person and love watching roots grow, this is for you!
- Take Your Cuttings: Follow steps 1-3 from the stem cutting method.
- Place in Water: Put the prepared cuttings in a clean jar or glass of room-temperature water.
- The Water Level: Make sure the leaf nodes are submerged, but not the leaves themselves. This is super important to prevent rot.
- Change the Water Regularly: Change the water every 2-3 days to keep it fresh and prevent bacterial growth.
- Find its Home: Place the jar in bright, indirect light.
- Watch and Wait: You should start to see roots appearing within a few weeks. Once the roots are about an inch long, it’s time to transplant them into soil. Follow steps 5-8 from the stem cutting method for planting.
The “Secret Sauce” (Pro Tips)
Here are a couple of things I’ve learned over the years that really help Ouret sanguinolenta cuttings thrive:
- Bottom Heat is Your Friend: If you live in a cooler climate or find your cuttings are taking a while, consider placing your pots on a gentle seedling heat mat. This subtle warmth encourages root development from below, mimicking ideal summer soil temperatures.
- Don’t Over-Water, Ever! This is probably the most common mistake. Soggy soil is a death sentence for cuttings. Feel the soil before you water; it should feel slightly moist to the touch, not waterlogged. Err on the side of too dry rather than too wet.
Aftercare & Troubleshooting
Once your cuttings have developed a good root system (you’ll see new leaf growth, or feel some gentle resistance when you pull on the cutting), it’s time for a little TLC.
- Transition Slowly: If you propagated in water, gently transplant your rooted cuttings into pots filled with your well-draining potting mix. If you propagated in soil, gradually acclimate them to less humidity by opening the plastic bag or propagator a little more each day before removing it completely.
- Watering: Continue to water as you did during propagation, keeping the soil consistently moist but not soggy.
- Light: Keep them in bright, indirect light. As they grow stronger, you can gradually introduce them to more light if your Ouret sanguinolenta enjoys it.
Signs of Trouble:
- Wilting and Yellowing Leaves: This can be a sign of underwatering or a cutting that just isn’t taking. Check your watering schedule. If the cutting is still firm but wilting, it might just need more humidity.
- Mushy Stems or Black Ends: This is almost always a sign of root rot, usually caused by too much moisture and poor drainage. Unfortunately, if this happens, the cutting is likely lost. Discard it and sterilize your pot before trying again.
A Little Patience Goes a Long Way
Propagating plants is a wonderful exercise in patience. Sometimes a cutting takes off quickly, and other times it takes its sweet time. Don’t get discouraged if your first attempt isn’t a runaway success. Learn from each one, adjust your approach, and most importantly, enjoy the process of nurturing these tiny new plants. Happy propagating!
Resource:
https://identify.plantnet.org/k-world-flora/species/Ouret%20sanguinolenta%20(L.)%20Kuntze/data