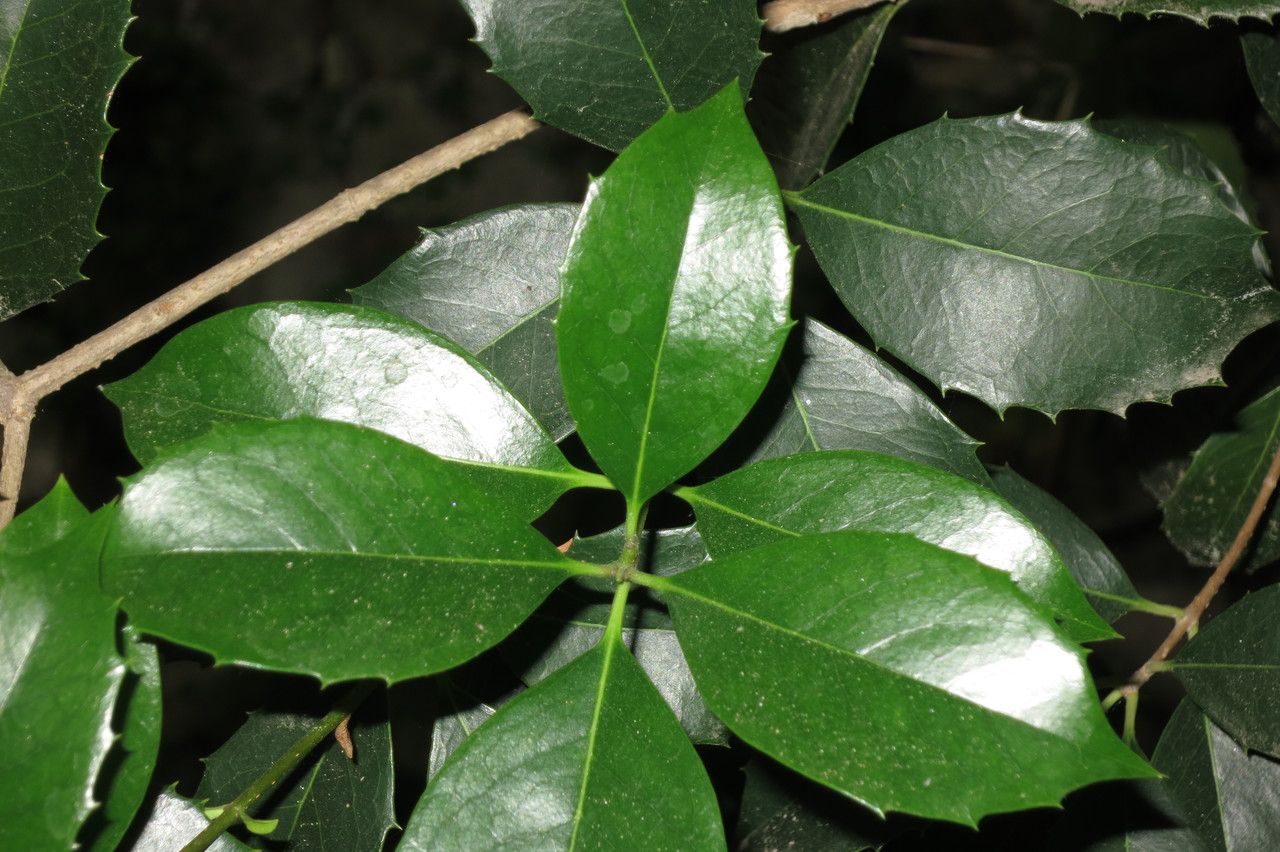
Oh, Osmanthus yunnanensis! What a gem to have in the garden. If you haven’t encountered this beauty yet, imagine glossy, dark green leaves that smell absolutely divine. The tiny, white, fragrant flowers that appear in late winter or early spring are a welcome burst of perfume when the rest of the garden is still snoozing. It’s one of those plants that makes you feel a little bit special, and propagating it yourself? Well, that’s just pure garden joy.
Many people shy away from propagating woody shrubs, thinking it’s tricky business. But I’m here to tell you that Osmanthus yunnanensis is actually quite rewarding to work with, even for beginners. With a little patience and the right approach, you’ll be gifting cuttings to friends in no time!
The Best Time to Start
The sweet spot for taking cuttings of Osmanthus yunnanensis is late spring to early summer. This is when the plant is actively growing, and you can select semi-hardwood stems. These are stems that have started to toughen up a bit but haven’t gone completely woody. You can usually tell by bending a stem; if it snaps cleanly, it’s likely ready. Trying too early might mean stems that are too soft and prone to rot, while waiting too late can make them too hard to root.
Supplies You’ll Need
Gathering your tools beforehand makes the whole process smooth sailing. Here’s what you’ll want:
- Sharp Pruning Shears or a Knife: Clean cuts are essential for healthy rooting and to prevent disease.
- Rooting Hormone: A good quality rooting hormone powder or gel significantly increases your success rate.
- Potting Mix: A well-draining mix is crucial. I like a blend of equal parts peat moss or coir, perlite, and a bit of coarse sand. You can also buy specialized seed-starting or cutting mixes.
- Small Pots or Trays: Clean pots (4-6 inch diameter) or propagation trays with drainage holes are perfect.
- Plastic Bags or a Propagation Dome: To create a humid environment for your cuttings.
- Labels and a Marker: To keep track of what you’ve planted and when.
- Watering Can with a Fine Rose: For gentle watering.
Propagation Methods
For Osmanthus yunnanensis, stem cuttings are generally the most successful and practical method.
Taking Stem Cuttings:
- Select Your Stems: Head out to your Osmanthus yunnanensis on a pleasant late spring/early summer day. Look for healthy, non-flowering shoots that are about pencil-thick and have grown this season.
- Make the Cut: Using your clean pruning shears or knife, take cuttings that are 4-6 inches long. Make the cut just below a leaf node (where a leaf attaches to the stem). This is where a lot of rooting hormones are concentrated.
- Prepare the Cuttings: Gently strip off the lower leaves from the bottom 2-3 inches of the cutting. If any large leaves remain on the upper part, you can cut them in half horizontally. This reduces water loss through transpiration while still allowing the cutting to photosynthesize.
- Apply Rooting Hormone: Dip the cut end of each prepared cutting into the rooting hormone powder or gel, ensuring it’s coated evenly. Tap off any excess.
- Plant Your Cuttings: Fill your clean pots or trays with your moistened potting mix. Make a hole with a pencil or your finger, and insert the cutting, firming the soil gently around it. Make sure at least one leaf node is buried beneath the surface.
- Water Gently: Water the soil thoroughly but gently, allowing excess water to drain away.
- Create Humidity: Cover the pots or trays with a clear plastic bag secured with a rubber band, or place them under a propagation dome. Ensure the leaves don’t touch the plastic if possible. Prop them up with stakes if needed.
The “Secret Sauce” (Pro Tips)
Here are a couple of things I’ve learned over the years that can really make a difference:
- Bottom Heat is Your Friend: If you have it, placing your pots on a heated propagator mat can speed up root development considerably. It mimics the warmth of summer soil. Don’t get it too hot, though – around 70-75°F (21-24°C) is ideal.
- When in Doubt, Take More: Not every cutting will make it, and that’s perfectly normal. It’s always better to take more cuttings than you think you’ll need. This increases your chances of getting a few successful rosettes.
Aftercare & Troubleshooting
Once your cuttings are planted and covered, place them in a bright, indirect light location. Avoid direct sun, which can scorch the delicate cuttings and overheat the plastic. Keep the soil consistently moist but not soggy. You can check this by gently poking a finger into the soil.
Over the next 4-8 weeks (sometimes longer), keep an eye out for signs of life. You’ll know your cuttings have rooted when you see new leaf emergence or feel a slight resistance when you gently tug on the cutting.
Troubleshooting:
- Rotting: The most common issue is rot, which usually indicates too much moisture and poor drainage, or not enough airflow. If you see blackened, mushy stems, unfortunately, that cutting is likely lost. Remove it immediately to prevent it from affecting others. Ensure your soil drains well and consider briefly lifting the plastic bag for a few hours a day if you suspect it’s too humid.
- Wilting: Consistent wilting could mean the cutting isn’t getting enough moisture, or the roots haven’t formed yet to support the leaves. Make sure the soil is adequately moist, and the humidity is maintained.
Once you see good root development, you can gradually acclimate your new plants to normal room humidity by opening the plastic bag for longer periods over a week or two. Then, you can transplant them into their own small pots. Treat them like young shrubs – bright light, consistent watering, and they’ll be ready to plant out in the garden when they’re a bit bigger and the weather is right.
A Encouraging Closing
Propagating your own Osmanthus yunnanensis is a deeply satisfying journey. It’s a chance to observe closely, to nurture, and to witness the miracle of new life unfolding. Don’t be discouraged if your first attempt isn’t a spectacular success. Every gardener learns through experience, and the joy of watching a tiny cutting transform into a thriving plant is absolutely worth the effort. Happy propagating!
Resource: