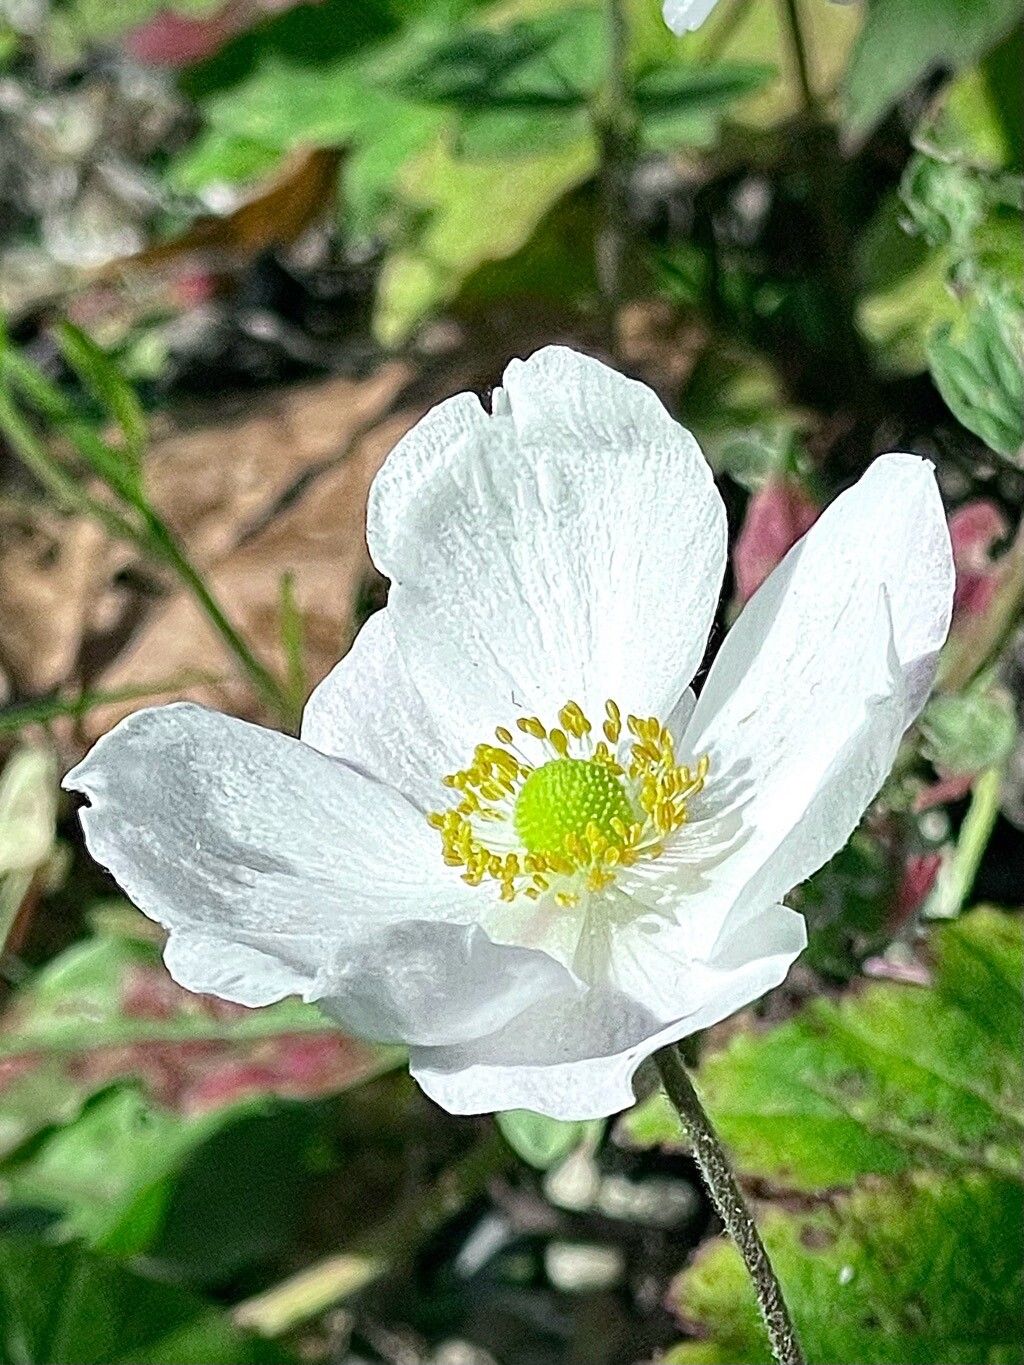
Hey there, fellow plant lovers! Today, I want to chat about a plant that truly brightens up any shady corner of the garden – the Eriocapitella japonica, or as many of us know and love them, Japanese Anemones. They bring this gorgeous, delicate charm with their single or semi-double blooms, usually in shades of pink and white, appearing in late summer and fall when so many other things are starting to fade.
If you’ve got a patch of these beauties, you’re likely wondering how to get more for other spots in your garden, or perhaps to share with friends. And the good news? Propagating them is absolutely doable, and I’d say they’re moderately easy to propagate, even for those of you who are just starting your plant-parenting journey. It’s such a rewarding feeling to coax new life from an existing plant!
The Best Time to Start
For the highest success rate with Eriocapitella japonica, I’ve found the sweet spot is in early spring, just as the new growth is actively pushing up from the ground. This is when the plant has good energy reserves and is eager to get going. You can also have success with cuttings taken in early summer, before the heat of the season really sets in. The key is to work with actively growing, healthy material.
Supplies You’ll Need
Here’s what I always have on hand when I’m ready to get propagating:
- Sharp, clean pruning shears or a sharp knife: Essential for clean cuts to prevent disease.
- Potting mix: A good quality, well-draining potting mix is crucial. I often use a blend of equal parts peat moss, perlite, and compost for excellent aeration and moisture retention.
- Small pots or trays: Clean containers with drainage holes are a must!
- Rooting hormone (optional but recommended): A gentle powder or gel can significantly boost root formation.
- Watering can or spray bottle: For gentle hydration.
- A clear plastic bag or dome: To create a humid environment for cuttings.
Propagation Methods
I typically find two methods work best for Eriocapitella japonica:
1. Stem Cuttings
This is my go-to method for getting nice, well-formed plants.
- Step 1: Take the Cuttings: In early spring or early summer, select healthy, non-flowering stems. Using your clean shears, cut a stem about 4-6 inches long. Make the cut just below a leaf node (where a leaf meets the stem).
- Step 2: Prepare the Cuttings: Gently remove the lower leaves from the cutting, leaving only the top couple of leaves. If the remaining leaves are very large, you can cut them in half to reduce water loss.
- Step 3: Apply Rooting Hormone: Dip the cut end of the stem into rooting hormone, tapping off any excess.
- Step 4: Pot Them Up: Fill your small pots with your prepared potting mix. Make a hole in the center with your finger or a pencil. Insert the cutting into the hole, making sure the nodes where you removed the leaves are buried. Gently firm the soil around the stem.
- Step 5: Water and Cover: Water the pot gently until the soil is moist but not soggy. Then, place a clear plastic bag over the pot, or cover it with a clear dome to create a mini-greenhouse.
2. Division
This is a fantastic method if you’re looking to divide an established clump.
- Step 1: Dig Up the Plant: In early spring, carefully dig up the entire clump of your Eriocapitella japonica. Try to disturb the roots as little as possible.
- Step 2: Separate the Roots: Gently shake off excess soil. You should be able to see natural divisions where new growth is emerging from thicker roots. Use your hands or a clean, sharp trowel to gently pull or cut the clump apart into sections, ensuring each section has some healthy roots and at least one or two growing points.
- Step 3: Replant: Immediately replant the divisions into their new locations in the garden or into pots filled with good soil. Water them well.
The “Secret Sauce” (Pro Tips)
Here are a couple of little tricks that have always helped me:
- Don’t let the leaves touch the water (if water propagating): While stem cuttings are best in soil, if you try a few in water just to see, always make sure the leaves aren’t submerged. They’ll rot quickly that way.
- Bottom heat makes a difference: If you can, place your pots of cuttings on a heat mat set to a low temperature (around 70-75°F). This encourages root development from below, which is incredibly beneficial. It’s like giving them a little cozy foot warmer!
- Be patient with your divisions: Sometimes, newly divided plants can look a bit shocked and droopy for a week or two. That’s totally normal. Keep them consistently watered and out of direct, harsh sun. They’ll perk up!
Aftercare & Troubleshooting
Once your cuttings have developed roots (you can gently tug on them – if there’s resistance, you’ve got roots!), or your divisions are settled, the aftercare is similar.
- Watering: Keep the soil consistently moist, but never waterlogged. As the new plants establish and grow larger, you can gradually reduce the frequency of watering, letting the top inch of soil dry out between waterings, just like you would for a mature plant.
- Light: Place your newly potted cuttings in a spot with bright, indirect light. Once they’re well-rooted and showing good growth, you can gradually introduce them to more sun, remembering that Eriocapitella japonica generally prefers partial shade.
- Troubleshooting: The most common issue is rot. This usually happens due to overwatering or poor drainage. If you see stems turning mushy and black, it’s time to admit defeat for that cutting and reassess your watering and soil. Fungus gnats can also be a nuisance; try letting the soil surface dry out a bit more between waterings.
A Little Encouragement
Propagating plants is a real journey, and sometimes things don’t work out perfectly the first time. Don’t get discouraged! Enjoy the process, learn from each attempt, and celebrate every tiny new leaf that unfurls. Soon you’ll have a whole garden full of these lovely Japanese Anemones, and the satisfaction of growing them yourself is truly unmatched. Happy gardening!
Resource:
https://identify.plantnet.org/k-world-flora/species/Eriocapitella%20japonica%20(Thunb.)%20Nakai/data