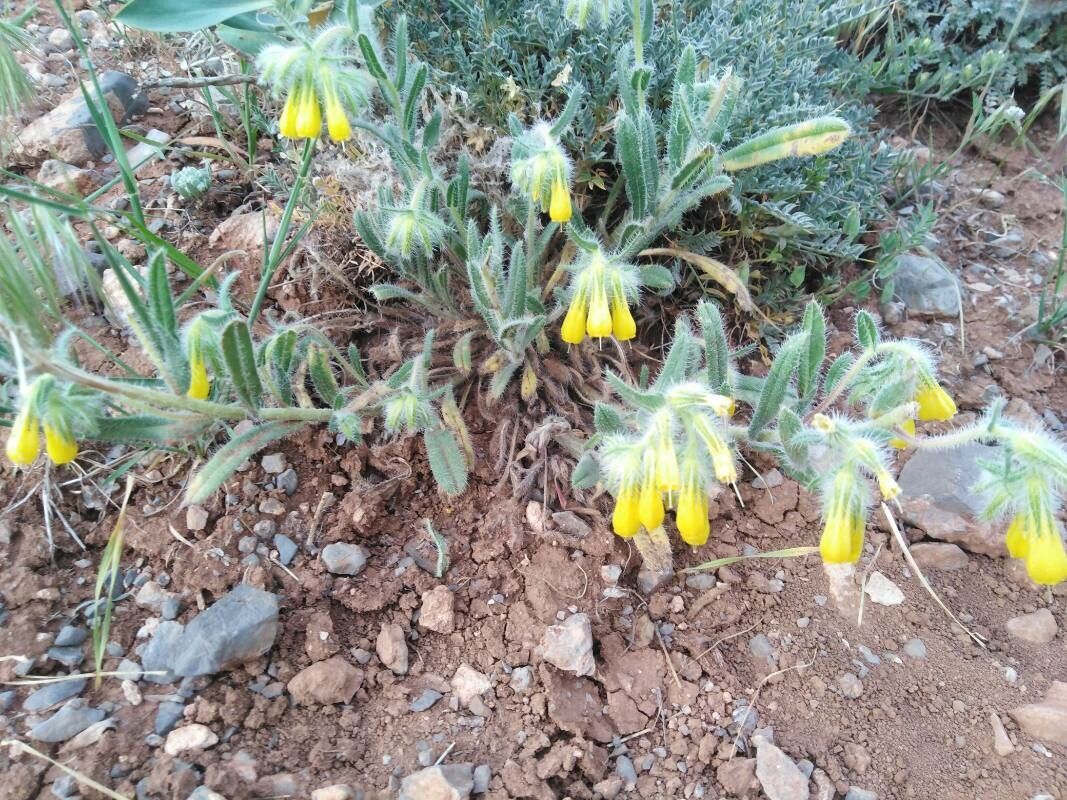
Oh, hello there! Come on in, grab a mug. I wanted to chat with you about a truly special plant – Onosma dichroantha. If you’ve ever seen its delicate, bell-shaped flowers, often a lovely blend of pink and white, cascading just so, you know the magic I’m talking about. It’s like little jewels gracing the garden. And the best part? You can bring that magic into more corners of your space, or share it with fellow plant lovers, through propagation.
Now, I’ll be honest, Onosma dichroantha isn’t the absolute easiest plant for a complete beginner to propagate. It can be a tad particular. But with a little care and attention, absolutely anyone can have success. It’s a rewarding journey, watching that tiny cutting transform into a thriving new plant.
The Best Time to Start
For Onosma dichroantha, I find the sweet spot for propagation is in late spring or early summer. You want to catch it when it’s actively growing, but before the intense heat of midsummer can stress out your cuttings. Look for stems that are firm and have started to mature a bit – not brand new, floppy growth, but not woody old stems either.
Supplies You’ll Need
Here’s what you’ll want to have ready before you start:
- Sharp, clean pruning shears or a sharp knife: Sterilize them with rubbing alcohol to prevent disease.
- Rooting hormone (optional, but recommended): A powder or gel will help encourage root development.
- Well-draining potting mix: A blend of equal parts peat moss or coco coir, perlite, and coarse sand works beautifully. You want it to drain quickly!
- Small pots or propagation trays: Clean and with drainage holes.
- Plastic bags or a clear propagation dome: To create a humid environment.
- Water spray bottle: For gentle misting.
- Labels and a marker: To keep track of your efforts!
Propagation Methods
I’ve found the most successful way to propagate Onosma dichroantha is through stem cuttings.
- Take Your Cuttings: Gently select healthy, non-flowering stems. Using your clean shears, cut a piece about 4-6 inches long. Make the cut just below a leaf node (where a leaf joins the stem).
- Prepare the Cuttings: Carefully remove the lower leaves from the stem, leaving just a few at the top. This prevents them from rotting in the soil. If you’re using rooting hormone, dip the cut end into the powder or gel, tapping off any excess.
- Potting Up: Fill your small pots or trays with your well-draining mix. Make a small hole in the center of the soil with your finger or a pencil.
- Insert the Cuttings: Gently place the cut end of each prepared stem into the hole, ensuring the leaf nodes are buried in the soil. Firm the soil gently around the stem.
- Create Humidity: Water the soil lightly until it’s evenly moist, but not soggy. Then, cover the pots with a plastic bag, ensuring the bag doesn’t touch the leaves too much (this can encourage rot), or place them under a clear propagation dome.
- Find a Good Spot: Place your cuttings in a bright location that receives indirect sunlight. Avoid direct sun, which can scorch them.
The “Secret Sauce” (Pro Tips)
Here are a couple of things I’ve learned over the years that really make a difference:
- Gentle is Key with Watering: When you water your cuttings, avoid saturating the soil. If you spray too much, it can lead to the dreaded rot. A gentle misting or watering from the bottom if possible is often best.
- Bottom Heat is Your Friend: While not strictly necessary, placing your pots on a gentle seedling heat mat can significantly speed up root formation. It mimics the warmth of spring soil and gives your cuttings that extra boost.
Aftercare & Troubleshooting
Once your cuttings are potted, the real waiting game begins! Keep the soil consistently moist but not wet. You should start to see new growth appearing in 4-8 weeks. This is a good sign that roots are forming.
If you notice your cuttings looking limp, yellowing, or developing black, mushy spots, that’s usually a sign of rot. This often happens because the soil is too wet or there isn’t enough air circulation. Don’t be discouraged; it happens to the best of us! You can try pulling out the affected cutting, and if the rest of the soil looks too wet, gently tip out the excess moisture and let it air out a bit before re-covering.
Once you see those healthy new shoots and feel some resistance when you gently tug on the cutting, it’s time to acclimate them. Gradually remove the plastic covering over a few days, and then, when they seem strong, you can transplant them into slightly larger pots.
So there you have it! Propagating Onosma dichroantha is a lovely way to expand your collection. Be patient, enjoy the process, and celebrate each little success. Happy gardening!
Resource:
https://identify.plantnet.org/k-world-flora/species/Onosma%20dichroantha%20Boiss./data