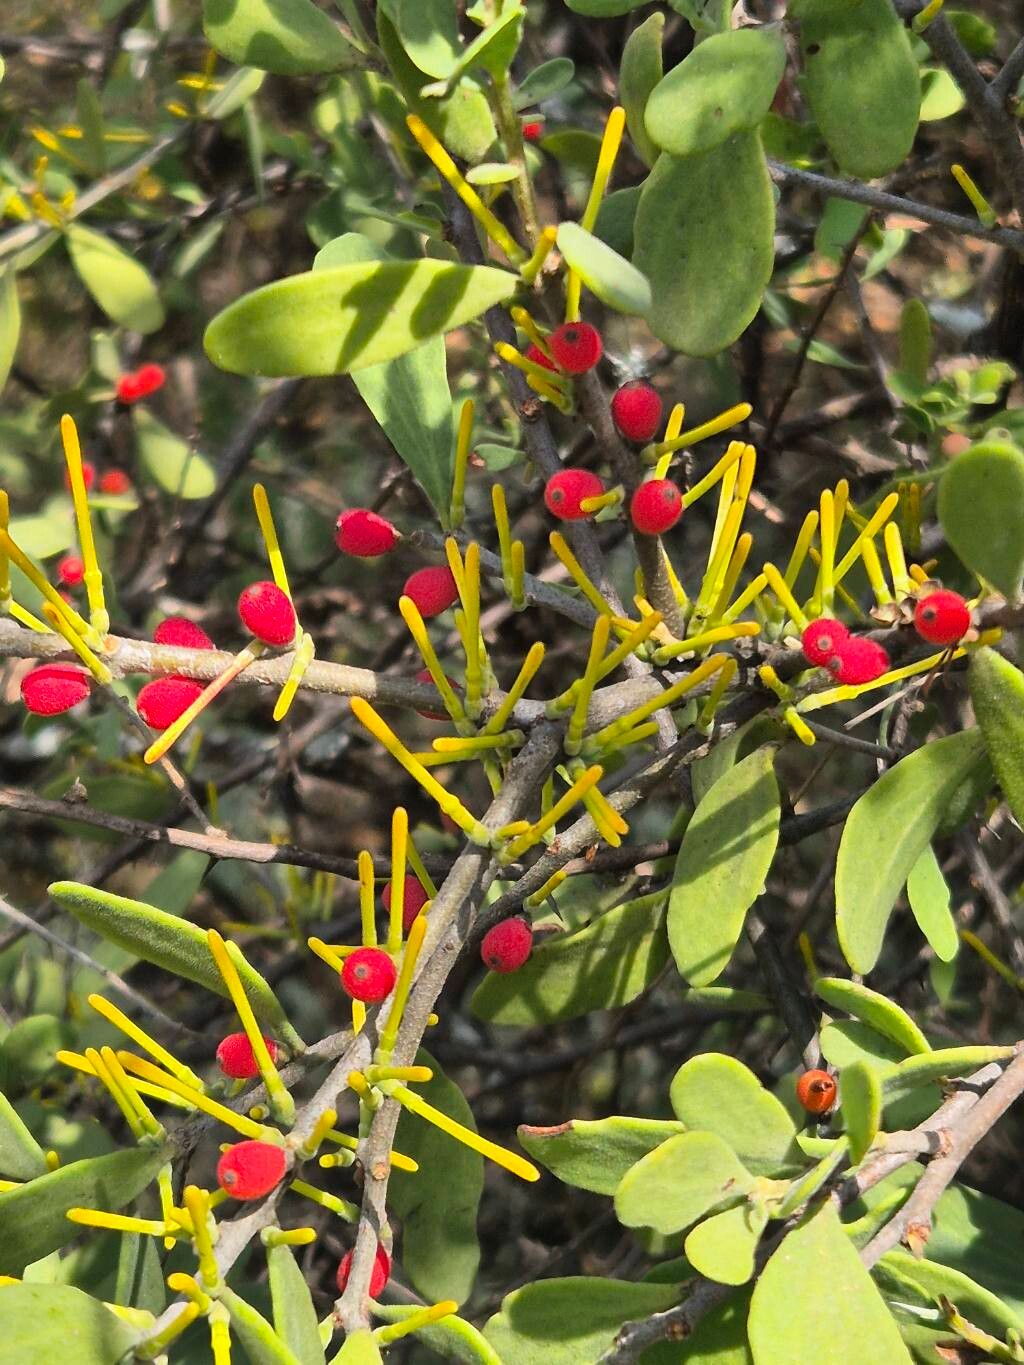
Oh, hello there! Pull up a chair and let’s chat about one of my favorite subjects: coaxing new life from our beloved plants. Today, we’re diving into the wonderful world of Ondoncalyx fischeri, often known by its common name, the “Velvet Leaf Plant.” It’s a real charmer, isn’t it? Those fuzzy, ovate leaves have such a unique texture, and when it decides to bloom, which it does with a surprising abundance of cheerful yellow flowers, it’s just pure joy.
Propagating Ondoncalyx fischeri is such a rewarding experience. It’s a fantastic way to multiply your collection, share with friends, or simply marvel at nature’s process. Now, for the good news: it’s generally quite an amenable plant for propagation, even for those of you who are just starting to get your hands dirty. You can absolutely do this!
The Best Time to Start
The sweet spot for propagating Ondoncalyx fischeri is in its active growing season. Think late spring through summer. During this time, the plant has plenty of energy to put into rooting and developing new growth. Starting with healthy, vigorous stems will always give you the best chance of success. Avoid propagating from stressed or weakened plants.
Supplies You’ll Need
Gathering your supplies before you begin makes the whole process so much smoother. Here’s what I typically have on hand:
- Sharp, clean pruning shears or a sharp knife: For taking clean cuts.
- Small pots or trays: Clean pots are essential to prevent disease.
- Well-draining potting mix: I like a blend of potting soil with added perlite or coarse sand for good aeration. A cactus and succulent mix also works beautifully.
- Rooting hormone (optional but recommended): This little boost can significantly speed up root formation. I prefer a powder or gel.
- Spray bottle: For misting.
- Clear plastic bag or propagation dome: To create a humid environment.
- Labels: To keep track of what you’ve propagated and when!
Propagation Methods
Let’s get our hands dirty! Ondoncalyx fischeri is most commonly and successfully propagated from stem cuttings.
1. Taking Stem Cuttings:
- First, select a healthy stem from your mature plant. Look for a piece that has plenty of healthy leaves and is at least 4-6 inches long.
- Using your clean shears or knife, make a clean cut just below a leaf node. A leaf node is where a leaf attaches to the stem. This is where the magic happens in terms of root development.
- Gently remove the lower leaves from the cutting, leaving only the top few leaves. This prevents them from rotting once they’re in the soil.
- If you’re using rooting hormone, dip the cut end of the stem into the powder or gel. Tap off any excess.
- Fill your small pot with your well-draining potting mix. Make a small hole in the center with your finger or a pencil.
- Insert the prepared cutting into the hole, ensuring the leaf nodes are below the soil surface. Gently firm the soil around the stem.
- Water gently to settle the soil.
2. Water Propagation (While possible, I find it slightly less reliable for Ondoncalyx fischeri compared to soil):
- Take your stem cutting as described above, removing lower leaves.
- Place the cutting in a small vase or jar of clean water.
- Crucially, ensure only the stem is submerged, not the leaves.
- Place in bright, indirect light and change the water every few days to keep it fresh.
- Once roots are about an inch long, you can carefully transplant them into potting mix.
The “Secret Sauce” (Pro Tips)
Over the years, I’ve picked up a few small tricks that really seem to make a difference.
- Don’t overcrowd your cuttings. Give each one its own space. If you’re planting multiple in one pot, ensure there’s good airflow. Overcrowding can lead to fungal issues.
- Bottom heat is your friend. If you have a seedling heat mat, placing your pots on it can significantly speed up root development. It mimics the warmth of spring soil and encourages those roots to emerge.
- Mist judiciously, don’t soak. While a humid environment is great, constantly soggy soil can lead to rot. A light misting for the leaves and a gentle watering for the soil is usually sufficient.
Aftercare & Troubleshooting
Once your cuttings are potted, it’s time for a little TLC.
- Create a mini-greenhouse: Cover the pot with a clear plastic bag shaken out to remove excess condensation or place it under a propagation dome. This traps humidity, which is vital for rooting. Ventilate it daily for a few minutes to prevent mold.
- Place in bright, indirect light. Avoid direct sun, which can scorch delicate new cuttings.
- Be patient! It can take a few weeks, sometimes even a month or more, for roots to develop. You can gently tug on the cutting – if there’s resistance, new roots are forming.
- Signs of trouble: The most common issue is rot, which usually appears as a mushy, black stem. If you see this, unfortunately, that cutting is likely lost. It often happens from too much moisture or poor air circulation. Occasionally, a cutting might simply shrivel and refuse to root. This can be due to taking an unhealthy cutting, extreme temperatures, or the environment being too dry. Don’t get discouraged; just try again!
Once your cutting has developed a good root system (you might see roots peeking out of the drainage holes or feel significant resistance when you gently tug), you can remove the plastic cover and begin gradually acclimatizing it to lower humidity over a week or two. Treat it like a young plant, watering when the top inch of soil feels dry.
Propagating plants is a journey, and every cutting is a learning experience. Don’t be afraid to experiment, and most importantly, enjoy the process of nurturing something new. Happy growing!
Resource: