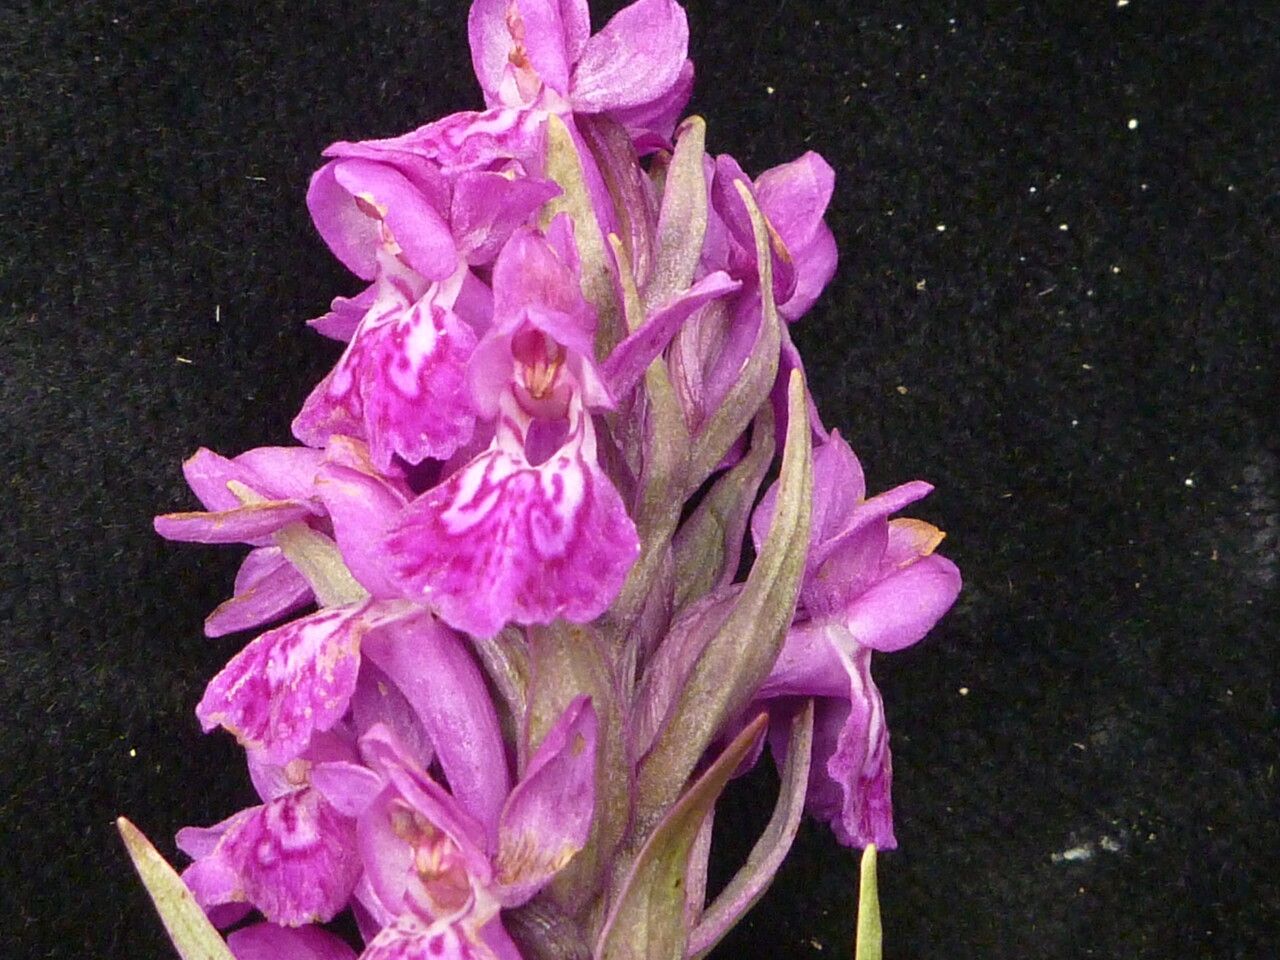
Hello, fellow plant lovers! It’s so good to have you here. Today, we’re diving into the fascinating world of propagating Dactylorhiza hatagirea, more commonly known as the Himalayan Marsh Orchid. If you’ve ever seen these beauties – with their vibrant spikes of pink and purple flowers that seem to dance in the breeze – you know why they capture our hearts. Growing them from scratch is an incredibly rewarding journey, and while it might sound a bit intimidating, with a little guidance, you can absolutely achieve success.
Now, about difficulty. For absolute beginners, Dactylorhiza might be a bit of a stretch on their very first propagation attempt. They have specific needs. But don’t let that deter you! Think of it as an exciting challenge that will teach you a lot. Once you get the hang of it, it’s very doable.
The Best Time to Start
Timing is everything with these orchids. The ideal time to propagate Dactylorhiza hatagirea is during late spring to early summer, just as the plant is finishing its flowering period and moving into its active growth phase. You want to catch it when it has plenty of energy to spare for putting out new roots. Waiting until the plant has fully bloomed and the flower spikes are starting to fade is key.
Supplies You’ll Need
To give your new Dactylorhiza cuttings the best start, you’ll want a few things on hand:
- Small pots or trays: Clean, with good drainage holes.
- Well-draining potting mix: A blend of peat moss, perlite, and a bit of orchid bark works wonderfully. You want something airy that won’t hold too much moisture.
- Sharp, sterile pruning shears or a clean knife: For making clean cuts.
- Rooting hormone powder (optional but helpful): Look for one formulated for cuttings.
- Plastic bags or a propagation dome: To create a humid environment.
- Watering can or spray bottle: For gentle watering.
- Labels and a marker: To keep track of your plantings!
Propagation Methods: Division is Your Friend
For Dactylorhiza hatagirea, division is the most straightforward and successful method. These orchids grow from tubers, and these tubers often multiply underground, creating clumps.
Here’s how to do it:
- Gently excavate: Once the plant has finished flowering and the foliage is starting to die back a bit (but isn’t completely yellowed), carefully dig up the entire plant. You can do this by loosening the soil around the edges with a trowel and then gently lifting the whole clump.
- Identify the tubers: You’ll see the main tuber from the current year, and often one or more smaller, developing tubers attached, sometimes by a short stem. These smaller tubers are your new plants.
- Separate carefully: Using your clean pruning shears or knife, gently separate the new tubers from the parent plant. Make sure each new tuber has at least one growth bud or eye. If they are tightly attached or you’re unsure, it’s better to leave them for now. You’re looking for distinct, plump tubers.
- Pot them up: Plant each separated tuber in its own small pot filled with your well-draining mix. Bury the tuber about an inch deep, with the growth bud pointing upwards.
- Water lightly: Give them a gentle watering. You want the soil to be moist, but not soggy.
While stem cuttings can be attempted with some orchids, Dactylorhiza really thrives with division. The tubers hold the energy reserves needed for new growth.
The “Secret Sauce” (Pro Tips)
Here are a couple of things I’ve learned over the years that can really make a difference:
- Don’t rush the dig: Wait until those flower spikes have done their job and the leaves are starting to naturally yellow. If you dig up a fully green, actively flowering plant, you’re asking it to do too much at once and the babies might not have enough stored energy.
- Embrace the humidity: While you don’t want things soggy, these orchids love a humid environment. Placing your potted divisions in a plastic bag (loosely tied to allow some air circulation) or covering them with a propagation dome will create that misty microclimate they crave for root development.
- Patience is paramount: I know, I know, it’s the classic gardening advice, but it’s so true for orchids. These guys are slow and steady. Don’t be discouraged if you don’t see much activity for several weeks. Focus on keeping the soil lightly moist and that humidity up.
Aftercare & Troubleshooting
Once your new tubers are potted up, keep them in a bright, indirect light location. Water them whenever the top inch of soil feels dry. Remember that humid environment we talked about? Keep that humidity level high. You should start to see new shoots emerge from the soil surface within a few weeks to a couple of months.
Now, troubleshooting. The most common issue you might encounter is rot. This happens if the soil stays too wet for too long, suffocating the developing tubers. If you see a division looking mushy or developing black spots, it’s likely rot. Sadly, there’s not much you can do once rot sets in, but you can prevent it by ensuring excellent drainage and watering only when necessary. Another sign of stress can be wilting foliage, which could indicate not enough humidity or too much direct sun. Adjust accordingly!
A Encouraging Closing
Propagating Dactylorhiza hatagirea is a journey of observation and a lesson in patience. It’s about nurturing these delicate lives and watching them unfurl. Don’t get discouraged if your first try isn’t perfect. Every gardener has had plants that didn’t make it. Celebrate the successes, learn from the challenges, and most importantly, enjoy the beautiful process of bringing more of these stunning orchids into your world. Happy growing!
Resource:
https://identify.plantnet.org/k-world-flora/species/Dactylorhiza%20hatagirea%20(D.Don)%20Soó/data