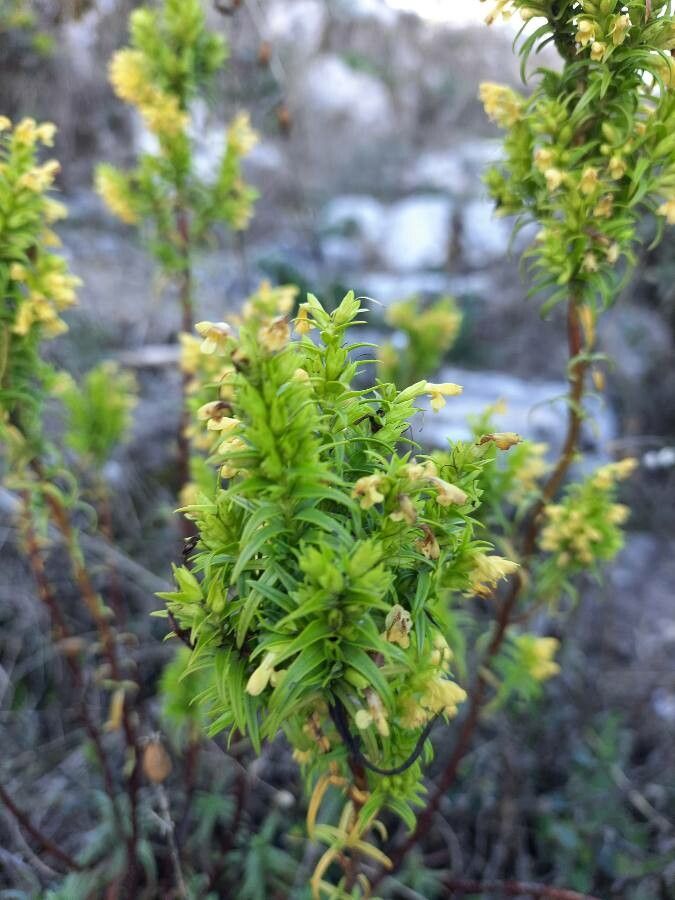
Hello fellow plant lovers! If you’re anything like me, you’ve probably fallen head over heels for the delicate charm of Odontites bocconei. Those tiny, jewel-like flowers just steal the show, don’t they? And the sheer satisfaction of coaxing a new plant into life from a mere snippet of the parent? Pure gardening magic! Now, you might be wondering if this beauty is tricky to propagate. Truth be told, Odontites bocconei can be a little bit of a beginner’s challenge, but with a few insider tricks, we can definitely get you growing. So, grab your coffee, and let’s dive in!
The Best Time to Start
For Odontites bocconei, patience is key, and timing is everything. The absolute best time to take cuttings is in late spring to early summer. This is when the plant is actively growing and has plenty of energy to put into rooting. Look for young, semi-hardwood stems – those that are flexible but not brand new and floppy. Avoid very old, woody stems or those that have just finished flowering.
Supplies You’ll Need
Gathering your supplies beforehand makes the whole process smoother. Here’s what I usually have on hand:
- Sharp pruning shears or a clean craft knife: For precise, clean cuts.
- Rooting hormone powder or gel: While not strictly essential for every plant, it really gives Odontites bocconei an edge.
- A well-draining seed-starting mix or a custom blend: I like to mix 50% perlite with 50% peat moss or coco coir. Good aeration is crucial!
- Small pots or nursery trays: Clean ones are a must to prevent disease.
- A plastic bag or propagation dome: To create a humid environment.
- A watering can with a fine rose or a mister: For gentle watering.
- Labels and a marker: So you don’t forget what you planted where!
Propagation Methods
While Odontites bocconei can be a little shy with seeds, propagating from stem cuttings is generally the most successful and rewarding method.
Stem Cuttings
- Take Your Cuttings: Early in the morning, when the plant is most hydrated, select a healthy stem. Make a clean cut just below a leaf node (where a leaf attaches to the stem). Aim for cuttings about 3-4 inches long.
- Prepare the Cuttings: Gently remove the lower leaves, leaving just two to four at the top. This reduces water loss. If any flowers or buds are present, pinch them off.
- Apply Rooting Hormone: Dip the cut end of the stem into your rooting hormone, tapping off any excess.
- Plant Your Cuttings: Fill your small pots with your prepared, moist potting mix. Make a small hole with a pencil or your finger, then insert the cutting, ensuring the leaf nodes that will be below the soil surface are covered. Gently firm the soil around the cutting.
- Create Humidity: Water the soil lightly. Then, cover the pot with a plastic bag or place it inside a propagation dome. Make sure the leaves don’t touch the plastic if possible.
The “Secret Sauce” (Pro Tips)
Here are a couple of things I’ve learned over the years that make a real difference with these delicate types of plants:
- Bottom Heat is Your Friend: Odontites bocconei absolutely loves a bit of warmth from below. Placing your pots on a heating mat specifically designed for seedlings can significantly speed up root development. It mimics those cozy spring soil temperatures.
- Don’t Drown Them! While humidity is vital, overwatering is a killer. The soil should be consistently moist but not soggy. Check the moisture level by gently pressing the soil with your finger. If it springs back, it’s good. If it feels squishy, it’s too wet.
- Air Circulation Matters (Eventually): Once you see tiny white root tips peeking out from the drainage holes, it’s time to gradually introduce your new cuttings to normal air. This means opening the bag or dome for a little while each day, slowly increasing the time until they’re fully acclimatized.
Aftercare & Troubleshooting
Once you spot new leaf growth or see roots emerging from the drainage holes, you’re officially a propagation rockstar!
- Transition Gently: Gradually remove the humidity cover over a week or two. Continue to keep the soil consistently moist and provide bright, indirect light.
- Transplanting: Once the new plants have developed a good root system and are strong enough to handle, you can transplant them into slightly larger pots with a good quality potting mix.
- Troubleshooting Rot: The most common problem you’ll face is rot, often caused by too much moisture and not enough airflow. If a cutting looks mushy or turns black at the base, it’s likely gone. Don’t be discouraged; just discard it and try again, perhaps with drier soil or better ventilation. Yellowing leaves can sometimes indicate overwatering or insufficient light, so adjust accordingly.
A Little Patience Goes a Long Way
Propagating Odontites bocconei might require a bit more care than some of your more robust plants, but the reward of seeing those first tiny roots anchoring your new little wonder is truly special. Be patient with the process, observe your cuttings closely, and don’t be afraid to experiment. You’ve got this! Happy gardening!
Resource:
https://identify.plantnet.org/k-world-flora/species/Odontites%20bocconei%20(Guss.)%20Walp./data