Oh, hello there! It’s so lovely to chat about plants with you today. I wanted to share a little something that’s been bringing me joy lately: propagating the magnificent Ochrosia grandiflora. If you’ve ever seen this tropical beauty with its glossy leaves and those wonderfully fragrant blooms, you know it’s a real showstopper. And the best part? You can have more of them! Sharing these plants never gets old for me. It’s a truly rewarding experience, and I think you’ll find it quite satisfying too. For those of you just starting out, I’d say Ochrosia grandiflora is moderately easy to propagate. It’s not the absolute simplest, but with a little patience and a few key steps, you’ll be successful.
The Best Time to Start
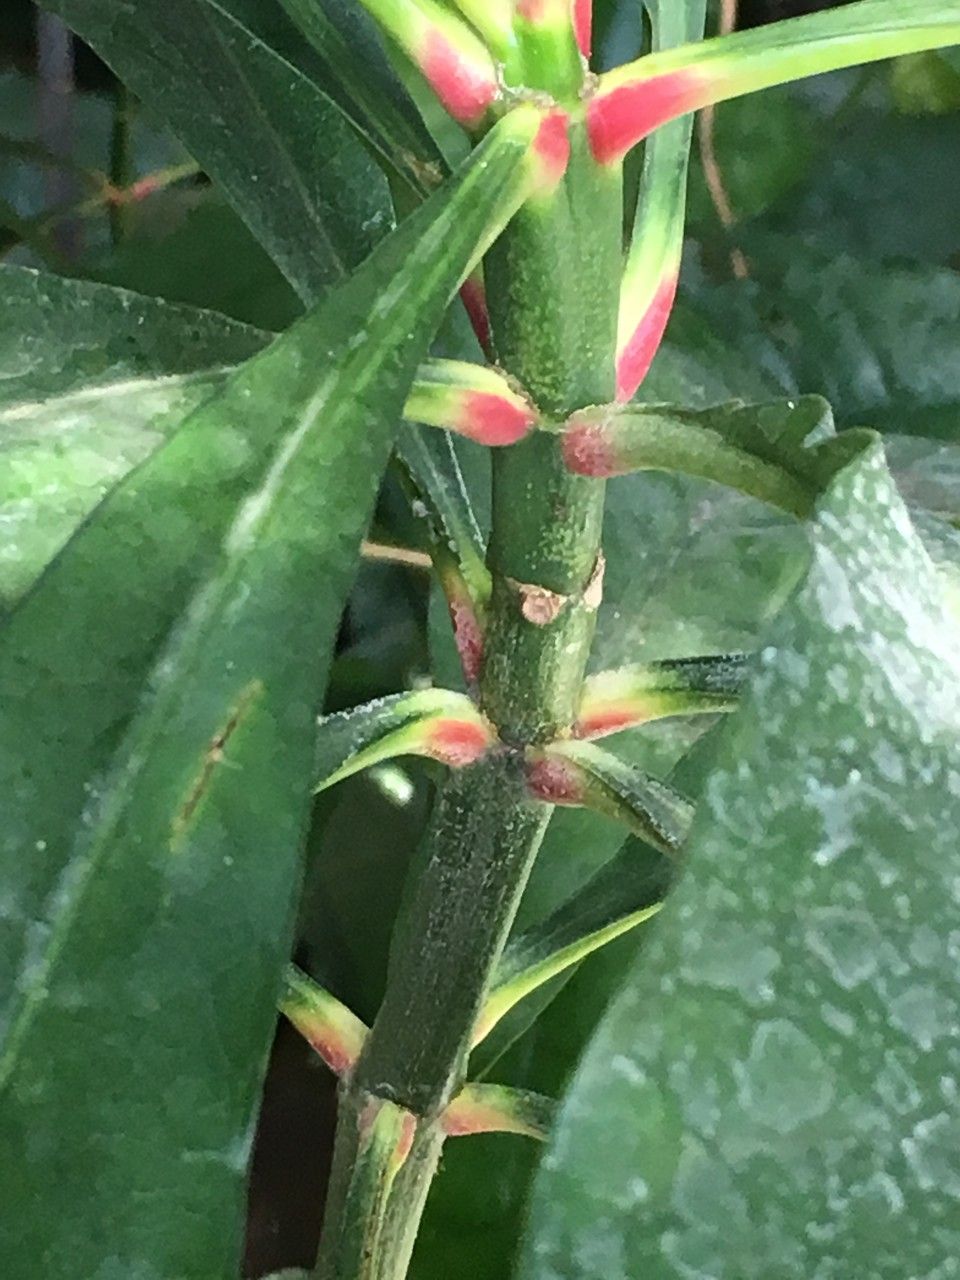
Now, when it comes to getting the best results, timing is everything, isn’t it? For Ochrosia grandiflora, I find late spring and early summer to be the absolute sweet spot. This is when the plant is really putting on its growth spurt, and the cuttings are full of vigor. You want to be working with healthy, new growth – think stems that are firm but not woody. Avoid trying to propagate during a really hot, dry spell or when the plant is stressed.
Supplies You’ll Need
Before we dive in, let’s make sure you have your toolkit ready. It’s always better to be prepared!
- Sharp Pruning Shears or a Clean Knife: For making clean cuts. Dull tools can damage the stems and invite disease.
- Rooting Hormone Powder or Gel: This isn’t strictly essential for Ochrosia, as they can root reasonably well on their own, but it does give them a significant boost, speeding up the process and increasing success rates.
- Well-Draining Potting Mix: I like to use a blend of about 50% perlite or coarse sand and 50% high-quality potting soil. This ensures good aeration and prevents waterlogging. You can also buy pre-made cactus and succulent mixes, which work well.
- Small Pots or Seedling Trays: Clean pots are key! I prefer 3-4 inch pots for stem cuttings.
- Plastic Bags or a Propagator: To create a humid environment. A clear plastic bag works perfectly.
- Water: For misting.
- Optional: Bottom Heat Mat: Not a must-have, but it definitely speeds up root development.
Propagation Methods
Ochrosia grandiflora is quite amenable to stem cuttings. This is my go-to method, and it’s generally the most reliable.
Creating Your Cuttings:
- First, select a healthy, actively growing stem. Look for a stem that’s about 6-8 inches long.
- Using your sharp pruning shears or knife, make a clean cut just below a leaf node (where a leaf attaches to the stem). This is where roots will likely emerge.
- Gently remove the lower leaves from the cutting. You want to leave just a few leaves at the top to help the cutting photosynthesize. If the top leaves are very large, you can even cut them in half horizontally to reduce water loss.
- If you’re using rooting hormone, dip the cut end into the powder or gel. Tap off any excess.
Planting Your Cuttings:
- Fill your clean pots with your prepared, moist potting mix.
- Make a small hole in the center of the soil with your finger or a pencil.
- Gently insert the cut end of your Ochrosia cutting into the hole.
- Firm the soil gently around the base of the cutting to ensure good contact.
- Water the soil thoroughly, allowing excess water to drain away.
Creating a Humid Environment:
- This is a crucial step! Cover the pot with a clear plastic bag, propping it up with a stake or two so that it doesn’t touch the leaves. Alternatively, you can place the pot inside a small propagator.
- Place the pot in a warm, brightly lit spot, but out of direct sunlight. The leaves can scorch easily if exposed to harsh sun.
The “Secret Sauce” (Pro Tips)
Over the years, I’ve learned a few little tricks that make a difference.
- Don’t let the leaves touch the water: If you’re doing water propagation (though I prefer soil for Ochrosia), make sure only the stem is submerged. Any leaves in the water will rot and can kill your cutting. For soil propagation, the plastic bag is key here – it keeps the humidity high without the leaves getting directly wet.
- Bottom heat is your friend: If you have a heat mat, place the pots on it. This gentle warmth encourages root development from the bottom up and significantly speeds up the process. You’ll see roots forming much faster.
- Think about the “sacrifice leaf”: Sometimes, if a cutting looks a bit droopy, I’ll take one of the lower leaves and carefully cut it in half. This reduces the workload on the fragile cutting while still allowing for some photosynthesis.
Aftercare & Troubleshooting
Once your cuttings are in their new homes, the patience game begins!
Keep the soil consistently moist but not soggy. The plastic bag helps maintain humidity, so you’ll only need to water when the surface of the soil starts to feel dry. You can also lightly mist the leaves occasionally.
After 4-6 weeks, you can gently tug on a cutting. If you feel resistance, that’s a good sign that roots have formed! You can also peek at the drainage holes to see if any roots are emerging. Once you see good root development, you can gradually remove the plastic bag over a few days to acclimate the new plant to normal humidity.
Now, let’s talk about what can go wrong. The most common issue is rot. This usually happens when the soil is too wet and there’s not enough air circulation. If you see your cutting turning black or mushy at the base, unfortunately, it’s likely a goner. Prevention is key: use well-draining soil and don’t overwater! If a cutting suddenly wilts and looks sad, it might be a sign of stress or that it’s simply not going to take. Don’t be discouraged if a few don’t make it; that’s part of the learning process.
A Encouraging Closing
Don’t be discouraged if your first few attempts aren’t perfect. Gardening is all about observing, learning, and trying again. Be patient with your little Ochrosia cuttings, give them the care they need, and celebrate each new root and leaf. There’s such a special kind of magic in watching a new plant emerge from a simple cutting. Happy propagating!
Resource:
https://identify.plantnet.org/k-world-flora/species/Ochrosia%20grandiflora%20Boiteau/data