Hey there, fellow plant lovers! Today, we’re diving into the wonderful world of propagating Brachystemma calycinum, often called the Paper Flower. If you’ve ever admired its delicate, papery blooms and longed to fill your garden (or your friend’s!) with more of this beauty, you’re in the right place.
The Allure of the Paper Flower
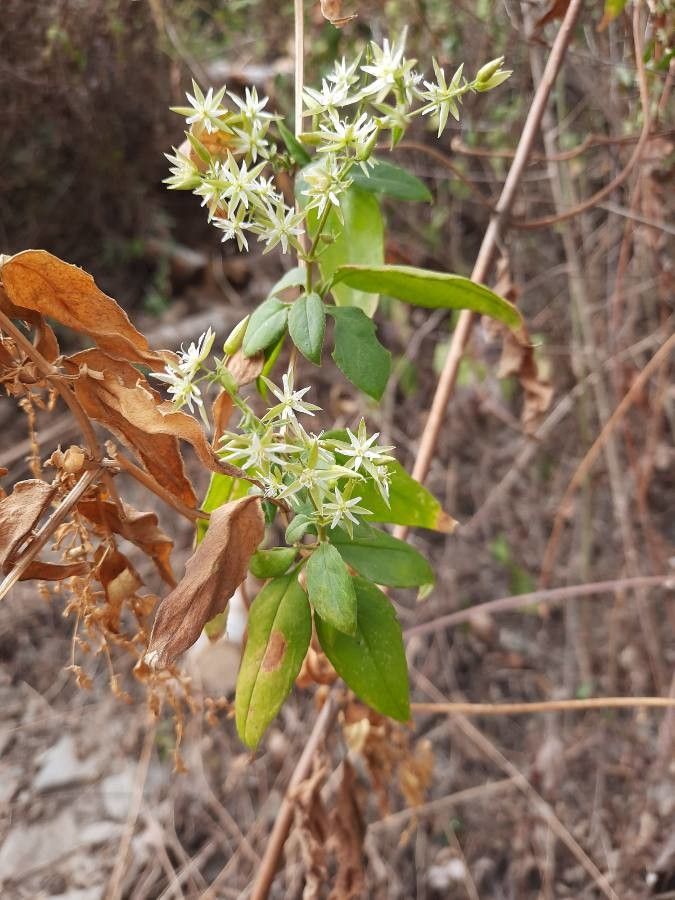
The Paper Flower is a real showstopper, isn’t it? Those papery petals have such a unique texture, and the colors can be absolutely stunning. Propagating it is incredibly rewarding because you get to experience the magic of creation firsthand. Plus, it’s a fantastic way to multiply your favorite specimens without spending a dime! Now, about beginner-friendliness: Brachystemma calycinum can be a little finicky, but with a few key techniques, even a novice can achieve success.
When to Get Your Hands Dirty
The absolute best time to start propagating your Paper Flower is during its active growing season. For most climates, this means late spring or early summer. You’re looking for young, healthy stems that haven’t yet flowered. These have the most vigor and the best chance of rooting.
What You’ll Need for the Job
Before we get started, let’s gather our tools. Having everything ready makes the process so much smoother:
- Sharp Pruning Shears or a Knife: Clean is key to preventing disease.
- Rooting Hormone (Optional but Recommended): A powder or gel will significantly boost your chances.
- Well-Draining Potting Mix: A blend of perlite, peat moss, and a bit of compost works wonders. You can also buy specific seed starting or succulent mixes.
- Small Pots or Trays: Clean them thoroughly!
- Plastic Bags or a Propagation Dome: To create a humid environment.
- Water: For watering and, if you choose, water propagation.
- Gloves (Optional): If you prefer.
Bringing New Life: Propagation Methods
There are a couple of ways we can encourage new Brachystemma calycinum plants. Let’s explore them!
1. Stem Cuttings: The Most Common Route
This is usually my go-to method for the Paper Flower.
- Select Your Stems: Find healthy, non-flowering stems that are about 4-6 inches long. Look for stems that are flexible, not woody or brittle.
- Make the Cut: Using your clean shears, make a clean cut just below a leaf node (the point where a leaf attaches to the stem). This is where roots are most likely to form.
- Prepare the Cutting: Gently remove the lower leaves, leaving just a few at the top. You don’t want excess foliage to lose moisture.
- Dip in Rooting Hormone (Optional): If you’re using rooting hormone, dip the cut end into the powder or gel. Tap off any excess. This step isn’t strictly necessary, but it really gives your cutting a helpful boost.
- Plant Your Cuttings: Fill your clean pots with your well-draining mix. Make a small hole with your finger or a pencil and carefully insert the cutting, ensuring the leaf node is buried. Gently firm the soil around it.
- Create Humidity: Water the soil lightly, then cover the pot with a plastic bag or place it under a propagation dome. Make sure the bag doesn’t touch the leaves too much. You want to trap moisture, not suffocate the cutting. Place the pot in a bright spot that receives indirect sunlight.
2. Water Propagation: A Visual Treat
This method lets you watch the roots grow, which is always a thrill!
- Prepare Your Cutting: Follow the same steps as above for selecting and preparing your stem cuttings, but skip the rooting hormone.
- Place in Water: Put the cuttings in a clean jar or vase filled with room-temperature water. The crucial part here is that no leaves should be submerged in the water. If they are, trim them off. Submerged leaves will just rot and contaminate the water.
- Change the Water: Change the water every few days to keep it fresh and prevent bacterial growth.
- Find the Right Spot: Place the jar in a well-lit location, out of direct sun.
- Be Patient: You’ll start to see tiny root nubs emerge from the leaf nodes. Once the roots are about an inch long, you can carefully pot them into your well-draining soil mix.
The “Secret Sauce” for Success
Here are a couple of tricks I’ve picked up over the years that can really make a difference:
- Bottom Heat is Your Friend: If you’re struggling with slow rooting, consider a gentle heat mat placed under your propagation trays. This warmth encourages root development without drying out the cuttings. Just a slight warmth, not hot!
- Don’t Over-Water Initially: It’s tempting to keep things super moist, but slightly less is often more when you first plant cuttings. The goal is to encourage the plant to seek out moisture by developing roots, not to let the cutting sit in soggy soil, which leads to rot. Water thoroughly, let it drain, and then only water again when the top inch of soil feels dry.
Aftercare and What to Watch For
Once you start seeing those little roots peeking out of the drainage holes (or through the soil if you’re using clear pots), you’re on your way!
- Acclimatize Gradually: If you’ve been using a plastic bag or dome, gradually remove it over a few days. Start by leaving it off for a few hours, then longer each day. This helps the new plant adjust to the ambient humidity.
- Watering: Water your new plants whenever the top inch of soil feels dry. Ensure good drainage to prevent waterlogging.
- Light: Continue to provide bright, indirect light. As the plant grows stronger, you can slowly introduce it to more direct sunlight, but be careful not to scorch it.
Troubleshooting: What if things go wrong? The most common issue is rot. If your cutting turns black and mushy, it’s likely rotted. This usually happens due to overwatering, poor drainage, or if submerged leaves were left in water propagation. If you see signs of rot early on, you can try to salvage the healthy parts by taking fresh cuttings. Yellowing leaves can sometimes mean it’s not getting enough light, or sometimes it’s just the lower leaves of the original cutting giving up energy. Don’t despair if a leaf or two decides not to make it; focus on the overall health and new growth.
Go Forth and Propagate!
There you have it! Propagating Brachystemma calycinum is a journey, and like all good gardening adventures, it requires a little patience and observation. Don’t be discouraged if your first few attempts aren’t perfect. Every plant is a learning opportunity. Enjoy the process, celebrate every new root, and soon you’ll have a whole garden full of these beautiful Paper Flowers! Happy gardening!
Resource:
https://identify.plantnet.org/k-world-flora/species/Brachystemma%20calycinum%20D.Don/data