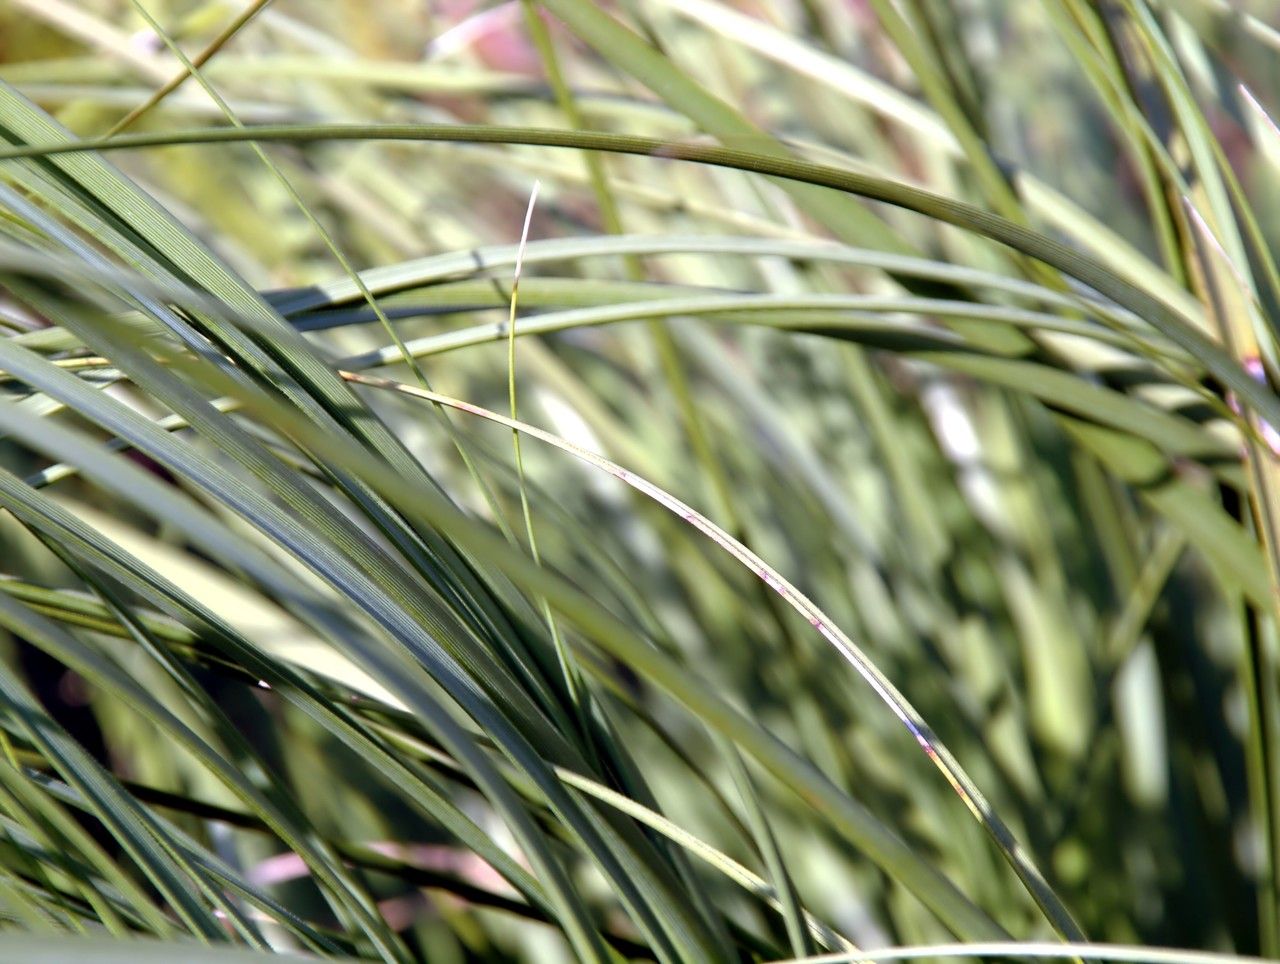
Hello fellow green thumbs! Today, we’re diving into the wonderful world of Nolina georgiana, also known by its charming common name, Georgia bear-grass. Now, if you’re looking for a plant that brings a touch of wild, architectural beauty to your garden or collection, this is it. Its spiky, grass-like foliage creates a fantastic focal point, and trust me, propagating these beauties yourself is incredibly rewarding. Don’t be intimidated – while it takes a little care, it’s quite accessible even for beginners.
The Best Time to Start
When it comes to making new Nolina georgiana plants, timing is everything. I find the absolute best time to propagate is during the active growing season, which usually means late spring through early summer. This is when the plant is full of vigor, and any new shoots or divisions are most likely to establish quickly. Trying to propagate when the plant is dormant or stressed is just asking for disappointment.
Supplies You’ll Need
Before we get our hands dirty, let’s gather our tools. Having everything ready makes the process so much smoother.
- Sharp, clean pruning shears or a sharp knife: For making clean cuts. Sterilize them with rubbing alcohol between uses!
- Rooting hormone (optional, but helpful): A powder or gel formulated for encouraging root development.
- A well-draining potting mix: I like to use a blend of cactus and succulent mix with added perlite or pumice for extra aeration. You want to avoid anything that stays soggy.
- Small pots or trays: For your new propagations. Make sure they have drainage holes.
- Gloves (optional): The foliage can be a bit spiky!
- A spray bottle: For gentle misting.
- A heat mat (optional, but a game-changer): More on this later!
Propagation Methods
Nolina georgiana is best propagated by division. It doesn’t typically produce “pups” in the same way some succulents do, and while stem cuttings are theoretically possible, they are far less reliable and much trickier to get to root. Division is your go-to method here.
Here’s how I do it:
- Gently excavate: Carefully remove the parent plant from its pot. If it’s in the ground, dig around it with a shovel, keeping a good amount of soil with the root ball.
- Clean the roots: Gently brush away excess soil from the root ball. You want to be able to clearly see where the plant is dividing.
- Identify natural divisions: Look for distinct clumps or offsets that are growing from the base of the main plant. You’ll often see where new growth is emerging from the established root system.
- Make the cut: Using your sharp, clean pruning shears or knife, carefully cut through the root system to separate an offset. Ensure each division has its own roots. This is crucial! If a division doesn’t have roots attached, your chances of success are significantly lower.
- Allow to callous (optional, but good practice): If you make a larger cut, you can let the divided section sit out in a dry, shaded spot for a day or two. This allows any cut surfaces to dry and form a protective callus, which helps prevent rot.
- Potting up: Plant each division in its own pot filled with your well-draining mix. Plant it at the same depth it was growing previously.
- Initial watering: Water very lightly after potting. You don’t want to soak it, just provide a little moisture to help settle the soil.
The “Secret Sauce” (Pro Tips)
Over the years, I’ve learned a few tricks that really boost my success rates.
- Bottom heat is your friend: This is one of my best secrets! Placing your potted divisions on a heat mat provides gentle warmth from below. This encourages root development by mimicking ideal soil temperatures, and it makes a huge difference, especially if your ambient temperatures are a bit cooler.
- Don’t overwater, ever: This is probably the most common mistake. New divisions don’t need a lot of water. They are primarily focused on growing roots. Allow the soil to dry out almost completely between waterings. Too much moisture is the fastest way to invite rot. I’ll often wait a week or more before the first proper watering after potting.
- Patience is key with root calls: When you’re dividing, sometimes you’ll find a division that looks healthy but has very minimal roots. Don’t discard it! These can often still establish. Treat it like an air-layered cutting – give it warmth, minimal water, and a good draining mix. It might take longer to see visible signs of root growth, but it’s worth the wait.
Aftercare & Troubleshooting
Once your Nolina georgiana divisions have started to show signs of life – think new leaf growth or you can gently tug and feel resistance in the pot – you’re in the clear!
- Gradually increase watering: As the plant establishes, you can slowly increase the frequency of watering, but always allow the soil to dry out between waterings.
- Introduce to brighter light: Once you see consistent new growth, you can gradually move it into brighter light, eventually acclimating it to the same conditions as your mature plants.
- Watch for rot: The biggest enemy here is root rot. Signs include mushy, discolored stems at the soil line, yellowing leaves that wilt unnaturally, or a general failure to thrive despite proper watering. If you suspect rot, unpot the plant immediately, cut away any affected tissue with a clean knife, and try to repot in fresh, dry soil. Sometimes, you can save it.
A Warm Encouragement
Propagating Nolina georgiana is a wonderful way to multiply these striking plants and share them with friends, or simply to fill your garden with more of their unique charm. Remember, gardening is a journey, and a little patience goes a long way. Enjoy the process, celebrate every new sprout, and feel proud of your growing green thumb! Happy planting!
Resource:
https://identify.plantnet.org/k-world-flora/species/Nolina%20georgiana%20Michx./data