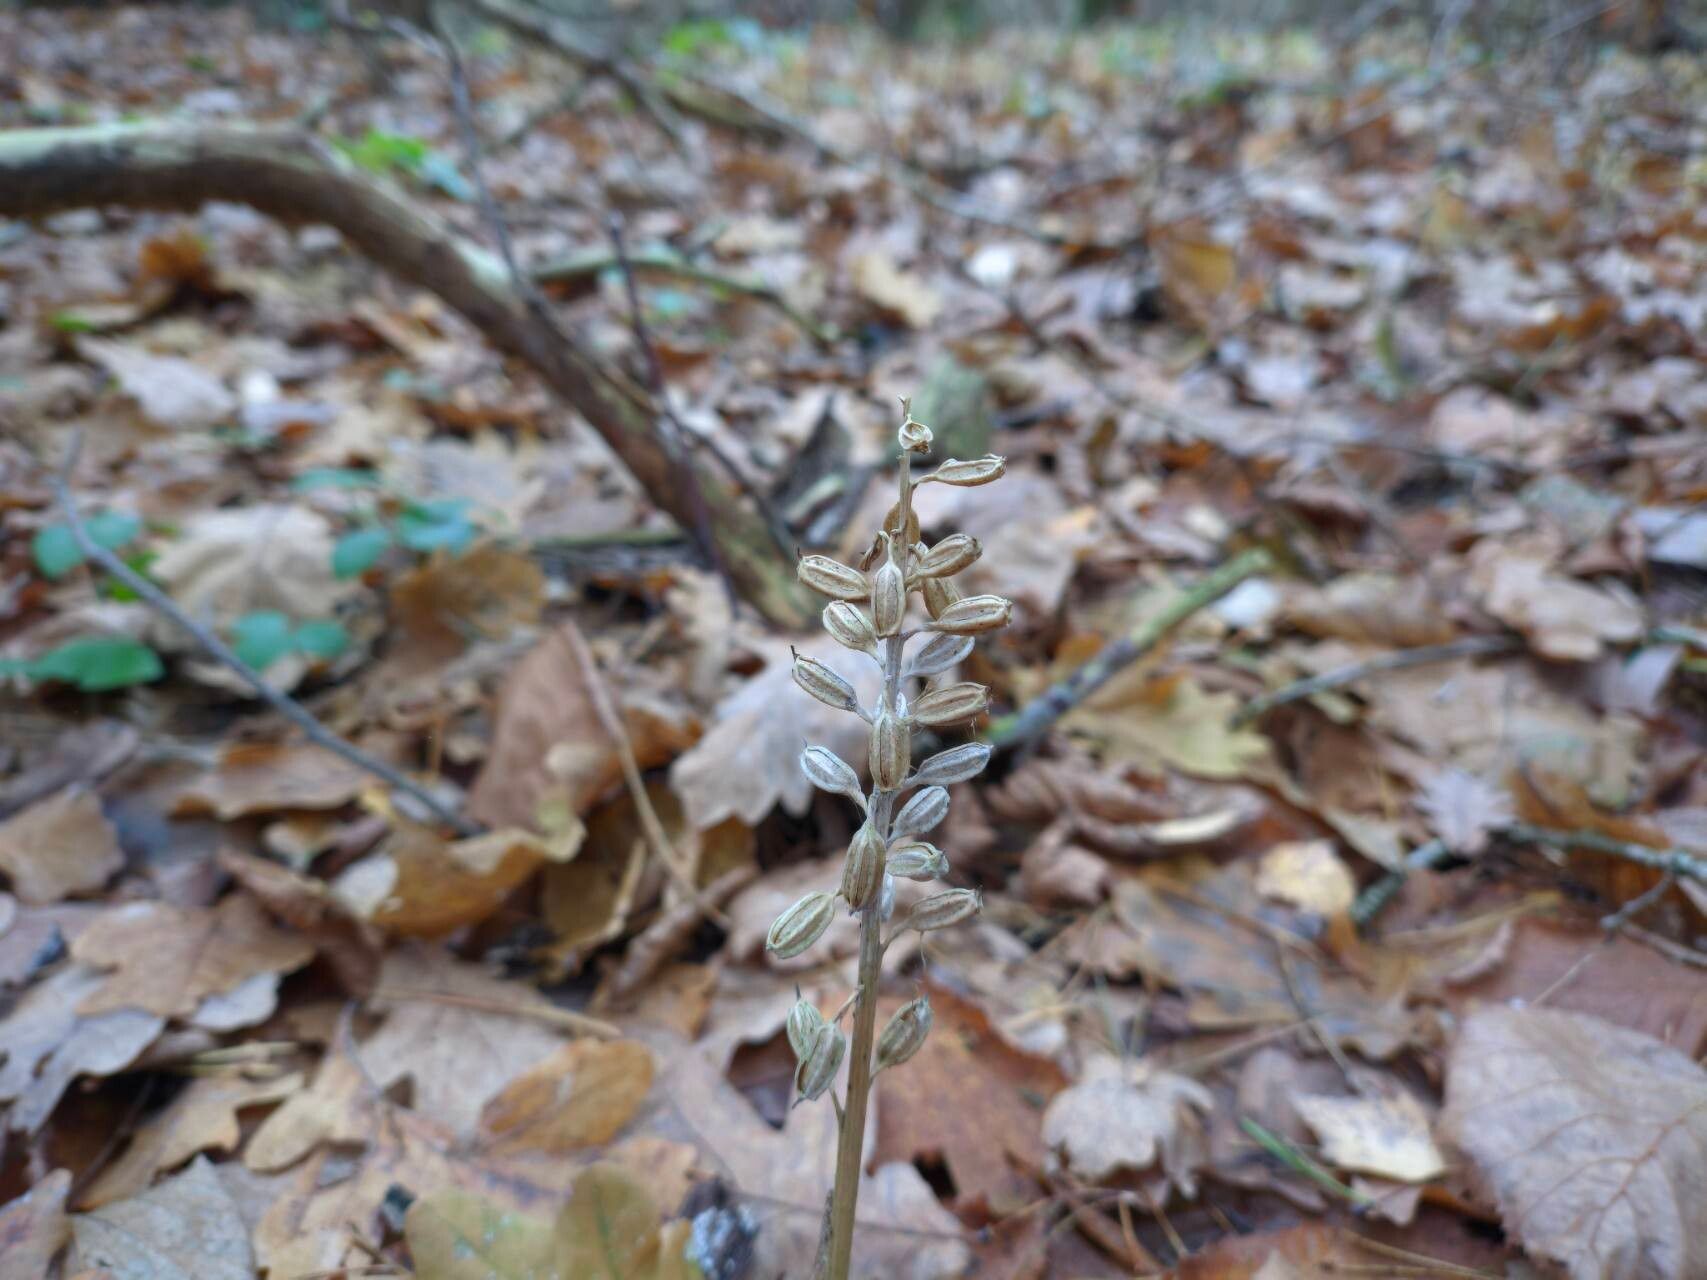
Hello there, fellow plant lovers! Today, we’re diving into the wonderfully unique world of Neottia nidus-avis, also known as the Bird’s Nest Orchid. If you’ve ever been captivated by its earthy, almost ethereal beauty, you’re not alone. This fascinating orchid, with its intertwined, leafless stems that truly resemble a bird’s nest, offers a different kind of charm than your typical flamboyant bloom. Propagating it is a journey, a little bit of a puzzle, but oh-so-rewarding when you watch a new life emerge. Now, I’ll be honest, this isn’t a plant for your absolute first foray into plant propagation. It requires a bit of finesse and understanding of its specific needs. But with a little patience and a dash of my seasoned advice, you can absolutely succeed.
The Best Time to Start
For Neottia nidus-avis, timing is everything, and it’s all tied to its dormant period. You’ll have the best luck trying to propagate this beauty after it has finished flowering and the green stems have started to die back naturally. This typically happens in late summer to early autumn. Trying to propagate while it’s actively growing or flowering can stress the plant and significantly reduce your chances of success. Think of it as giving it a gentle nudge when it’s ready to rest and regroup.
Supplies You’ll Need
Gathering your tools beforehand makes the whole process smoother. Here’s what I always have on hand:
- Sterile, sharp pruning shears or a very sharp knife. Cleanliness is paramount when working with orchids to prevent disease.
- A high-quality, well-draining orchid potting mix. I prefer a mix that contains a good amount of bark, charcoal, and perlite. You want something airy that won’t hold too much moisture.
- A suitable pot or container. Small, shallow pots or even seedling trays work well for divisions.
- A spray bottle filled with clean, filtered water.
- Optional: A rooting hormone powder specifically designed for orchids, though it’s not always necessary for this particular species if you’re careful.
- Optional: A small label and pen to keep track of your new plants and the date.
Propagation Methods
Neottia nidus-avis is primarily propagated through division. This means carefully separating existing clumps into smaller, viable sections.
- Gently Remove from Pot: First, carefully ease your Neottia nidus-avis out of its current pot. You want to disturb the root system as little as possible.
- Inspect the Rhizome: Look for the thick, horizontal stem called the rhizome. This is where new growth emerges. You’re looking for sections of the rhizome that have at least one or two healthy-looking growths (these might look like young shoots or pseudobulbs, though they are less distinct in this species).
- Make the Cut: Using your sterilized pruning shears or knife, carefully slice through the rhizome to separate the sections. Ensure each piece you’re dividing has at least one healthy growth point. If the rhizome is large, you might be able to divide it into several smaller plants.
- Pot the Divisions: Plant each division into its own small pot filled with your prepared orchid mix. Position the division so the top of the rhizome is just at the surface of the mix, or slightly covered. Again, avoid packing the mix too tightly.
- Water Sparingly: Water the newly potted divisions lightly to settle the mix. The key here is not to overwater.
The “Secret Sauce” (Pro Tips)
Here are a couple of tricks I’ve learned over the years that make a real difference:
- Don’t Over-Pot! These orchids thrive in cramped conditions. Using pots that are too large can lead to the potting mix staying wet for too long, which is the fastest way to invite rot. For divisions, start with very small pots – think 2-3 inches – that snugly fit the new rhizome.
- Embrace Humidity, But Shun Soakage: After dividing and repotting, your new divisions will appreciate humidity, but they absolutely hate sitting in soggy soil. I like to place my newly potted divisions in a humidity tray (a tray filled with pebbles and water, ensuring the pot bottom doesn’t touch the water) or lightly mist the surface of the potting mix every few days. The goal is to keep the surface slightly moist, not waterlogged.
Aftercare & Troubleshooting
Once your divisions are potted, place them in a bright, indirect light location. Avoid direct sunlight, as this can scorch their delicate structures. Continue with light watering, allowing the potting mix to dry out a touch between waterings. You’re looking for signs of new growth, which can take a while – be patient!
The most common issue you’ll encounter is rot. If you see mushy, blackening stems or rhizomes, it’s a sign of too much moisture. Sadly, if rot sets in, it’s often difficult to recover the plant. If caught early on a small section, you might be able to cut away the rotted part, use a fungicide, and try to save what’s left.
A Encouraging Closing
Propagating Neottia nidus-avis is a test of patience and observation. It’s not about instant gratification, but about nurturing something unique back to health. Don’t be discouraged if your first attempt isn’t a roaring success. Each new plant you nurture, no matter how small, is a triumph. Enjoy the process, learn from your observations, and celebrate every tiny new shoot you see! Happy growing!
Resource:
https://identify.plantnet.org/k-world-flora/species/Neottia%20nidus-avis%20(L.)%20Rich./data