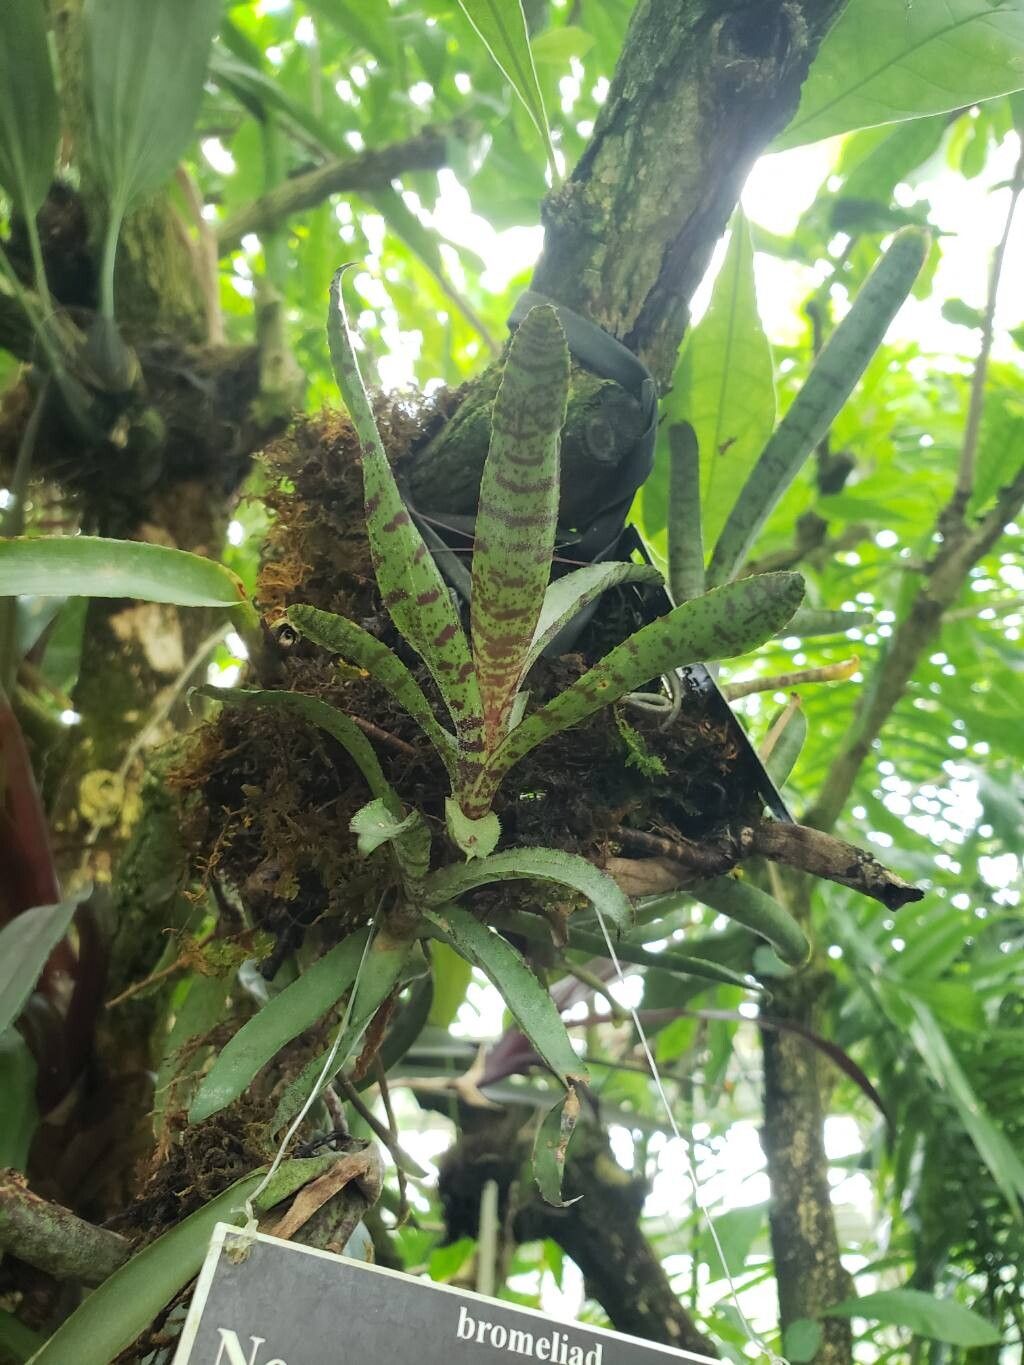
Hello, fellow plant enthusiasts! Today, we’re diving into the wonderful world of Neoregelia lilliputiana, a darling of the bromeliad family. These little beauties are renowned for their vibrant colors and compact size, making them perfect for terrariums or small spaces. Propagating them is a wonderfully rewarding way to expand your collection, and honestly, I find Neoregelia lilliputiana to be quite a friendly plant for beginners looking to dip their toes into the world of bromeliad multiplication. It’s all about understanding their natural tendencies.
The Best Time to Start
The sweet spot for propagating Neoregelia lilliputiana is generally late spring through summer. This is when the plant is actively growing and has the most energy to put into developing new roots. You’ll find the pups, the baby plants that naturally emerge from the base of the mother plant, are usually well-developed and ready for separation around this time. You can often tell they’re ready when they’re about a third of the size of the parent.
Supplies You’ll Need
Alright, let’s gather our tools. You don’t need anything too fancy, just some essentials:
- Sharp pruning shears or a clean, sharp knife: For making clean cuts.
- A well-draining potting mix: I like a mix of orchid bark, perlite, and a little bit of coco coir. This ensures good aeration and prevents waterlogging.
- Small pots or containers: These should have drainage holes. Yogurt cups with holes poked in the bottom work in a pinch!
- Optional: Rooting hormone: While not strictly necessary for Neo. lilliputiana, it can give them a little boost.
- A spray bottle: For misting.
- Optional: A heat mat: This can speed up root development, especially if your room is on the cooler side.
Propagation Methods: Let’s Get Our Hands Dirty!
The primary way we’ll propagate Neoregelia lilliputiana is through division of pups. These little offshoots are essentially miniature versions of the parent plant that the mother produces.
- Identify the Pups: Look for the small plantlets growing from the base of your mature Neoregelia. They’ll emerge from between the mother plant’s leaves.
- Assess Readiness: Gently try to wiggle a pup. If it feels somewhat independent and has its own small root system starting to form, it’s likely ready. As mentioned, aim for pups that are about one-third the size of the mother plant.
- Prepare Your Tools: Make sure your shears or knife are clean and sharp. This is crucial to prevent introducing diseases.
- Careful Separation: Gently remove the mother plant from its pot. You might need to tease away some of the potting mix to get a clear view of where the pup attaches. Using your clean tool, make a clean cut as close to the mother plant as possible, ensuring you take as many of the pup’s own roots with it as you can. If the mother plant is large and producing multiple pups, you can carefully remove a few at once.
- Potting Up: Place the separated pup into its new pot. Fill it with your well-draining potting mix, pressing gently around the base to secure it. The pup should sit at about the same depth it was growing in relation to the mother plant.
- Water Lightly: Give the new pup a gentle watering. You don’t want to completely drench it, just enough to settle the potting mix around the roots.
The “Secret Sauce” (Pro Tips)
Here are a few little tricks I’ve picked up over the years that can really help your new divisions thrive:
- Don’t be afraid to let the cut ends “callus over” for a day or two. If you’ve had to make a slightly larger cut, setting the pup aside in a dry, shaded spot for 24-48 hours before potting can help prevent rot. It’s like giving the wound a chance to heal.
- Humidity is your friend, but drainage is paramount. While your new pups appreciate a humid environment (a light misting every few days is great), soggy soil is their nemesis. Over-watering is the fastest way to lose a new plant. Always err on the side of slightly too dry rather than too wet.
- Bottom heat is a game-changer. Placing your potted pups on a seedling heat mat set to a gentle warmth (around 70-75°F or 21-24°C) can significantly speed up root development. It mimics the warmth of a tropical summer and gives those little roots a real incentive to grow.
Aftercare & Troubleshooting
Once your Neoregelia lilliputiana pup is potted, give it bright, indirect light. Avoid direct sun, which can scorch its leaves. Continue to mist occasionally and water when the top inch of the potting mix feels dry.
The biggest challenge you might face is rot. If you notice the base of the pup turning mushy and black, or if the leaves start to yellow and fall off rapidly, it’s likely due to over-watering or poor drainage. In this case, you might need to unpot it, gently trim away any rotted sections with your clean tool, and repot into fresh, dry potting mix. If it’s far gone, sadly, it’s time to say goodbye, but don’t be discouraged! We all have those moments.
A Little Patience Goes a Long Way
Propagating plants is a journey, and Neoregelia lilliputiana is a delightful companion for that journey. Be patient, observe your new plants, and enjoy the process of watching them grow and thrive. Happy gardening!
Resource:
https://identify.plantnet.org/k-world-flora/species/Neoregelia%20lilliputiana%20E.Pereira/data