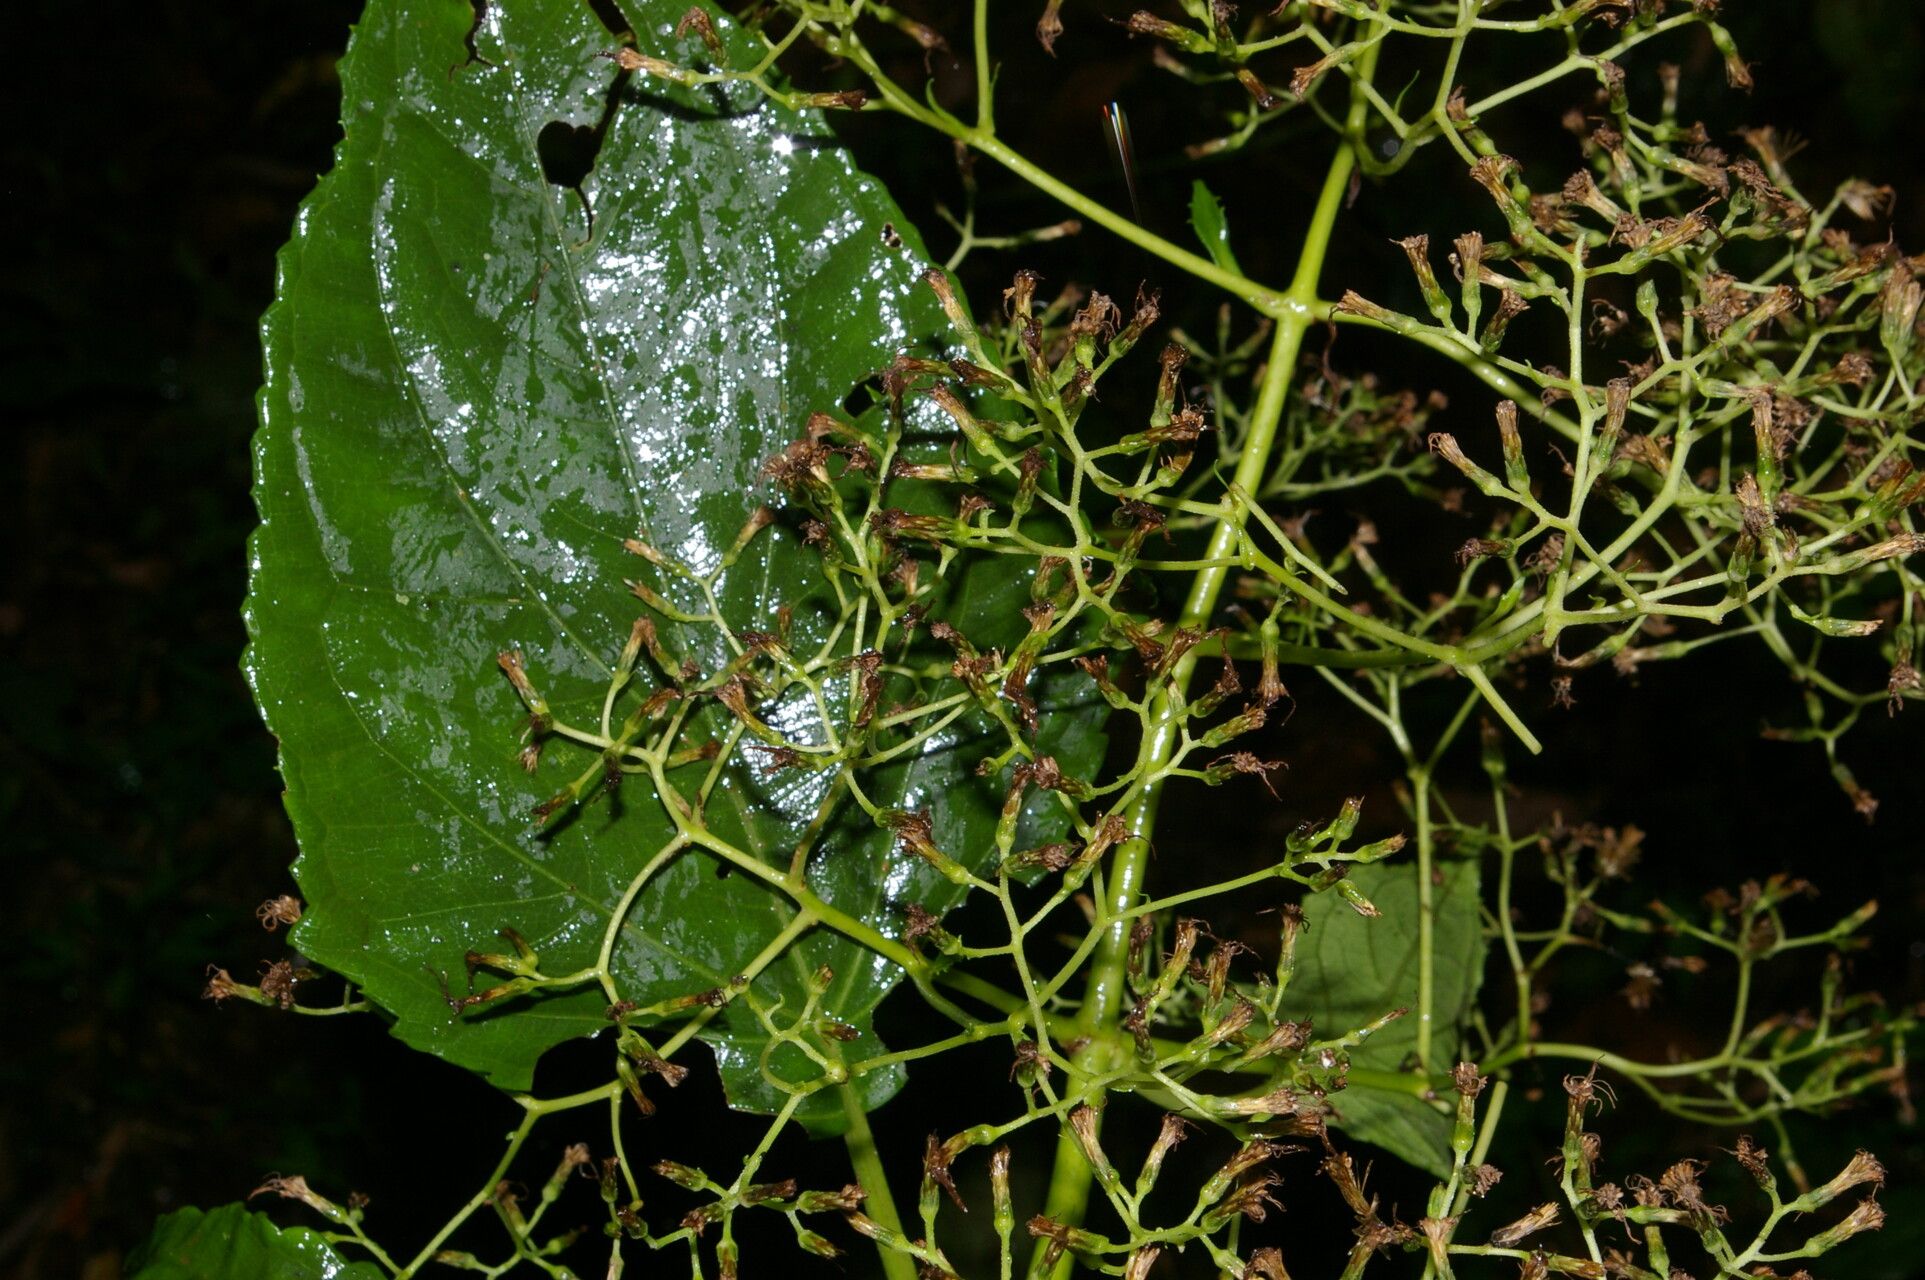
Oh, Neomirandea standleyi! If you’ve ever seen one in bloom, you know it’s a real showstopper. Those vibrant, trumpet-shaped flowers are just… captivating. And the best part? You can actually make more of your own! It’s incredibly satisfying to nurture a tiny cutting into a flourishing new plant. Now, for those of you just starting out, I’ll be honest: Neomirandea standleyi can be a tad fussy. It’s not exactly a “stick it in the ground and walk away” kind of plant, but with a little attention and a few tricks up your sleeve, you’ll be celebrating success.
The Best Time to Start
When it comes to Neomirandea standleyi, timing is everything. I find that late spring through early summer is your golden window. That’s when the plant is really in its active growth phase, meaning it has the energy reserves to push out new roots. You’re looking for stems that are firm but not woody – think slightly softened new growth. Avoid trying to propagate from plants that are stressed by extreme heat or drought.
Supplies You’ll Need
Before we get our hands dirty, let’s gather our tools. Having everything ready makes the whole process so much smoother.
- Sharp Pruning Shears or a Clean Knife: For taking clean cuts. Sterilize them first with rubbing alcohol!
- Rooting Hormone (Optional but Recommended): A powder or gel to encourage root development.
- Well-Draining Potting Mix: I like a blend of perlite, peat moss, and coarse sand. Or a good quality cactus/succulent mix works wonders.
- Small Pots or Seedling Trays: With drainage holes, of course.
- Clear Plastic Bags or a Propagation Dome: To create a humid environment.
- Watering Can with a Fine Rose: For gentle watering.
- A Source of Bright, Indirect Light:
Propagation Methods
Now for the exciting part! We’ll focus on stem cuttings, which I’ve found to be the most reliable for Neomirandea standleyi.
Taking Cuttings
- Select Your Parent Plant: Choose a healthy, vigorous Neomirandea standleyi.
- Make the Cut: Using your sterilized shears or knife, take a cutting that’s about 4-6 inches long. Make the cut just below a leaf node (where a leaf meets the stem). This is where the magic happens for rooting.
- Prepare the Cutting: Gently remove the lower leaves, leaving just a few at the top. This prevents them from rotting in the soil. If you’re using rooting hormone, dip the cut end into it now, tapping off any excess.
Planting the Cuttings
- Moisten the Mix: Lightly moisten your well-draining potting mix in the pots or trays. You want it damp, not soggy.
- Make a Hole: Use a pencil or your finger to create a small hole in the center of the mix. This prevents the rooting hormone from rubbing off when you insert the cutting.
- Insert and Firm: Gently insert the cutting into the hole, making sure the nodes where you removed leaves are below the surface. Firm the soil gently around the base of the cutting to ensure good contact.
- Create Humidity: Cover the pot with a clear plastic bag, a propagation dome, or even a clear plastic lid. This traps moisture and creates that humid environment our cuttings crave. Prop the bag up with skewers or sticks so it doesn’t touch the leaves.
The “Secret Sauce” (Pro Tips)
Here are a couple of things I’ve learned over the years that really make a difference.
- Bottom Heat is Your Friend: Neomirandea standleyi cuttings absolutely love a little warmth from below. If you have a seedling heat mat, now’s the time to use it. It significantly speeds up root development. Just place your pots on top of it.
- Don’t Overwater, Seriously: This is probably the most common mistake I see. Soggy soil is a death sentence for cuttings. They need moisture, yes, but they also need air to their roots. Let the very top of the soil dry out slightly between waterings. It’s better to err on the side of slightly dry than too wet.
Aftercare & Troubleshooting
Once your cuttings are planted, find them a spot with bright, but indirect light. Direct sun can scorch their delicate leaves. For the first few weeks, you’ll want to check them regularly. If you see condensation on the inside of your plastic cover, that’s good! It means it’s humid. You might need to open it up for a few minutes every few days to let in some fresh air and prevent mold.
Signs of Trouble: The biggest enemy here is rot. If your cutting turns mushy and dark at the soil line, or the leaves start to yellow and drop rapidly, that’s usually a sign of too much moisture and not enough air circulation. If you see signs of rot, you might have to sadly discard the cutting and start again, adjusting your watering and humidity levels.
When to Celebrate: You’ll know your cutting has rooted when you see new leaf growth appearing. You might even feel a little resistance when you gently tug on the cutting. Once you see good new growth, you can gradually acclimate it to lower humidity by opening the bag or dome for longer periods over a week or two before removing it entirely. Continue to water sparingly and provide that lovely bright, indirect light.
A Word of Encouragement
Propagating plants, especially those with a little personality like Neomirandea standleyi, is a journey. There will be times you’ll have to try again, and that’s perfectly okay. Every gardener has had cuttings that didn’t make it. The key is to be patient, observe your plants, and celebrate the small victories. Happy propagating, and may your home be filled with beautiful Neomirandea standleyi!
Resource: