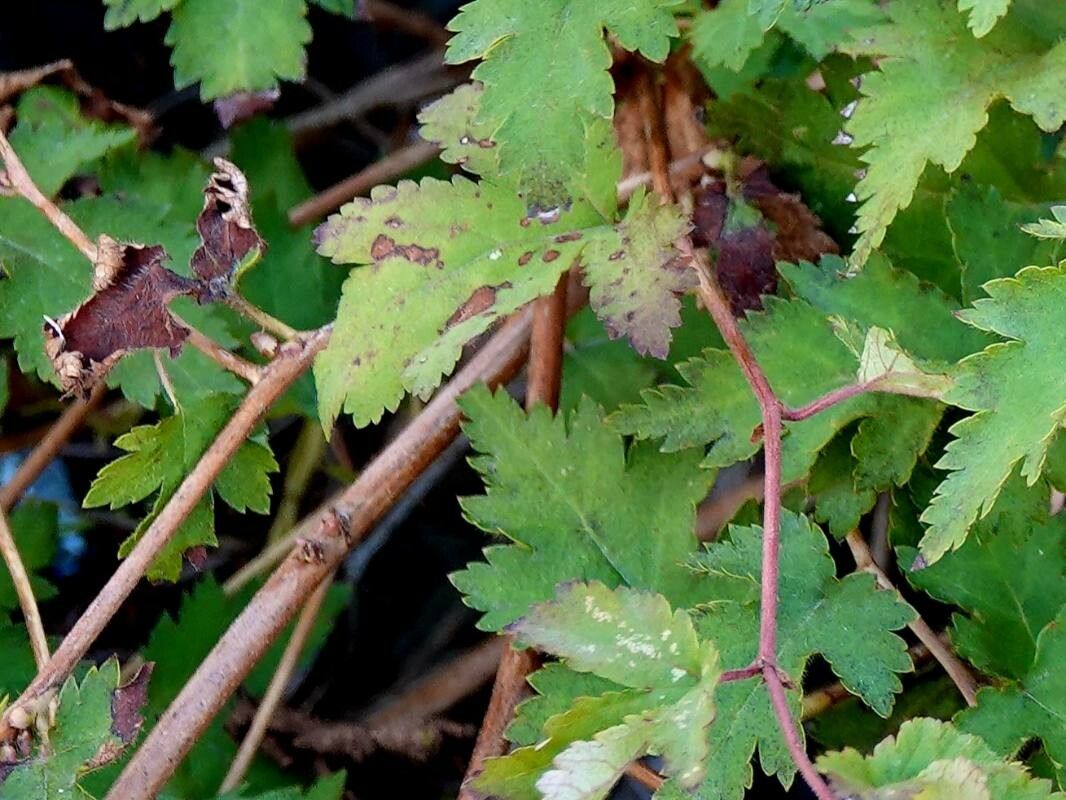
Hello, fellow plant enthusiasts! I’m so excited to chat with you today about a truly charming shrub: Neillia incisa. If you’re looking for a plant that offers delicate, arching branches adorned with lovely, frothy white flowers in spring, you’re in for a treat. Their finely cut, often toothed leaves add an elegant texture to any garden.
I’ve found propagating Neillia incisa to be incredibly rewarding. It’s a wonderful way to share this beauty with friends or simply expand your own collection without breaking the bank. And for those of you just starting your propagation journey? Good news! This shrub is quite forgiving, making it a great plant for beginners to try their hand at.
The Best Time to Start
My favorite time to take cuttings from Neillia incisa is in late spring to early summer. This is right after the plant has finished its glorious flowering display. The new growth at this stage is still soft and pliable, but it’s also begun to mature a bit – what we call semi-hardwood. This stage offers a fantastic balance, making cuttings more likely to root successfully.
Supplies You’ll Need
Before we dive in, let’s gather our essentials. Having everything ready makes the process smooth and less stressful.
- Sharp, clean pruning shears or a sharp knife: For making clean cuts.
- Rooting hormone powder or gel: This is especially helpful for encouraging root development.
- A well-draining potting mix: I like a blend of equal parts peat moss, perlite, and compost. You can also buy a commercially available seed-starting mix.
- Small pots or propagation trays: Clean pots are crucial to prevent disease.
- A clear plastic bag or propagation dome: To create a humid environment.
- Watering can with a fine rose: For gentle watering.
- Labels and a permanent marker: To keep track of your precious cuttings.
Propagation Methods: Stem Cuttings
This is my go-to method for Neillia incisa, and I think you’ll find it quite straightforward.
- Select Your Cuttings: Look for healthy, current-season shoots that are about 4-6 inches long. They should be flexible but not floppy. Avoid any woody, old stems or very soft, new tips.
- Make the Cut: Using your clean pruning shears or knife, make a clean cut just below a leaf node. This is where roots are most likely to form. Remove any flowers or flower buds from the cutting.
- Prepare the Cutting: Gently remove the lower leaves from the bottom half of the cutting. You want to expose a few nodes where roots can emerge. If the remaining leaves are very large, I sometimes trim them in half to reduce water loss through transpiration.
- Apply Rooting Hormone: Dip the cut end of the stem into your rooting hormone, tapping off any excess.
- Pot Them Up: Fill your small pots or trays with your prepared potting mix. Moisten the mix thoroughly until it’s damp but not soggy. Use your finger or a pencil to create a small hole in the center of the pot, and then insert the cutting, ensuring the nodes are buried in the soil. Gently firm the soil around the base of the cutting.
- Create Humidity: Water gently again. Then, cover the pots with a clear plastic bag or a propagation dome. This traps moisture and creates that essential humid microclimate. I usually secure the bag with a rubber band.
The “Secret Sauce” (Pro Tips)
Here are a couple of things I’ve learned over the years that really seem to give cuttings a boost:
- Use Bottom Heat: If you have a heat mat for seedlings, it’s fantastic for cuttings too! Placing your pots on a gentle heat source (around 70-75°F or 21-24°C) encourages root development from below, significantly speeding things up.
- Don’t Let Leaves Touch Water: If you’re trying water propagation (which I find less consistently successful for Neillia than soil cuttings), it’s crucial to keep the leaves above the water line. Any submerged foliage will quickly rot, taking your cutting with it. Soil propagation is generally more reliable for shrubs.
Aftercare & Troubleshooting
Once your cuttings are potted up and covered, they enter their patient waiting phase.
- Placement: Keep the pots in a bright spot out of direct sunlight. A windowsill in an east-facing window is often perfect.
- Watering: Check the moisture levels every few days. Keep the soil consistently moist but never waterlogged. If the soil feels dry, water gently. If the plastic bag is fogged up, that’s a good sign of humidity; if not, you might need to mist the inside of the bag lightly.
- Checking for Roots: You’ll typically see the first signs of rooting within 4-8 weeks. You can gently tug on a cutting; if it offers slight resistance, roots are forming. You might also see new leaf growth, which is another good indicator.
- Troubleshooting: The most common issue is rot. This usually happens due to overwatering or poor air circulation. If you see wilting, blackening stems, or mold on the soil surface, it’s often a sign things have gone wrong. Remove any affected cuttings immediately and ensure your watering is more judicious. Sometimes, too much sun can scorch the delicate new growth.
A Little Encouragement
Propagating plants is a journey of patience and observation. Not every cutting will make it, and that’s perfectly okay! Celebrate the successes, learn from any setbacks, and most importantly, enjoy the process. Watching a tiny cutting transform into a thriving new plant is one of gardening’s greatest joys. Happy propagating!
Resource:
https://identify.plantnet.org/k-world-flora/species/Neillia%20incisa%20(Thunb.)%20S.H.Oh/data