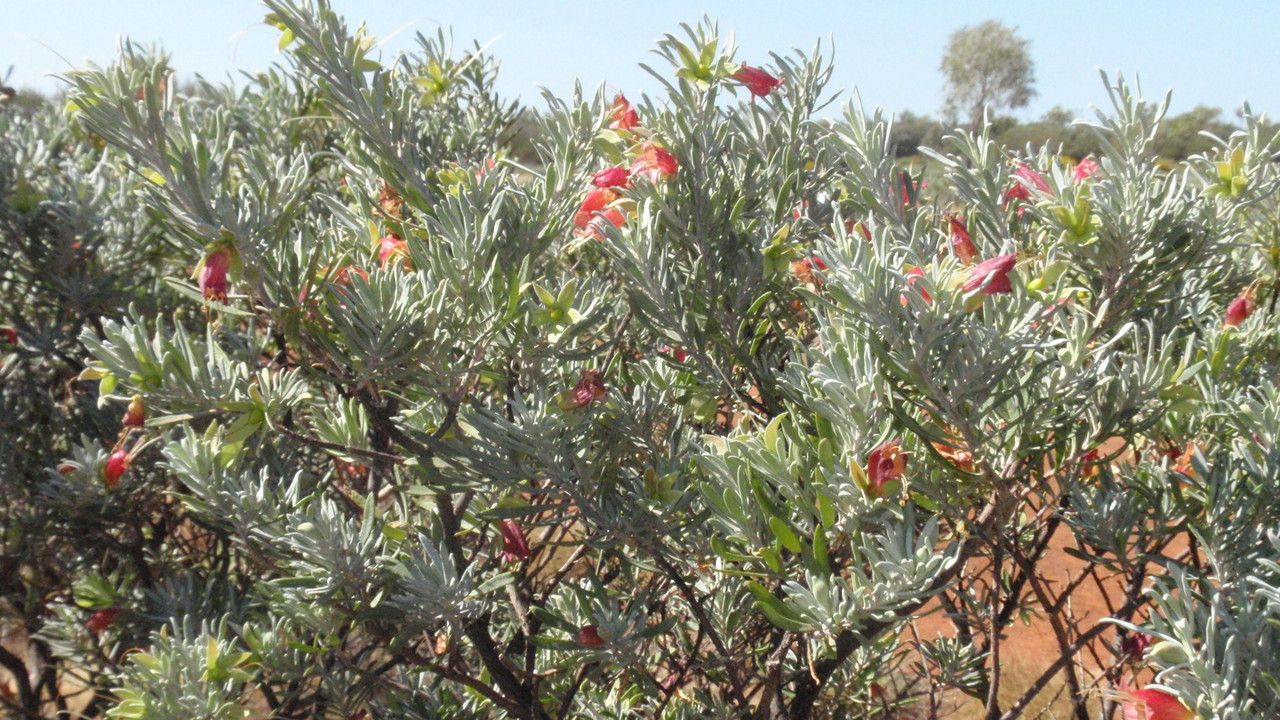
Hello, fellow garden enthusiasts! Today, I’m thrilled to talk about one of my absolute favorite Australian natives: Eremophila latrobei, or as it’s often affectionately called, Tar Bush. If you love a plant that brings vibrant color and a touch of the wild to your garden, you’re in for a treat. And the best part? You can multiply that beauty yourself!
Propagating Eremophila latrobei is incredibly satisfying. It’s a wonderful way to share these stunning shrubs with friends or simply expand your own collection. Now, I won’t pretend every plant is a walk in the park, but Eremophila latrobei is generally quite manageable, even for those who are just dipping their toes into propagation. With a little care and patience, you’ll have new little shrubs of your own in no time.
The Best Time to Start
For the highest success rates with Eremophila latrobei, I find that the late spring to early summer is your golden window. This is when the plant is actively growing, but before the heat of mid-summer really takes hold. Young, semi-hardwood stems are usually the most responsive. You want to look for stems that have made good growth this season but aren’t completely woody and old.
Supplies You’ll Need
Gathering your supplies beforehand makes the whole process much smoother. Here’s what I always have on hand:
- Sharp pruning shears or a clean craft knife: For taking clean cuttings.
- Rooting hormone: A good quality powder or gel will significantly boost your success.
- Small pots or seed trays: Clean ones are essential to prevent disease.
- Propagating mix: I like to use a coarse, well-draining mix. A 50/50 blend of perlite and coco coir works wonders, or you can use a commercial seed-starting mix blended with extra perlite.
- Plastic bags or a propagator lid: To create a humid environment for your cuttings.
- Watering can with a fine rose: For gentle watering.
- Labels and a permanent marker: To keep track of your cuttings!
Propagation Methods: Stem Cuttings
This is my go-to method for Eremophila latrobei. It’s straightforward and usually yields excellent results.
- Take Your Cuttings: With your clean shears, select healthy, non-flowering shoots. Cut stems about 10-15 cm long. Make sure each cutting has at least a couple of sets of leaves. Try to take them from near the base of a young stem.
- Prepare the Cuttings: Remove the lower leaves from the bottom half of each cutting. This prevents them from rotting in the soil. You can leave two or three sets of leaves at the top. If the leaves are very large, you can pinch them in half to reduce water loss.
- Dip in Rooting Hormone: Moisten the cut end of each stem with a little water, then dip it into your rooting hormone powder or gel. Tap off any excess.
- Pot Them Up: Fill your pots or trays with your propagating mix. Make a hole in the mix with a pencil or your fingertip. Carefully insert the bases of the cuttings into the holes, firming the mix gently around them.
- Water and Cover: Water the mix thoroughly until it’s evenly moist but not waterlogged. Place the pots inside a plastic bag or cover them with a propagator lid to maintain high humidity. You can use twigs or stakes to keep the plastic away from the leaves.
The “Secret Sauce” (Pro Tips)
Here are a couple of things I’ve learned over the years that can really make a difference:
- Bottom Heat: If you have it, using a heat mat under your pots can dramatically speed up root development. Eremophila latrobei loves a bit of warmth from below. Just make sure the heat isn’t too intense.
- Don’t Over-Water: While humidity is key, soggy soil will lead to rot. Water when the surface of the mix starts to feel dry to the touch. The plastic cover will help keep the moisture in.
- Cleanliness is King: I can’t stress this enough. Make sure all your tools and pots are scrupulously clean. Any lingering disease can quickly wipe out your precious cuttings.
Aftercare & Troubleshooting
Once your cuttings are potted, place them in a bright spot out of direct sunlight. Keep the humidity high, and check them regularly. You should start to see new leaf growth or a gentle tug will reveal resistance, indicating roots have formed, typically within 4-8 weeks.
As those roots develop, you can gradually start to acclimate them to lower humidity by opening the plastic bag or propagator lid for increasing periods each day. Once they are well-rooted and showing good top growth, you can carefully pot them up into individual, slightly larger pots using a good calidad potting mix.
The most common sign of trouble is rot, where the base of the cutting turns black and mushy. This is usually due to over-watering or poor drainage. If you see this, sadly, that cutting is likely lost. Another sign is wilting and leaf drop, which could be due to insufficient humidity, shock, or sometimes, just the plant not taking. Don’t give up!
A Little Garden Hug
So there you have it! Propagating Eremophila latrobei is a rewarding journey of patience and observation. Don’t be discouraged if your first attempt isn’t perfect. Every gardener has had cuttings that didn’t make it. The key is to enjoy the process, learn from each experience, and celebrate the little successes along the way. Happy propagating!
Resource:
https://identify.plantnet.org/k-world-flora/species/Eremophila%20latrobei%20F.Muell./data