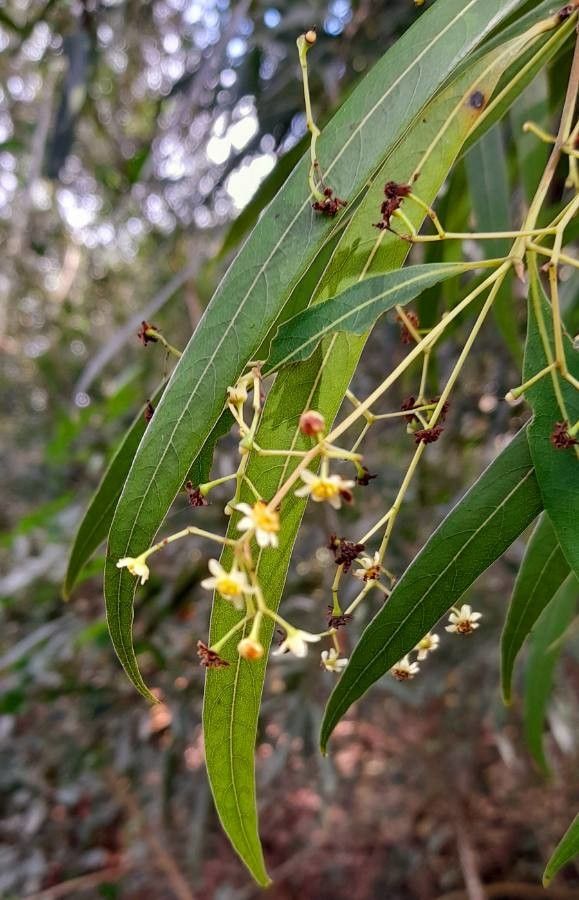
Hello, fellow plant enthusiasts! It’s so lovely to have you here. Today, we’re diving into the wonderful world of Nectandra angustifolia, a plant that holds a special place in my heart. Its elegant form and lovely foliage are a real treat, and there’s an immense satisfaction in nurturing a new life from a tiny piece of the parent plant. If you’re considering giving propagation a try, particularly with this beauty, I’m here to guide you. For absolute beginners, Nectandra angustifolia is a moderately rewarding plant to propagate. It’s not as fuss-free as some, but with a little care and attention, you’ll be well on your way.
The Best Time to Start
For Nectandra angustifolia, the sweet spot for propagation is really when the plant is actively growing, which typically means late spring or early summer. This is when its energy is at its peak, and it will be most receptive to forming new roots. You want to look for stems that are semi-hardwood – not brand new and floppy, but not old and woody either. Think of stems that feel a little firm but still have some flexibility to them.
Supplies You’ll Need
Gathering your supplies beforehand makes the whole process so much smoother. Here’s what I always have on hand:
- Sharp, sterile pruning shears or a sharp knife: Cleanliness is key to preventing disease.
- Rooting hormone powder or gel: This really gives your cuttings that extra boost to get started.
- A well-draining potting mix: I like a mix of equal parts peat moss or coco coir and perlite. This ensures excellent aeration and prevents waterlogging.
- Small pots or propagation trays: Whatever you choose, make sure they have drainage holes.
- A clear plastic bag or propagation dome: This helps maintain high humidity around your cuttings.
- Watering can with a fine rose or a spray bottle: For gentle watering.
- Soft labels and a marker: To keep track of what you’ve planted and when.
Propagation Methods
While there are a few ways to go about it, I find stem cuttings to be the most reliable for Nectandra angustifolia. Here’s how I do it:
- Take Your Cuttings: On a healthy plant, use your sharp, sterile shears to take 4-6 inch cuttings from the tip of a stem. Make your cut just below a leaf node. These nodes are where roots are most likely to emerge. Remove the lower leaves from the cutting, leaving just a few at the very top. This reduces water loss and prevents leaves from rotting in the soil.
- Prepare the Cutting: Dip the cut end of the stem into your rooting hormone. Swirl it gently to coat the end evenly. Tap off any excess.
- Plant Your Cuttings: Fill your pots or trays with your prepared potting mix. Make a small hole in the center of the soil with your finger or a pencil. Insert the coated end of the cutting into the hole, ensuring the leaf nodes you removed are buried. Gently firm the soil around the base of the cutting to ensure good contact.
- Water Gently: Water the soil thoroughly but gently. You want it to be moist but not soggy.
- Create Humid Conditions: Place the pots into your propagation tray or cover them with a clear plastic bag or propagation dome. This creates a mini-greenhouse effect, keeping the humidity high, which is crucial for preventing the cuttings from drying out before they root. If using a bag, you can loosely tie it or use a stake to keep it from touching the leaves.
- Find a Good Spot: Place your propagation setup in a warm location with bright, indirect light. Avoid direct sunlight, which can scorch the delicate cuttings.
The “Secret Sauce” (Pro Tips)
Now for a couple of little tricks that have made a big difference for me over the years:
- Bottom Heat is Your Friend: If you have access to a propagation mat, using it will make a world of difference. It provides gentle bottom heat, which is like a cozy bed for your cuttings, encouraging root development significantly faster and more reliably.
- Don’t Be Afraid to Mist: Even with a dome or bag, regular light misting is a good idea, especially in dry climates. A fine mist of water can help keep the leaves of your cuttings turgid and happy. Just be careful not to overdo it, as you don’t want to encourage fungal diseases. Aim for a gentle spritz once a day or so.
Aftercare & Troubleshooting
Once your cuttings have started to show signs of life – typically new leaf growth – that’s your clue that roots are forming! This can take anywhere from a few weeks to a couple of months.
Continue to keep the soil consistently moist but not waterlogged. As the roots develop, you can gradually reduce the humidity by opening the bag a little each day or lifting the dome for short periods. Once you see a good amount of new growth, you can transplant your new Nectandra angustifolia into its own small pot.
The main issue you might run into is rot. If a cutting turns black and mushy, it’s usually a sign of too much moisture and not enough air circulation. If you see this happening, it’s best to remove the affected cutting immediately to prevent it from spreading. Clean anything it was in contact with to avoid contamination. Don’t be discouraged if some don’t make it; it’s all part of the learning process!
A Little Patience Goes a Long Way
Propagating Nectandra angustifolia is a journey. It requires a bit of patience and observation, but the reward of seeing your own little plant flourishing is truly unmatched. Enjoy the process, celebrate the small victories, and don’t be afraid to experiment. Happy growing!
Resource: