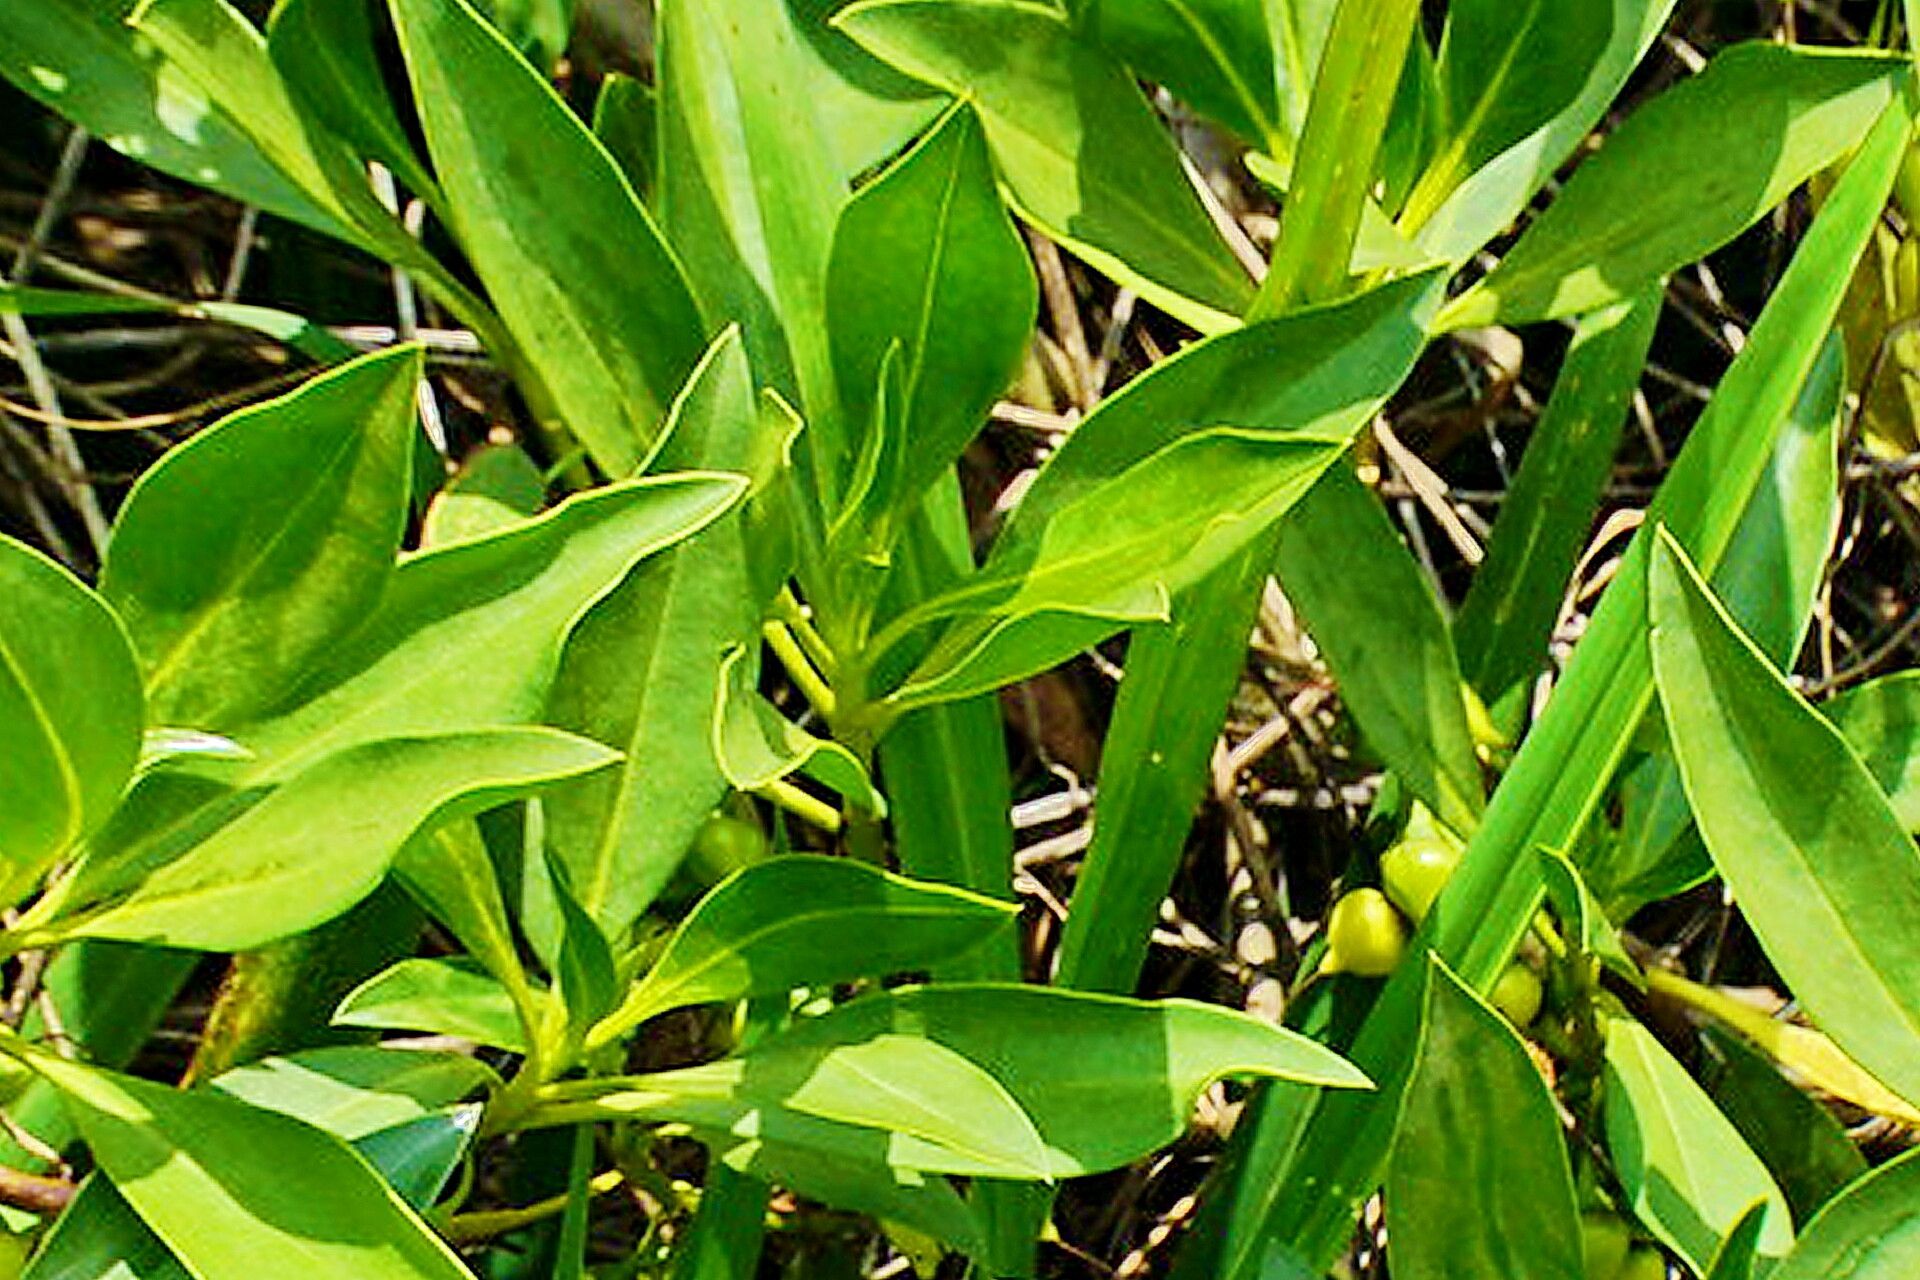
Oh, Myoporum! You know, the one with those lovely, glossy leaves and the subtle, sweet fragrance after a rain? I’ve always had a soft spot for Myoporum bontioides, or “Boobialla” as some folks call it. It’s just such a resilient beauty, and honestly, growing more of them from your existing plants feels like a little gardening superpower. Don’t you think? The best part? It’s wonderfully beginner-friendly! If you’re just dipping your toes into propagation, this is a fantastic plant to start with.
The Best Time to Start
When it comes to our Boobialla, late spring to early summer is your golden ticket. This is when the plant is actively growing, and those softwood cuttings are just begging to become new plants. You want to take cuttings from stems that are pliable but not brand new and wispy. Think of it as striking when the iron is hot, but in a gentle, plant-friendly way!
Supplies You’ll Need
Gathering your supplies upfront makes the whole process so much smoother. Here’s what I usually have on hand:
- Sharp, clean pruning shears or secateurs: We want nice, clean cuts to help prevent disease.
- Small pots or trays: With good drainage holes, of course!
- Sterilized potting mix: I often use a mix of equal parts perlite and peat moss or coco coir. This provides excellent drainage and aeration, which our cuttings just adore.
- Rooting hormone (optional but recommended): A little bit of rooting hormone can give your cuttings a significant boost. Opt for a powder or gel.
- Watering can or mister: For gentle hydration.
- Plastic bags or a propagator: To create a mini greenhouse effect.
Propagation Methods
Myoporum bontioides is a champion when it comes to stem cuttings. It’s my go-to method, and I think you’ll find it works like a charm.
Stem Cuttings: A Step-by-Step Guide
- Select Your Cuttings: Find a healthy stem on your mature plant. Look for a section that is firm but still has some flexibility. Avoid woody stems. You’re aiming for pieces about 4-6 inches long.
- Make the Cut: Using your clean shears, make a clean cut just below a leaf node (where a leaf attaches to the stem). This is where roots are most likely to form.
- Prepare the Cuttings: Gently remove any lower leaves from the cutting, leaving about 2-3 leaves at the top. This prevents the leaves from rotting once they’re in the soil. If you have very large leaves, you can even cut them in half to reduce water loss.
- Dip in Rooting Hormone (Optional): If you’re using rooting hormone, lightly dip the cut end of the stem into the powder or gel. Tap off any excess.
- Plant Your Cuttings: Fill your small pots with your prepared potting mix. Make a small hole with a pencil or your finger for each cutting. Insert the cut end of the stem into the hole, ensuring the leaves at the top are not touching the soil. Firm the soil gently around the cutting.
- Water Gently: Water the soil thoroughly but gently. You want it to be moist, not soggy.
- Create a Humid Environment: This is crucial! Cover the pots loosely with a plastic bag or place them in a propagator. Make sure the leaves of the cuttings do not touch the sides of the bag. This creates a humid environment that encourages rooting.
The “Secret Sauce” (Pro Tips)
Here are a couple of little tricks I’ve picked up over the years that make a big difference:
- Bottom Heat is Your Friend: If you can, place your pots on a gentle heat mat. This little bit of extra warmth from below can significantly speed up root development. It mimics how plants naturally grow from the ground up.
- Don’t Overwater! This is probably the most common mistake. Cuttings don’t have roots to absorb a lot of water, so let the top inch of soil dry out slightly between waterings. Overwatering is a fast track to rot. Trust your plant; it will tell you when it’s thirsty.
- Fresh Air is Key: While we want humidity, occasionally lift the plastic bag or open the propagator for a few minutes each day. This allows for air circulation and helps prevent fungal issues.
Aftercare & Troubleshooting
Once your cuttings have been in their cozy environment for a few weeks (or honestly, sometimes a couple of months), you’ll start to see signs of new growth. If you gently tug on a cutting and feel resistance, that’s a good sign roots have formed.
- Transplanting: Once you see a good amount of new leaf activity and feel that resistance, it’s time to gradually acclimatize your new plants. Remove the plastic covering for longer periods each day. Once they seem robust, you can transplant them into slightly larger pots with a good all-purpose potting mix.
- Troubleshooting:
- Yellowing Leaves: This can be a sign of overwatering or insufficient light. Check your watering schedule and move the pot to a brighter spot.
- Wilting: Usually points to a lack of consistent moisture or, again, overwatering. Feel the soil – is it bone dry or waterlogged?
- Rotting Stems: This is the big one, and it’s almost always down to too much moisture and not enough air circulation. Ensure your potting mix is well-draining and remember our tip about airing them out. sadly, if a cutting rots, it’s usually best to discard it and try again.
A Little Encouragement
Growing new plants is such a rewarding journey. Don’t get discouraged if your first few attempts aren’t perfect. Gardening is all about observation and learning. Be patient with your little Boobiallas, give them a little love, and enjoy the magical process of watching them grow! Happy propagating!
Resource: