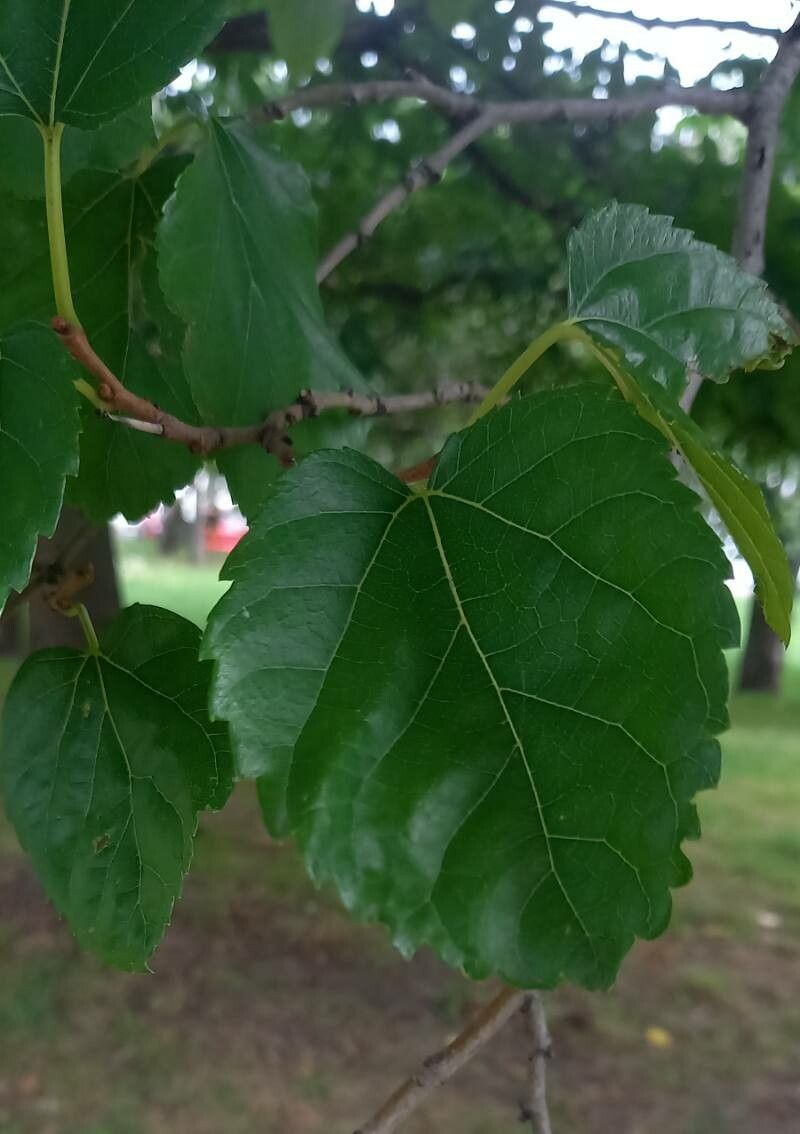
Oh, a Black Mulberry! What a fantastic choice. Morus nigra – the flavor of those berries is truly unparalleled, don’t you think? Sweet-tart perfection, bursting with that deep, intense taste that store-bought just can’t replicate. Growing your own from propagation is such a rewarding journey, a real mark of accomplishment for any gardener.
Now, is it a beginner-friendly plant to propagate? Honestly, it can be a little fiddly. It’s not as straightforward as propagating a mint, say. But with a bit of patience and following these steps, I have every confidence you’ll be successful. It’s all part of the learning, and that’s where the real joy is.
The Best Time to Start
For cuttings, the late spring after flowering is usually your sweet spot. This is when the plant has had a good growth spurt, and the wood is semi-hard – not too green, not too woody. You want that perfect balance of flexibility and resilience.
Supplies You’ll Need
Here’s what I always have on hand when I’m working with mulberries:
- Sharp pruning shears or a clean knife: Cleanliness is key to preventing disease.
- Rooting hormone (powder or gel): This is your little boost to encourage root development. I often use a powder that has IBA in it.
- Small pots or trays: Reusing old yogurt cups with drainage holes works just fine!
- A good potting mix: I prefer a mix of perlite and coco coir (about 50/50) for excellent drainage and aeration. A bit of John Innes No. 1 can also be good if you like a slightly richer base.
- Plastic bags or a propagator: To create a humid environment.
- Scissors or a sharp blade for trimming leaves.
- A spray bottle with water.
- Optional: A heat mat.
Propagation Methods
When it comes to Morus nigra, I find that semi-hardwood cuttings are your most reliable bet.
- Gather Your Cuttings: In late spring, select healthy, vigorous shoots from your established mulberry. Look for stems that are flexible but no longer soft and green. They should ideally snap cleanly when bent, rather than just bending.
- Prepare the Cuttings: Using your clean pruning shears, take cuttings that are about 4-6 inches long. Remove any flowers or developing fruit – we want all that energy to go into root formation, not fruit production on the cutting.
- Trim the Leaves: Strip off the lower half of the leaves. If the remaining leaves are very large, you can cut them in half horizontally to reduce water loss through transpiration. This is crucial.
- Apply Rooting Hormone: Dip the cut end of each stem into your rooting hormone, tapping off any excess. This stuff really makes a difference.
- Plant Your Cuttings: Fill your pots with the perlite and coco coir mix. Make a hole with a pencil or your finger, and insert the cutting, ensuring the hormone-coated end is well-covered. Gently firm the soil around the base.
- Water Gently: Water the soil thoroughly but avoid waterlogging. You want it moist, not soggy.
- Create a Humid Environment: Place your potted cuttings into a clear plastic bag or a propagator. Make sure the leaves don’t touch the sides of the bag if you can help it. Seal it up.
The “Secret Sauce”
Here are a couple of things I’ve learned over the years that really help:
- Bottom Heat is Your Friend: If you can, place your pots on a heated propagator mat or in a warm spot. Mulberries love a bit of warmth from below to kickstart root growth. It’s like giving them a warm hug from the soil up.
- Don’t Be Afraid to “Wound” (Carefully!): For particularly stubborn cuttings, I sometimes make a very shallow slit (about an inch long) vertically up the bark on one side of the base of the cutting. This can sometimes encourage roots to form from that area. Be gentle with this step!
Aftercare & Troubleshooting
Keep your cuttings in a bright spot, but out of direct, harsh sunlight. Check the moisture levels every few days – the soil should always feel lightly moist. If the bag starts to “sweat” heavily, you can briefly open it to allow some air circulation.
You’ll know they’re rooting when you see new leaf growth or resistance when you gently tug on a cutting. This usually takes several weeks, sometimes longer.
The most common problem you’ll face is rot. This is usually caused by overwatering and poor drainage. If you see cuttings turning black and mushy, it’s a sign they’ve rotted. Unfortunately, there’s no coming back from that, so learning to judge moisture is key. If you see mold on the soil surface, remove affected parts immediately and increase ventilation.
A Encouraging Closing
Propagating Morus nigra is a journey, and like any good journey, it’s about the process as much as the destination. Be patient, observe your plants, and learn from each one. Those first tiny roots are a real triumph, and soon you’ll have a whole new mulberry tree (or two!) to nurture. Happy propagating!
Resource:
https://identify.plantnet.org/k-world-flora/species/Morus%20nigra%20L./data