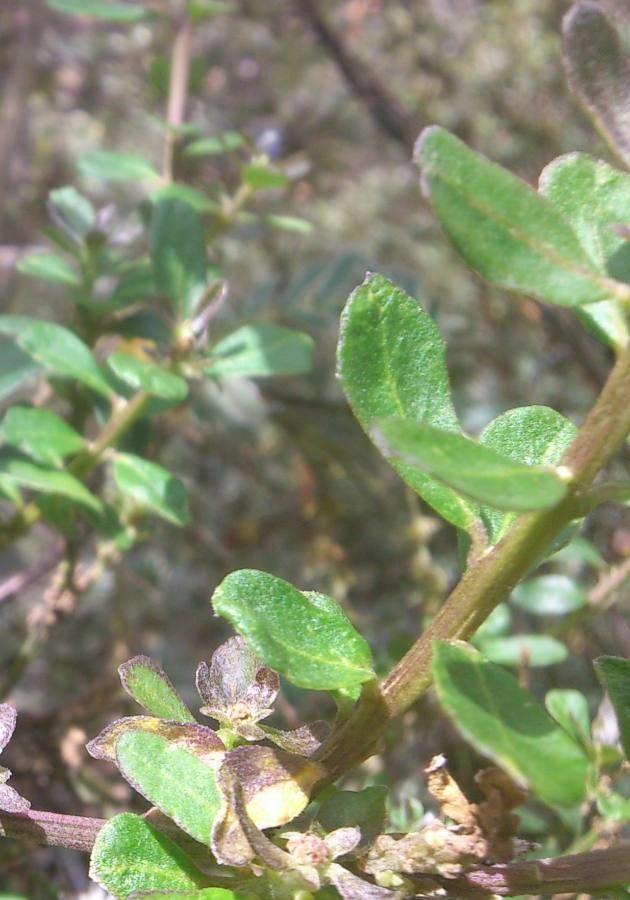
Oh, hello there! Come on in, grab a mug. I understand you’re curious about bringing more of those lovely Monnina salicifolia into your garden. It’s a wonderful plant, isn’t it? Its delicate, almost willow-like leaves have a certain charm that can soften any planting scheme. Plus, the satisfaction of nurturing a brand-new plant from a tiny piece of an existing one? There’s truly nothing quite like it.
Now, about propagation. For Monnina salicifolia, I’d say it’s moderately easy. It’s not quite “throw a stick in the ground and call it a day” easy, but with a little attention and the right steps, you’ll be rewarded with success. It’s a fantastic project for anyone ready to get their hands a bit more involved and move beyond just planting shop-bought specimens.
The Best Time to Start
My favorite time to propagate Monnina salicifolia is late spring to early summer. This is when the plant is actively growing. You’re looking for flexible, but not too soft, new growth. Think of it as capturing that youthful energy to encourage strong root development. Avoid trying to take cuttings from old, woody stems or from brand-new, floppy shoots that haven’t quite hardened off.
Supplies You’ll Need
Here’s what I like to have on hand before I get started:
- Sharp Pruning Shears or a Clean Knife: For taking clean cuts. This is crucial to prevent disease.
- Rooting Hormone (Optional but Recommended): A powder or gel can give your cuttings a helpful boost.
- A Well-Draining Potting Mix: I typically use a mix of equal parts perlite and peat moss, or a good quality seedling starting mix. You want it to drain well so you don’t get soggy roots.
- Small Pots or Trays: Clean pots are essential. I often use these little 3-4 inch ones.
- Clear Plastic Bag or Dome: To create a mini-greenhouse effect.
- Water: For the initial watering and any misting.
- Potting Labels: Don’t underestimate the importance of labeling your babies!
Propagation Methods
For Monnina salicifolia, I find stem cuttings to be the most reliable and straightforward method.
- Select Your Cuttings: As I mentioned, look for healthy, semi-hardwood stems. You want pieces that are about 4-6 inches long. These should have at least two sets of leaves.
- Make the Cut: Using your sharp shears or knife, make a clean cut just below a leaf node. A leaf node is where a leaf attaches to the stem. This is where roots are most likely to form.
- Prepare the Cutting: Gently remove the lower leaves, leaving just the top couple of leaves. If the remaining leaves are very large, you can trim them in half horizontally to reduce water loss through transpiration.
- Apply Rooting Hormone (If Using): Dip the cut end of the stem into your rooting hormone powder or gel. Tap off any excess.
- Plant Your Cuttings: Make a hole in your prepared potting mix with a pencil or your finger. Insert the cutting about 1-2 inches deep, ensuring the leaf nodes that were below the soil line are covered. Gently firm the soil around the stem.
- Water Gently: Water the pot thoroughly but gently. You want the soil to be moist but not waterlogged.
- Create a Humid Environment: Cover the pot with a clear plastic bag or a propagator lid. This will help maintain humidity, which is vital for cuttings to root. Make sure the leaves aren’t touching the plastic if possible.
The “Secret Sauce” (Pro Tips)
Here are a couple of things I’ve learned over the years that make a difference:
- Bottom Heat is Your Friend: If you have a heated propagator mat, use it! Consistent warmth from below really encourages root formation much faster and more efficiently. The ideal temperature is around 70-75°F (21-24°C).
- Don’t Over-Mist: While humidity is key, constantly drenching the leaves can encourage fungal diseases. A light misting when the surface of the soil starts to feel dry is usually sufficient. Alternatively, if you’re using a plastic bag, you might not need to mist much at all once it’s sealed.
- Wipe Down the Bag: If you notice a lot of condensation on the inside of your plastic bag, wipe it down with a clean cloth every few days. Too much moisture can still lead to rot.
Aftercare & Troubleshooting
Once you see new growth appearing on your cuttings, that’s a great sign that roots are developing! At this point, you can gradually begin to acclimate your cuttings to normal humidity by opening the plastic bag a little more each day over a week or so.
The most common issue you might encounter is rot. If a cutting turns black and mushy, or the leaves start to droop and yellow significantly without any signs of new growth, it’s likely rotting. This is usually due to too much moisture or poor drainage. If you catch it early, you might be able to save it by removing it, trimming away any rotted parts, and replanting in fresh, drier soil. However, sometimes, it’s best to discard infected cuttings to prevent spreading any potential disease to healthy ones.
A Encouraging Closing
Propagating plants is a journey, and sometimes there are a few bumps along the way. Be patient with your little Monnina salicifolia cuttings. It can take several weeks, even a couple of months, for them to develop a strong enough root system to be transplanted. Just keep them in a bright spot (but out of direct hot sun initially) and provide consistent moisture. Enjoy the process – the anticipation, the growth, and the sweet victory when you see those roots! Happy propagating!
Resource:
https://identify.plantnet.org/k-world-flora/species/Monnina%20salicifolia%20Ruiz%20&%20Pav./data