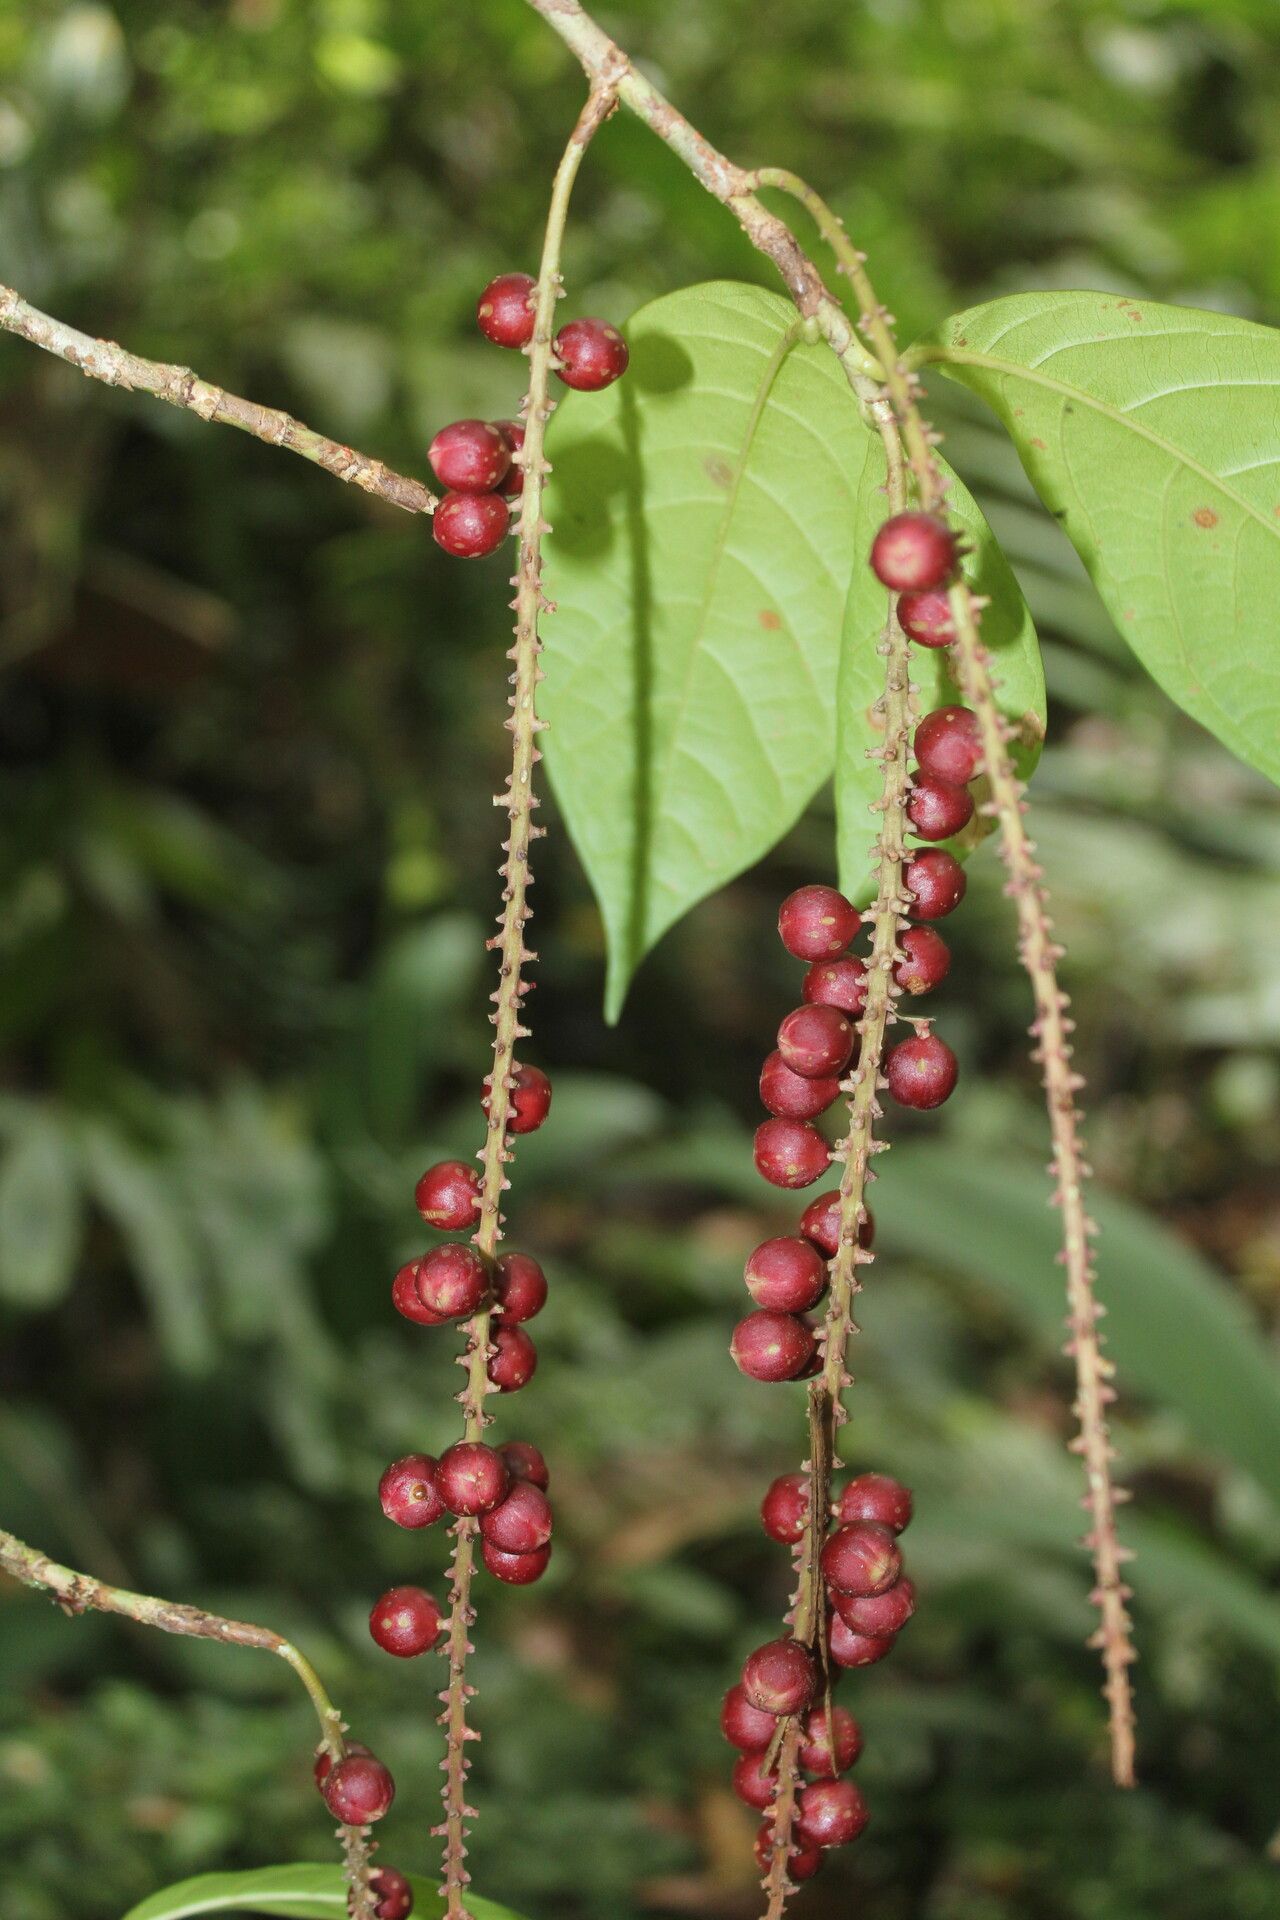
Ah, Coccoloba porphyrostachys. If you’ve ever seen one of these beauties, you know why they capture our hearts. That lovely foliage, often with striking colorations, and the promise of those unique, often edible, fruits… it’s no wonder you’re thinking about growing more! Propagating this tropical treasure can feel like unlocking a little piece of gardening magic. Don’t worry, I’m here to guide you.
Why Grow More Coccoloba porphyrostachys?
This plant brings such fantastic texture and color to a space. Whether you’re aiming for a stunning specimen tree or just want a few more to share with gardening friends, propagating is incredibly rewarding. It’s a way to extend the joy and beauty this plant offers.
Is it Easy for Beginners?
Honestly, Coccoloba porphyrostachys can be a little bit of a fuss for absolute beginners. It’s not the most difficult plant to propagate, but it definitely benefits from a bit of attention and understanding its specific needs. Think of it as a plant that will teach you some valuable skills!
The Best Time to Start
For the highest chance of success, the late spring or early summer is your sweet spot. This is when the plant is actively growing and will have the energy to put towards developing new roots. Look for stems that are semi-hardwood – they’ll be a little firm but not completely woody. Avoid brand-new, bright green, floppy growth, and also super old, brittle stems.
Supplies You’ll Need
Here’s what you’ll want to have on hand:
- Sharp, sterile pruning shears or a knife: Cleanliness is key to preventing disease.
- Rooting hormone powder or gel: This can significantly boost your success rate.
- A well-draining potting mix: I like a 50/50 blend of perlite and peat moss or coco coir. You can also add a bit of horticultural charcoal.
- Small pots or propagation trays: About 4-6 inches deep work well.
- Plastic bags or a propagator: To maintain humidity.
- Water mister: For keeping things nicely humid.
- Optional: A heat mat: This is a game-changer for encouraging root growth.
Propagation Methods: Let’s Get Growing!
The most reliable method for Coccoloba porphyrostachys is stem cuttings.
- Select Your Cuttings: Head out to your plant when it’s in its active growing phase (late spring/early summer). Look for healthy, non-flowering stems.
- Make the Cut: Using your sharp, sterile shears, take cuttings that are about 6-8 inches long. Make your cut just below a leaf node (where a leaf attaches to the stem). These nodes are where the magic of root formation happens.
- Prepare the Cuttings: Gently remove the lower leaves, leaving just a couple at the very top. This prevents them from rotting in the soil and directs the plant’s energy into rooting.
- Apply Rooting Hormone: Dip the cut end of the stem into your rooting hormone. Tap off any excess.
- Plant Your Cuttings: Fill your pots with your prepared potting mix. Make a hole in the center with your finger or a pencil. Insert the cutting into the hole, pushing the rooting hormone-coated end into the soil.
- Bury the Nodes: Make sure at least one or two leaf nodes are buried beneath the soil surface, as this is where roots will emerge. Gently firm the soil around the stem.
- Water Gently: Water your newly potted cuttings thoroughly but gently. You want the soil to be moist, not waterlogged.
- Create a Humid Environment: This is crucial! Place a clear plastic bag over the pot, securing it around the rim with a rubber band or tape. Alternatively, use a propagator lid. Make sure the leaves don’t touch the sides of the bag if possible.
The “Secret Sauce” (Pro Tips)
Now, for a few things I’ve learned over the years that really make a difference:
- Bottom Heat is Your Friend: If you can, place your pots on a heat mat set to about 75-80°F (24-27°C). This warmth stimulates root development from below, mimicking the ideal tropical conditions. I’ve found it dramatically speeds things up.
- Don’t Drown Those Top Leaves: When you water, be careful not to let the leaves at the top of the cutting get constantly soggy. If they are, gently blot them dry, or make sure there’s enough airflow within your plastic bag setup to prevent that persistent dampness.
- Consider a “Nurse” Leaf: If your cutting seems a bit anemic or has very few leaves, you can cut larger leaves in half horizontally. This reduces water loss while still allowing the leaf to photosynthesize and support the cutting.
Aftercare & Troubleshooting
Once your cuttings are potted, place them in a bright, indirect light location. Avoid direct sun, which can scorch them. Keep the soil consistently moist but not soggy.
You’ll know your cuttings have rooted when you see new leaf growth appearing at the top. You can also give a gentle tug on the stem – if there’s resistance, roots are forming! This can take anywhere from 4 to 12 weeks, so patience is your best friend here.
The main enemy here is rot. If you notice your cutting turning mushy, black, or falling over, it’s likely rotting. This usually means too much moisture and not enough airflow. Unfortunately, there’s not much to do once rot sets in; it’s best to discard it and try again, adjusting your watering and humidity levels.
Keep Going and Enjoy the Journey
Propagating plants is a journey, not a race. Don’t get discouraged if your first attempt isn’t a roaring success. Each time you try, you learn a little more about Coccoloba porphyrostachys and its needs. So gather your supplies, get your hands dirty, and enjoy the magic of bringing new life into your garden. Happy growing!
Resource:
https://identify.plantnet.org/k-world-flora/species/Coccoloba%20porphyrostachys%20Gómez-Laur./data