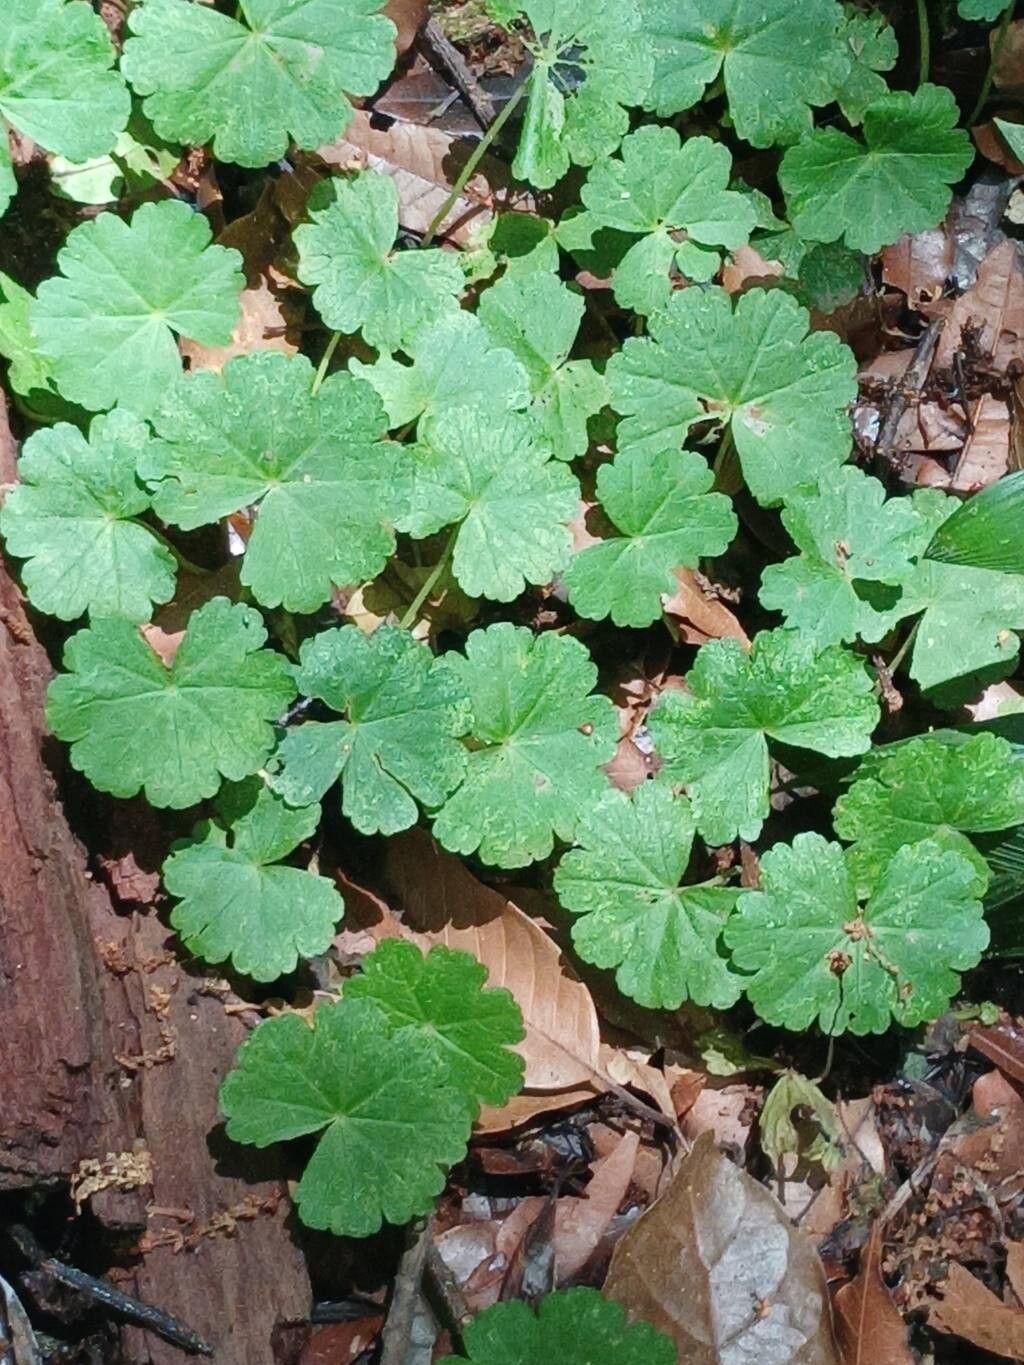
Ah, Micropleura renifolia! If you’ve ever seen this beauty gracing a plant shelf, I’m sure you’ve fallen for its charm. Those delicate, kidney-shaped leaves, often with a subtle blush of color, bring such a unique texture and a touch of elegance to any space. And let me tell you, propagating it yourself? It’s incredibly satisfying. It’s one of those plants that makes you feel like a real plant whisperer.
For beginners, I’d say Micropleura renifolia is moderately easy to propagate. It’s not as forgiving as a pothos, mind you, but with a little attention to detail, you’ll find yourself with an abundance of new plants in no time.
The Best Time to Start
My favorite time to get my hands dirty with Micropleura renifolia propagation is in late spring or early summer. This is when the plant is actively growing and has a good amount of energy stored. You’ll find that cuttings taken during this period tend to root much faster and with greater success. Think of it as getting a head start while the weather is warm and bright!
Supplies You’ll Need
Before we dive in, let’s make sure you have everything ready. A little preparation goes a long way!
- Sharp pruning shears or a clean craft knife: For taking clean cuts.
- Rooting hormone (optional, but recommended for speed): Look for one specifically for stem cuttings.
- Well-draining potting mix: A mix of peat moss, perlite, and a bit of coco coir works wonders. Or, you can buy a good quality houseplant mix and amend it.
- Small pots or propagation trays: Clean ones are key!
- Clear plastic bags or a propagation dome: To create a humid environment.
- Water: For watering and for water propagation.
- Spray bottle: For misting.
- Small pebbles or perlite (for water propagation): To keep cuttings upright.
Propagation Methods
Let’s get propagating! I find that stem cuttings are my go-to method for Micropleura renifolia, but water propagation can also work beautifully.
Stem Cuttings: My Favorite Approach
- Select a healthy stem: Look for a piece of stem that’s actively growing, typically about 4-6 inches long. It should have at least a couple of sets of leaves.
- Make a clean cut: Using your sharp shears or craft knife, make a clean cut just below a leaf node (the point where a leaf attaches to the stem). This is where roots are most likely to emerge.
- Remove lower leaves: Gently pull off the leaves from the bottom half of your cutting. This prevents them from rotting in the soil and exposes the nodes. Leave at least two leaves at the top.
- Apply rooting hormone (optional): If you’re using it, dip the cut end into the rooting hormone, tapping off any excess.
- Plant your cutting: Fill your clean pot or tray with your potting mix. Make a small hole with your finger or a dibber and gently insert the cutting, ensuring the nodes are in the soil. Firm the soil gently around the stem.
- Water gently: Water the soil lightly until it’s evenly moist but not waterlogged.
- Create humidity: Cover the pot with a clear plastic bag or place it in a propagation dome. Make sure the leaves don’t touch the plastic if possible. Poke a few small holes in the bag if you notice excessive condensation.
Water Propagation: For the Impatient Gardener
- Prepare your cutting: Follow steps 1-3 from the stem cutting method.
- Place in water: Fill a clean jar or glass with fresh water. Place your cutting in the water, ensuring the leaf nodes are submerged. It’s important that no leaves are touching the water, as this can lead to rot.
- Provide support: You can use small pebbles or a bit of perlite at the bottom of the jar to help keep the cutting upright.
- Change water regularly: Change the water every few days to keep it fresh and prevent bacterial growth.
The “Secret Sauce” (Pro Tips)
Here are a couple of things I’ve learned over the years that can really boost your propagation success.
- Bottom Heat is Your Friend: If you can, place your pots on a heated propagation mat. This gentle warmth encourages root development and significantly speeds up the process. It’s like giving your cuttings a cozy little spa day!
- Don’t Overwater! This is crucial, especially with stem cuttings. The soil should be consistently moist but never soggy. Overwatering is one of the fastest ways to invite root rot, which is the kiss of death for a new cutting. Let the top inch of soil dry out slightly before watering again.
Aftercare & Troubleshooting
Once you see new leaf growth or roots peeking out of the drainage holes, your cutting has successfully rooted!
- Acclimate slowly: If you used a plastic bag, start by opening it for a few hours each day to gradually introduce the new plant to less humid air.
- Potting up: Once the roots are well-established (you can gently check by tugging slightly on the stem – if there’s resistance, it’s good to go), you can pot it into its own small pot with fresh potting mix.
- Troubleshooting: The most common issue is root rot, which usually manifests as a mushy, black stem base or wilting leaves that quickly turn yellow. This is almost always due to overwatering or poor drainage. If you see this, act fast! You might be able to salvage a healthy section of the stem by taking a new cutting. Fungal gnats are also common in moist soil, but they’re more of a nuisance than a killer.
Happy Propagating!
Bringing new life into the world through propagation is one of the most rewarding aspects of gardening. Be patient with your Micropleura renifolia cuttings. Some may take a little longer than others, and that’s perfectly okay. Enjoy the journey, learn from each little sprout, and soon you’ll have a beautiful collection of these charming plants. Happy growing!
Resource:
https://identify.plantnet.org/k-world-flora/species/Micropleura%20renifolia%20Lag./data