Hello there, fellow garden enthusiasts! I’m so excited to talk to you today about a plant that has truly captured my heart over the years: Erysimum bicolor.
A Splash of Color and Continuous Bloom
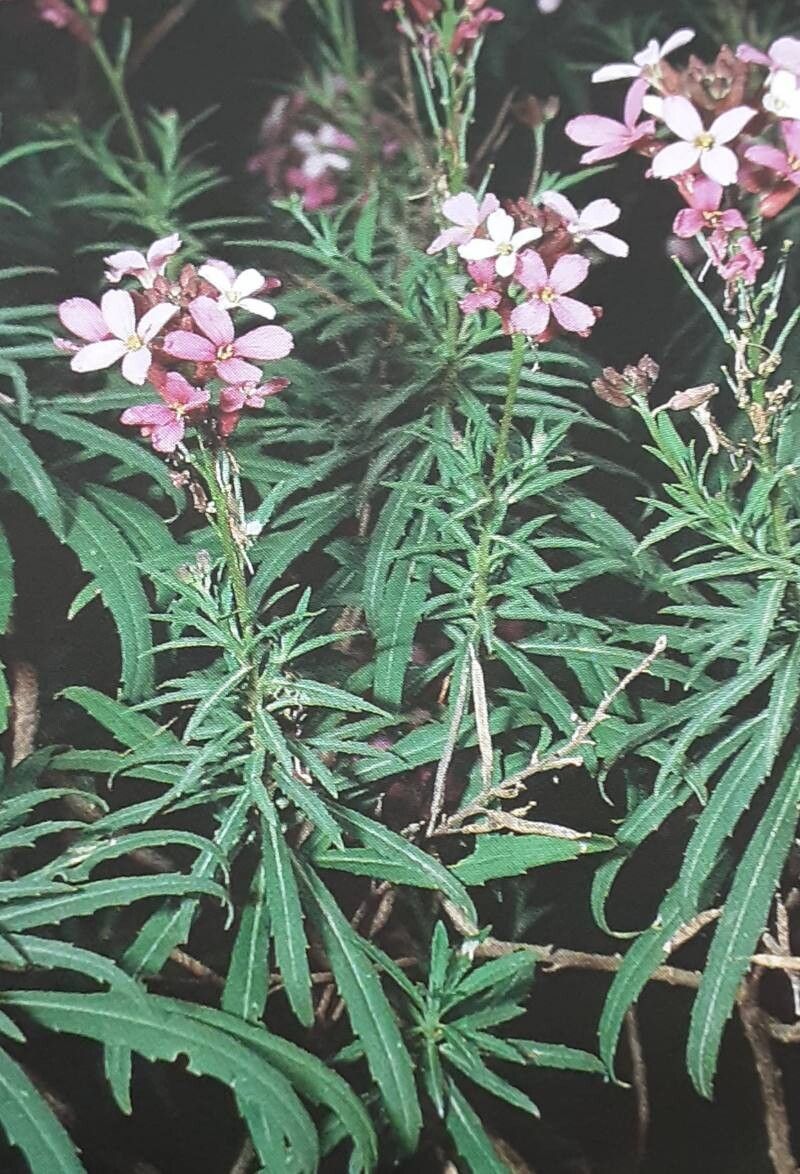
What I love most about Erysimum bicolor, often called the ‘Sunset’ wallflower for its stunning apricot and burgundy blooms, is its cheerful disposition. It unfurls these gorgeous, sweet-scented flowers for such a long season, bringing a vibrant splash of color to my garden beds and containers. And the best part? Sharing its beauty is incredibly rewarding, which is why propagating it is something I always encourage. For those just dipping their toes into the world of plant propagation, I find Erysimum bicolor to be a wonderfully forgiving plant to start with.
The Best Time to Start
For the highest success rate, I always aim to take cuttings in late spring or early summer. This is when the plant is actively growing and has plenty of healthy, semi-hardened shoots to offer. You want to avoid taking cuttings from soft, brand-new growth, as it’s too fragile. Conversely, overly woody stems won’t root as readily.
Supplies You’ll Need
Gathering your supplies beforehand makes the whole process so much smoother. Here’s what I always have on hand:
- Sharp pruning shears or a clean, sharp knife: Sanitation is key to preventing disease.
- Rooting hormone (optional, but recommended): I like to use a powder or gel.
- A good quality potting mix: I often use a mix of equal parts peat moss, perlite, and coarse sand to ensure excellent drainage.
- Small pots or propagation trays: Clean pots are essential!
- A watering can with a fine rose: Gentle watering is crucial.
- A plastic bag or propagator: To create a humid environment.
- Labels and a permanent marker: Don’t forget to label your cuttings!
Propagation Methods: Taking Stem Cuttings
Stem cuttings are my go-to method for Erysimum bicolor. It’s straightforward and yields great results.
- Select Your Parent Plant: Find a healthy, non-flowering stem on your mature Erysimum bicolor. Look for stems that are a bit firm but still have some flexibility – imagine a young twig that’s not quite woody yet.
- Make the Cut: Using your clean shears or knife, take a cutting about 4-6 inches long. Make your cut just below a leaf node (where a leaf joins the stem). This is where the plant produces the most rooting hormones.
- Prepare the Cutting: Gently remove the lower leaves from the cutting, leaving just two or three sets of leaves at the top. If the remaining leaves are very large, you can carefully cut them in half horizontally to reduce water loss.
- Apply Rooting Hormone (Optional): If you’re using rooting hormone, dip the cut end of the stem into the powder or gel. Tap off any excess.
- Plant Your Cuttings: Fill your clean pots or trays with your prepared potting mix. Make a hole with a pencil or your finger in the center, and insert the cut end of the Erysimum cutting about an inch deep. Gently firm the soil around the base.
- Water Gently: Water the soil thoroughly but gently. You want it to be moist but not soggy.
- Create Humidity: Place the potted cuttings inside a clear plastic bag or a propagation dome. This will help maintain the high humidity they need to root. Keep the bag slightly open at the top if you’re worried about too much moisture.
The “Secret Sauce” (Pro Tips)
Here are a few little tricks I’ve learned along the way that can really boost your success:
- Bottom Heat is Your Friend: Want to speed things up? A heated propagator or placing your pots on a seedling heat mat can make a huge difference. Warmer temperatures encourage root development.
- Don’t Drown Your Dreams: While humidity is vital, soggy soil is the enemy. You want that consistent moisture, but it must drain well. If you see water pooling, your mix might be too heavy, or you’re watering too much.
- Patience, Young Grasshopper: This might sound simple, but I’ve seen so many gardeners give up too soon. Erysimum bicolor can take 4-8 weeks to root, sometimes longer, depending on the conditions. Resist the urge to constantly tug on them; you’ll know they’ve rooted when you see new leafy growth.
Aftercare & Troubleshooting
Once you start to see signs of rooting – usually evident by new growth appearing at the top – it’s time for a little more attention.
- Gradual Acclimation: Slowly start to acclimate your new plants to normal room humidity. Open the plastic bag or propagator for increasing periods each day over a week or so.
- Light Requirements: Place your rooted cuttings in bright, indirect light. Avoid direct, scorching sun, which can be too harsh for young plants.
- Watering: Continue to water when the top inch of soil feels dry. As they grow, you can gradually introduce them to slightly more direct sunlight.
- Signs of Failure: The most common issue is rot, which usually shows up as a black, mushy stem, often at the soil line. This is almost always due to overwatering and poor drainage. If you see this, unfortunately, that cutting is likely lost. Another sign of failure is cuttings that just refuse to grow or show any rooting after many weeks – they can simply dry out and shrivel.
Happy Propagating!
Watching a tiny cutting transform into a whole new plant is one of the most satisfying parts of gardening. Don’t be discouraged if you have a few failures along the way – every gardener does! Keep at it, enjoy the process, and soon you’ll be surrounded by your own beautiful Erysimum bicolor plants. Happy planting!
Resource:
https://identify.plantnet.org/k-world-flora/species/Erysimum%20bicolor%20(Hornem.)%20DC./data