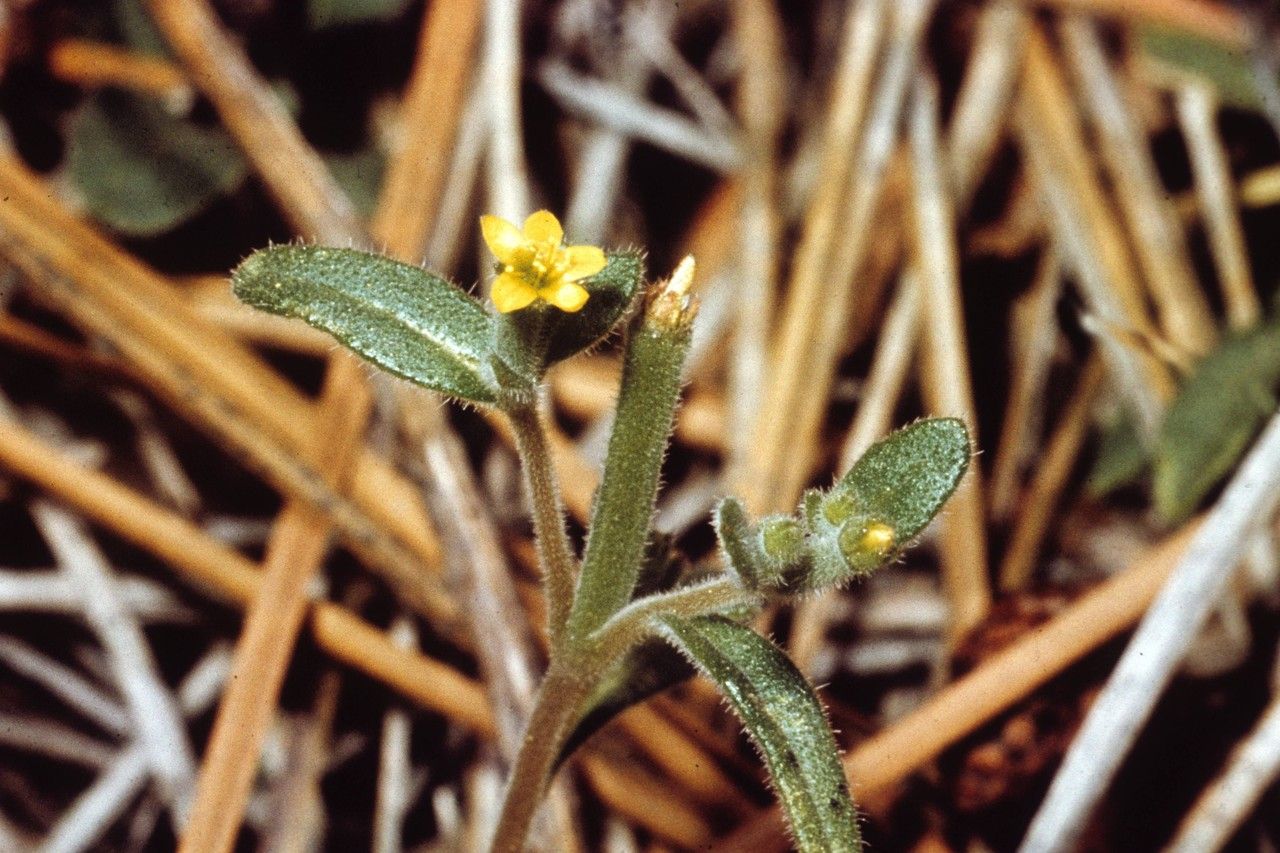
Oh, hello there! Come on in, grab a mug. I’m so glad you’re interested in propagating Mentzelia dispersa. It’s a wonderful little plant, isn’t it? Those sunny yellow flowers can really brighten up a corner of the garden, and the way they seem to glow in the evening light is just magical. Plus, sharing these beauties with friends is such a joy.
Now, about how easy it is to propagate. Honestly, for beginners, Mentzelia dispersa can be a touch on the challenging side. It’s not impossible by any means, but it definitely rewards a bit of patience and careful attention. That’s partly why I wanted to share this guide – to give you that extra nudge of confidence!
The Best Time to Start
For the highest success rate, I’ve found that starting in late spring or early summer is your best bet. This is when the plant is actively growing and has the most energy to put into developing new roots. You’ll want to collect cuttings from healthy, non-flowering stems. If your plant has already set a lot of seed, you might have missed the best window for cuttings, but don’t worry, we can explore other options too.
Supplies You’ll Need
Here’s what you’ll want to have on hand before you get started:
- Sharp pruning shears or a clean craft knife: For making clean cuts.
- Rooting hormone (optional but recommended): This little helper can significantly boost your success rates. Look for a powder or gel specifically for softwood cuttings.
- Well-draining potting mix: A good blend is crucial. I like to use a mix of equal parts perlite, peat moss or coco coir, and a bit of coarse sand. You can also buy a quality seedling starter mix.
- Small pots or seed trays: Clean and with drainage holes, of course!
- Plastic bags or a propagation dome: To create a humid environment for your cuttings.
- Watering can or spray bottle: For gentle watering.
Propagation Methods
While Mentzelia dispersa can also be grown from seed (though germination can be a bit tricky and sometimes requires scarification or cold stratification!), propagating from cuttings is often more reliable once you’ve got a mature plant.
Stem Cuttings
This is my go-to method for many plants, and Mentzelia is no different.
- Take Your Cuttings: In late spring or early summer, find a healthy, young stem that isn’t flowering. Using your clean shears or knife, cut a piece about 4-6 inches long. Make the cut just below a leaf node (where a leaf attaches to the stem).
- Prepare the Cuttings: Gently remove the lower leaves from the cutting. You want to leave just a few at the very top. This helps the plant focus its energy on rooting, not on supporting lots of leaves that can’t get water yet.
- Apply Rooting Hormone: If you’re using rooting hormone, dip the cut end of the stem into the powder or gel, tapping off any excess.
- Plant Your Cuttings: Fill your small pots or trays with your well-draining potting mix. Make a small hole in the center of each pot with your finger or a pencil.
- Insert and Water: Place the prepared cutting into the hole, and gently firm the soil around it. Then, water thoroughly but gently until the soil is evenly moist.
Water Propagation (with caution!)
Some gardeners have success rooting softer stems in water. It’s a neat way to watch root development!
- Take and Prepare Cuttings: Follow steps 1 and 2 from the stem cuttings method.
- Place in Water: Put the cuttings in a jar or glass of clean water. Make sure that no leaves are submerged in the water. Any leaves in the water will just rot and can lead to the whole cutting decaying.
- Change Water Regularly: Change the water every few days to keep it fresh and oxygenated.
The “Secret Sauce” (Pro Tips)
Here are a few little tricks I’ve picked up over the years that can make a big difference:
- Bottom Heat is Your Friend: If you can, place your pots on a gentle heating mat. This warmth encourages root development from below, and it’s especially helpful if the air temperature isn’t consistently warm.
- Don’t Overwater, But Keep it Humid: Cuttings need humidity to survive until they can draw up water through roots. Covering your pots with a plastic bag (making sure the bag doesn’t touch the leaves) or using a propagation dome is perfect. However, be vigilant about not letting them sit in soggy soil. That’s a fast track to rot. I often poke a few small holes in the plastic bag to allow for some air exchange.
- Patience is Key (Really!): Some plants root in a week, others take a month or more. Mentzelia dispersa can be on the slower side. Resist the urge to constantly pull them up to check for roots! A gentle tug is okay after a few weeks, but frequent disturbance is counterproductive.
Aftercare & Troubleshooting
Once you see good root growth (you might see roots peeking out of the drainage holes or new growth on the stem), it’s time for a little more care.
- Gradual Acclimation: If you’ve covered your cuttings, slowly start to acclimate them to the outside air by opening the bag or dome for increasingly longer periods over several days.
- Potting Up: Once they have a decent root system, you can pot them up into slightly larger individual pots with good quality potting soil. Continue to water them gently.
- Common Troubles: The most common problem you’ll encounter is rot. This is usually a sign of overwatering or poor drainage. If a cutting looks mushy or has black, soft spots, it’s likely gone too far. Another issue is wilting, which can happen if the cutting hasn’t rooted yet and the humidity is too low, or if it’s just too hot and dry.
A Little Encouragement
Propagating plants is a journey, and sometimes that journey has a few bumps in the road. Don’t get discouraged if not every cutting makes it. Every attempt teaches you something new. Take a deep breath, enjoy the process of nurturing these little lives, and before you know it, you’ll have a whole new patch of Mentzelia dispersa to admire. Happy gardening!
Resource:
https://identify.plantnet.org/k-world-flora/species/Mentzelia%20dispersa%20S.Watson/data