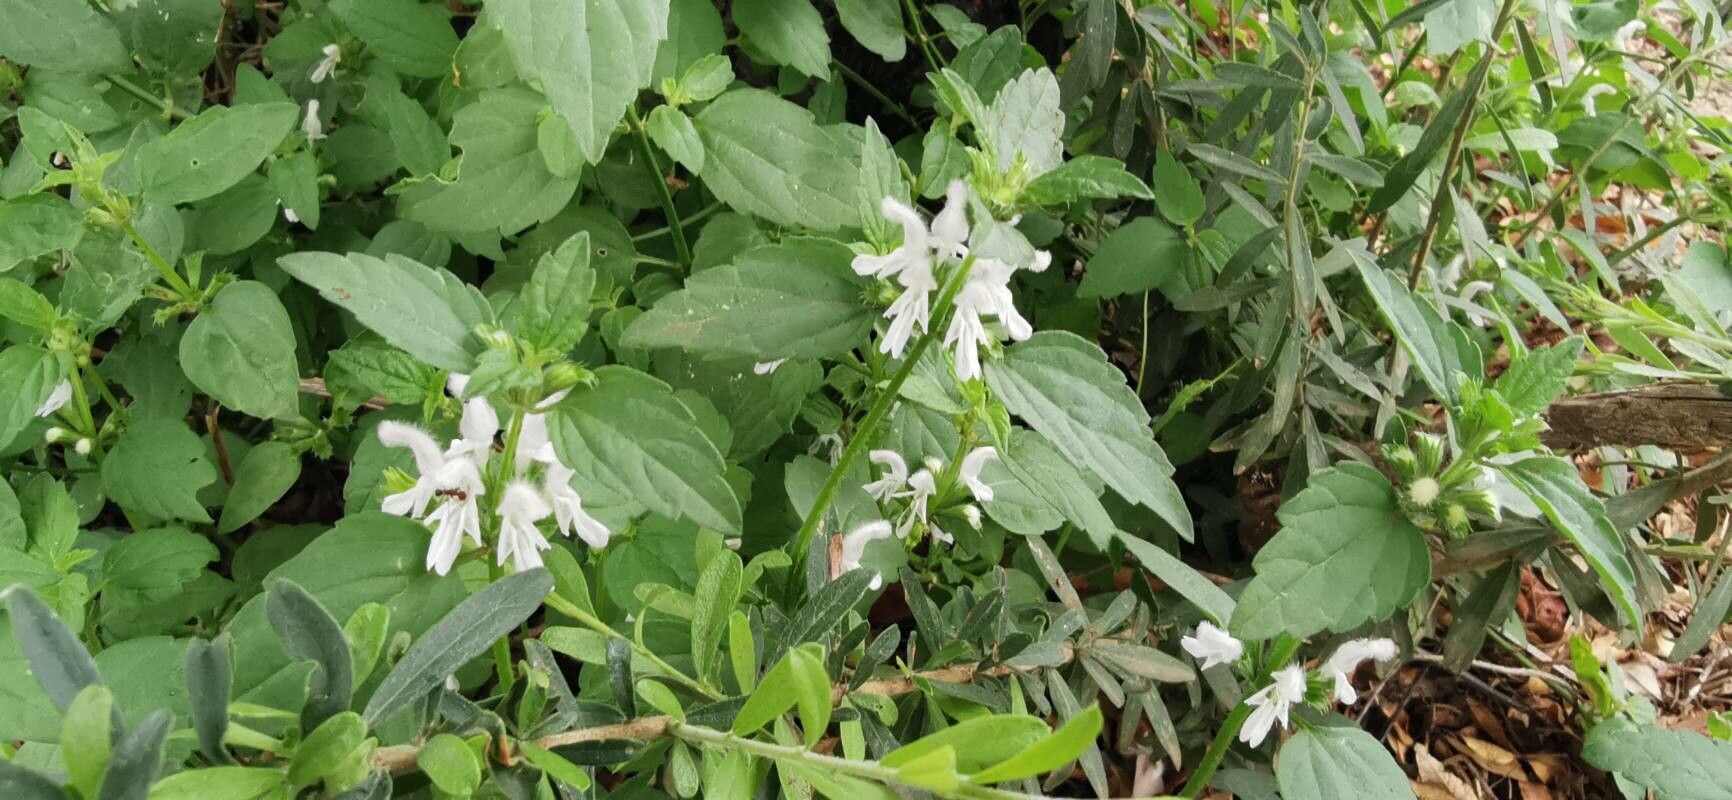
Oh, Leucas glabrata! If you’re looking for a plant that just radiates sunshine and brings a little bit of that delightful Mediterranean charm into your garden, you’ve found it. Its clusters of delicate white flowers, often tinged with a subtle pink blush, are a magnet for pollinators. And the best part? Multiplying this beauty is surprisingly rewarding, even for those of us who are just dipping our toes into the world of propagation. Honestly, I find it quite forgiving, which is always a good sign for beginners!
The Best Time to Start
For the highest chance of success with Leucas glabrata, I always recommend starting in late spring or early summer. This is when the plant is actively growing and has plenty of energy to put into developing new roots. Aim to take cuttings from healthy, non-flowering stems. You’ll know it’s the right time because the plant will be vigorous and putting out nice, new growth.
Supplies You’ll Need
To give your little Leucas cuttings the best start, gather these essentials:
- Sharp pruning shears or a clean knife: For making neat, precise cuts.
- Rooting hormone (optional but helpful): A little help can speed things along.
- A well-draining potting mix: I like a blend of potting soil with perlite or coarse sand.
- Small pots or trays: Clean ones are a must to prevent disease.
- Plastic bags or a propagation dome: To maintain humidity.
- Watering can with a fine rose: For gentle watering.
Propagation Methods
Leucas glabrata is quite happy to be propagated by stem cuttings. It’s straightforward and usually yields great results.
- Take Your Cuttings: Select a healthy, upright stem that has new growth but hasn’t flowered yet. Using your sharp shears, make a clean cut just below a leaf node (where a leaf attaches to the stem). You want cuttings that are about 4-6 inches long.
- Prepare the Cuttings: Gently remove the lower leaves from the cutting, leaving just a couple of leaves at the very top. This prevents them from rotting in the soil. If you’re using rooting hormone, dip the cut end into it now, tapping off any excess.
- Plant the Cuttings: Fill your small pots or trays with your well-draining potting mix. Make a small hole in the center with your finger or a pencil. Insert the cut end of the Leucas cutting into the hole, ensuring that at least one leaf node is buried beneath the soil surface. This is where the magic happens – roots will emerge from this node. Firm the soil gently around the cutting.
- Water and Cover: Water your cuttings thoroughly but gently. Then, cover the pots with a plastic bag or a propagation dome. This creates a mini-greenhouse effect, keeping the humidity high which is crucial for cuttings that haven’t yet developed roots.
Water Propagation (A quick note): While you can root Leucas in water, I find it’s often less successful in the long run compared to soil propagation. If you do choose this method, make sure to change the water every few days to keep it fresh and only submerge the cut end, ensuring no leaves are submerged as they will rot quickly, which can then contaminate the water.
The “Secret Sauce” (Pro Tips)
Here are a couple of little tricks I’ve picked up over the years that can make a real difference:
- Don’t be stingy with your cuttings! Take more than you think you’ll need. Not all cuttings will make it, and it’s better to have a few extras to choose from later.
- A little warmth goes a long way. Placing your pots on a heat mat (if you have one) can significantly speed up root development. It mimics that lovely summer warmth the plant craves.
Aftercare & Troubleshooting
Once your cuttings are planted, place them in a bright location, but avoid direct, scorching sunlight. Keep the soil consistently moist but not waterlogged. You can gently tug on a cutting after a few weeks. If you feel resistance, they’ve started to root!
The most common issue you might encounter is rot. If you see the cutting turning mushy and brown, it’s usually a sign of too much moisture and not enough air circulation. Ensure your soil drains well and that the humidity isn’t too high (you might need to lift the plastic bag for a bit each day to let them breathe). Don’t be discouraged if a cutting doesn’t make it; it’s all part of the learning process.
A Encouraging Closing
Propagating Leucas glabrata is a wonderful way to multiply your gardening joy. Be patient with your little cuttings; they’ll take their own sweet time to establish themselves. Enjoy the process, celebrate every new root you see, and soon you’ll have a whole garden full of these charming white bloomers! Happy growing!
Resource:
https://identify.plantnet.org/k-world-flora/species/Leucas%20glabrata%20(Vahl)%20Sm./data