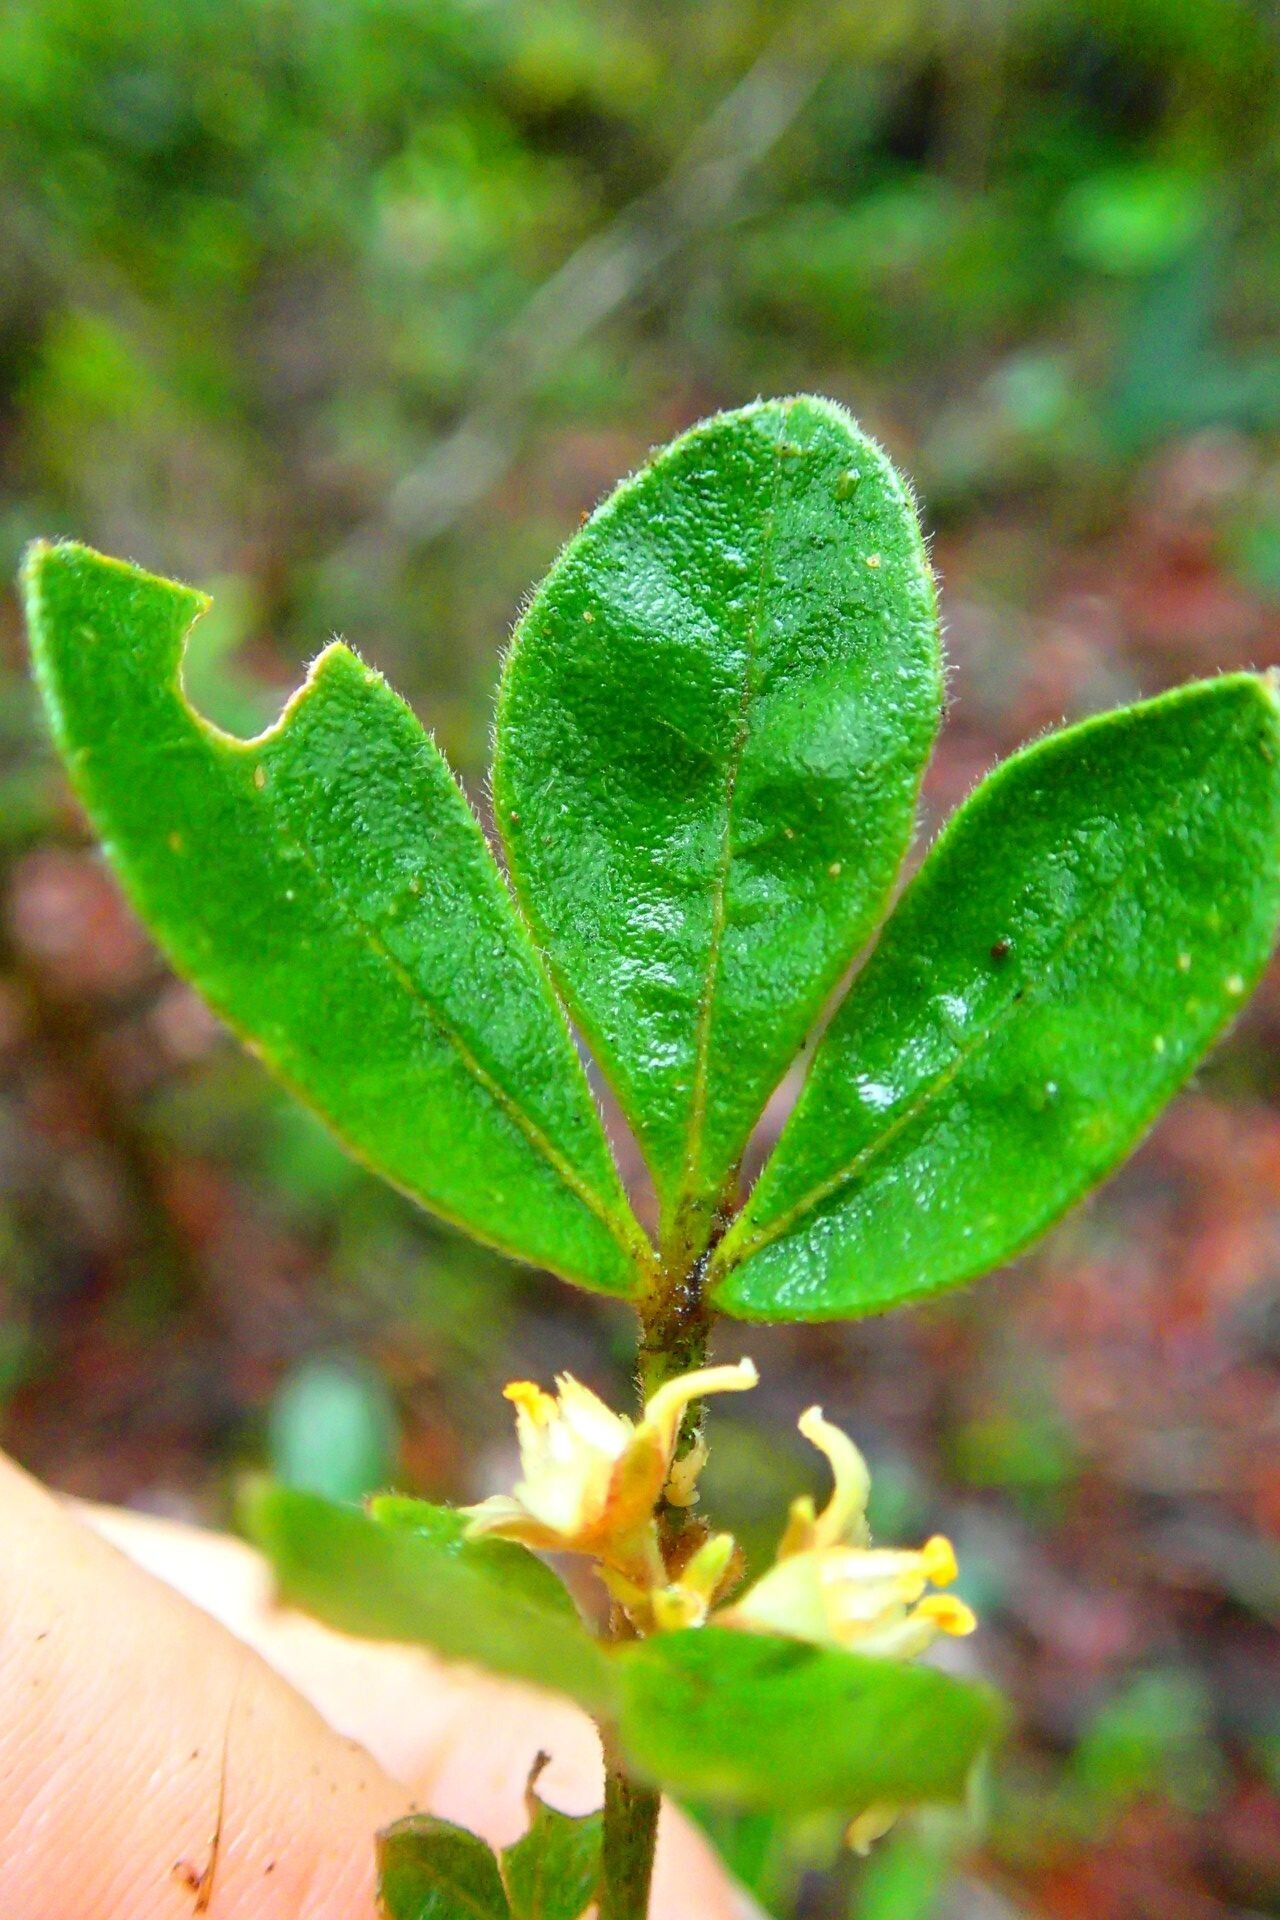
Hello, fellow plant lovers! Today, we’re diving into the delightful world of Melicope vieillardii, a gorgeous shrub that brings a touch of the tropics right into our gardens. If you’ve ever admired its glossy, deep green leaves and the promise of delicate white flowers, you’re in for a treat. Propagating this beauty is wonderfully rewarding, offering you more of that lushness to enjoy or share. Don’t worry if you’re new to this; while not the absolute easiest plant to start from scratch, Melicope vieillardii is certainly achievable with a little patience and know-how. Let’s get our hands dirty!
The Best Time to Start
For the highest chance of success, I find the late spring to early summer is the prime time to propagate Melicope vieillardii. This is when the plant is actively growing, producing tender new shoots that are more receptive to rooting. You’re looking for stems that are still a bit soft and pliable – not woody. Think of it as working with a healthy, energetic youngster ready to take on new challenges.
Supplies You’ll Need
Before we begin, let’s gather our toolkit. Having everything ready makes the process so much smoother:
- Sharp, clean pruning shears or a sharp knife: For making neat cuts.
- Rooting hormone: This isn’t strictly essential for every plant, but it really gives your cuttings a boost and can significantly increase your success rate, especially with trickier propagations. I prefer a powder form.
- Well-draining potting mix: A good quality mix designed for cuttings or succulents works wonderfully. You can also make your own by combining equal parts peat moss or coco coir with perlite or coarse sand.
- Small pots or trays: Clean pots are crucial to prevent disease. 4-inch pots are usually a good size.
- Clear plastic bags or a propagator: To create a humid environment for your cuttings.
- Water: For misting and watering.
- Labels and a marker: To keep track of what you’ve planted and when.
Propagation Methods
We’ll focus on the most reliable method for Melicope vieillardii: stem cuttings.
- Selecting Your Cuttings: Head out to your Melicope vieillardii and look for those vibrant, new shoots. Gently bend a stem; if it snaps easily before becoming woody, it’s a good candidate. Aim for cuttings that are about 4-6 inches long.
- Making the Cut: Using your sharp pruning shears or knife, make a clean cut just below a leaf node. The leaf node is where leaves emerge from the stem, and it’s packed with the cells that will develop into roots.
- Preparing the Cutting: Carefully remove the lower leaves from your cutting, leaving only the top few leaves. This prevents them from rotting when buried in the soil. If the remaining leaves are very large, you can cut them in half to reduce water loss.
- Applying Rooting Hormone: This is where the magic happens! Dip the cut end of the stem into your rooting hormone powder. Tap off any excess. You want a light, even coating.
- Planting the Cuttings: Fill your clean pots with your well-draining potting mix. Make a small hole in the center of the soil with your finger or a pencil. Insert the prepared cutting, ensuring the node where you removed the leaves is buried. Gently firm the soil around the base of the cutting.
- Watering and Humidity: Water the soil thoroughly until you see it drain from the bottom of the pot. Now, the all-important step for humidity: cover the pot with a clear plastic bag or place it inside a propagator. Make sure the leaves aren’t touching the plastic. This creates a mini-greenhouse, keeping the humidity high, which is essential for cuttings to root.
The “Secret Sauce” (Pro Tips)
Here are a couple of things I’ve learned over the years that really make a difference with plants like Melicope:
- Bottom Heat is Your Friend: If you can, place your pots on a heated propagation mat. This gentle warmth from below encourages root development remarkably well. It mimics the warm soil of spring and summer, giving your cuttings a real head start.
- Don’t Disturb! Once your cuttings are planted and covered, resist the urge to constantly poke and prod. Let them sit in their humid environment. You’ll start to see new leaf growth, which is a good sign that roots are forming. It typically takes several weeks to a couple of months for significant root development.
Aftercare & Troubleshooting
Once you see new growth appearing on your Melicope vieillardii cuttings, it’s a fantastic sign that roots have formed! At this point, you can start to gradually acclimatize them to lower humidity. Poke a few holes in the plastic bag, or open up the propagator for a bit each day.
When the roots have filled the pot (you can often see them peeking out from the drainage holes or give the pot a gentle squeeze and see if it feels firm), it’s time to transplant them into slightly larger pots. Continue to keep the soil consistently moist, but not waterlogged. They’ll still appreciate a good watering, but let that top inch of soil dry out between waterings.
The most common culprit of failure is rot. This usually happens from overwatering or poor drainage, leading to soggy soil. If you notice your cutting turning black or mushy at the base, it’s likely succumbing to rot. Unfortunately, once this happens, it’s hard to save. Use a well-draining mix, water judiciously, and ensure good airflow to prevent this.
A Encouraging Closing
Propagating plants is a journey of hope and a testament to nature’s resilience. Be patient with your Melicope vieillardii cuttings. Some may take longer than others, and not every attempt will be a roaring success—that’s perfectly okay! Learn from each experience, adjust your approach, and celebrate those moments when you see that first tiny bit of new growth. Happy propagating, and enjoy the satisfaction of growing more of this beautiful plant!
Resource: