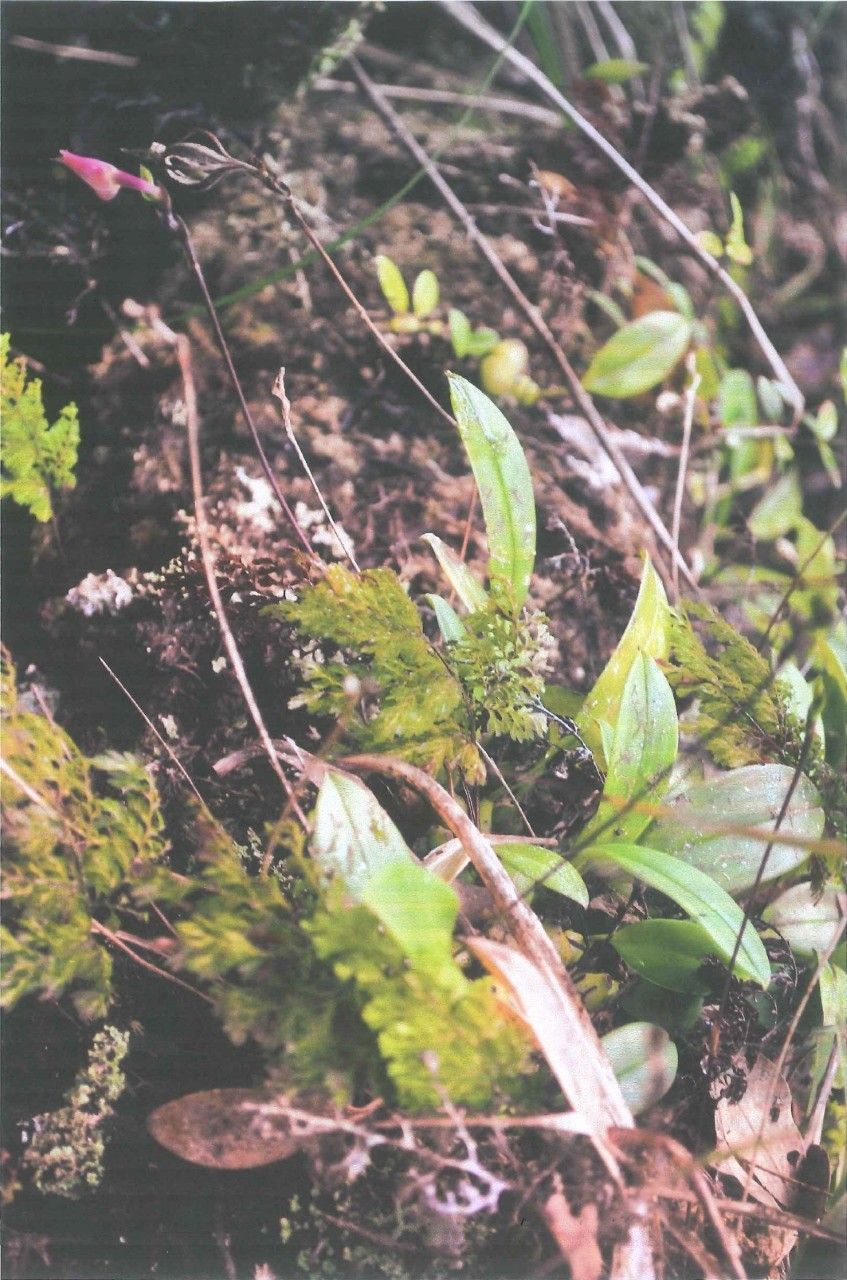
Hello, fellow plant enthusiasts! I’m so excited to talk to you today about a truly charming orchid: Bulbophyllum comptonii. This little gem, with its delicate, whimsical blooms that look like tiny dancers, is a joy to have in any collection. And the best part? Propagating it is a wonderfully rewarding experience, offering the chance to multiply that joy. Now, I won’t sugarcoat it – orchids can sometimes feel a bit finicky, and Bulbophyllum comptonii is no exception. It might not be the absolute easiest plant for a complete beginner, but with a little patience and these tips, I promise you can succeed!
The Best Time to Start
For Bulbophyllum comptonii, the late spring or early summer, just as the plant is emerging from its dormancy or actively putting on new growth, is your golden ticket. You’ll see plump, healthy pseudobulbs and emerging new shoots, which means it has plenty of stored energy to dedicate to forming new roots and becoming a thriving, independent plant. Trying to propagate when it’s stressed or resting is like asking someone to run a marathon after a big meal – it’s just not going to go well!
Supplies You’ll Need
Gathering your tools before you begin always makes the process smoother. Here’s what I keep on hand:
- Sterilized razor blade or sharp knife: Cleanliness is absolutely key to preventing infections.
- Orchid potting mix: A well-draining blend specifically for orchids. I often use a mix of bark, perlite, and sometimes a bit of charcoal.
- Small, clean pots or seedling trays: Make sure they have drainage holes!
- Hormone rooting powder (optional but helpful): Just a little dab can encourage root formation.
- Spray bottle: For misting.
- Clear plastic bags or a propagation dome: To create a humid environment.
- Potting stakes or labels: To keep track of your efforts.
- A clean, dry cloth: For wiping tools.
Propagation Methods
The most reliable way to propagate Bulbophyllum comptonii is through division. These orchids tend to grow in clumps, and separating these clumps is like giving them more space to shine.
- Gently Remove from Pot: Carefully take your Bulbophyllum comptonii out of its current pot. If it’s stuck, you might need to gently squeeze the pot or even carefully slice away the old pot if it’s plastic.
- Clean the Roots: Gently tease away as much of the old potting medium as you can from the roots. This allows you to see the structure of the rhizome (the creeping stem that connects the pseudobulbs).
- Identify Divisions: Look for natural joining points where a cluster of pseudobulbs is clearly connected by a healthy section of rhizome. You want to make sure each division has at least two to three healthy pseudobulbs and a decent amount of root system attached.
- Make the Cut: Using your sterilized razor blade or knife, carefully cut through the rhizome to separate the divisions. It’s important to make a clean cut.
- Optional: Apply Rooting Hormone: If you’re using rooting hormone, lightly dust the cut surface of the rhizome on the new division.
- Potting Up: Plant each division into its own small pot filled with fresh orchid mix. Ensure the rhizome is just at the surface or slightly covered, and the pseudobulbs are above the mix. The roots should be spread out.
- Watering: Water lightly. You don’t want to waterlog the new divisions.
The “Secret Sauce”
Here are a couple of my tried-and-true tricks that often make a big difference:
- Think Humidity, Not Soaking: These delicate babies love humidity when they’re trying to establish themselves. After potting, I often place the pots inside clear plastic bags, ensuring the leaves don’t touch the plastic (which can cause rot). Or, use a propagation dome. I’ll loosely close the bag or dome to create a tiny, humid greenhouse.
- Patience with the Roots: Don’t be tempted to yank on your new divisions to check for roots too soon! It can take several weeks, sometimes even a couple of months, for new root growth to become visible. Until then, trust that the humidity and the stored energy in those pseudobulbs are doing their job.
Aftercare & Troubleshooting
Once your divisions are potted, keep them in a bright, indirect light spot. Mist lightly every few days to maintain that crucial high humidity. You’re looking for new root growth peeking out of the pot or new shoot development from the base of the pseudobulbs.
The biggest sign of trouble is rot. If you see pseudobulbs turning mushy or black, or the rhizome becoming soft and foul-smelling, it’s usually a sign of too much moisture and not enough air circulation. If this happens, you might need to unpot the plant, trim away the rotted parts with your sterilized tool, let it air dry for a day or two, and then repot in fresh, dry mix. Sometimes, with severe rot, it’s sadly too late.
Keep Nurturing!
Propagating Bulbophyllum comptonii is a journey, not a race. Celebrate every tiny sprout, every hint of a new root. Be patient, keep your tools clean, and remember that even seasoned gardeners have their casualties. Enjoy the process of learning and growing your orchid family. Happy growing!
Resource:
https://identify.plantnet.org/k-world-flora/species/Bulbophyllum%20comptonii%20Rendle/data