Hello there, fellow plant lovers!
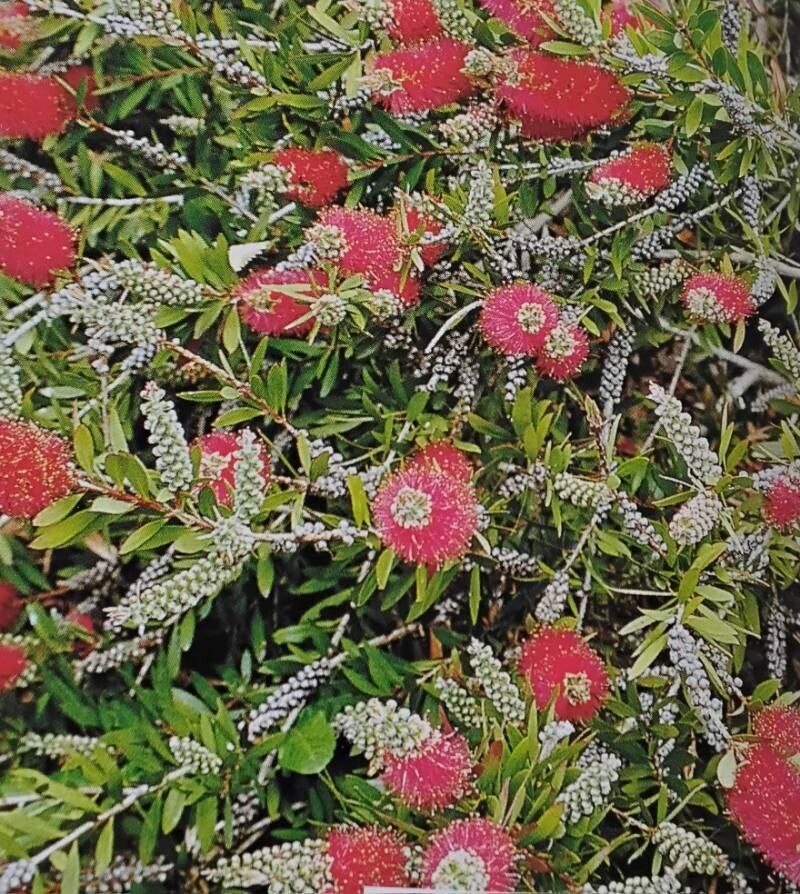
There’s something truly special about coaxing new life from an existing plant, isn’t there? Today, I want to share my passion for propagating the lovely Melaleuca polandii, often called the “White Paperbark”. Its delicate, paper-like bark and fluffy white flowers make a real statement in the garden. Growing more of these beauties from cuttings is not only satisfying but also a fantastic way to share them with friends or fill your landscape without breaking the bank. For beginners, it’s a good learning plant – a little patience goes a long way!
When is the Best Time to Start?
Spring is your best friend when it comes to propagating most plants, and Melaleuca polandii is no exception. Aim for late spring or early summer, after the harshest of winter chills have passed and the plant is actively growing. You want to take cuttings from new growth that is still somewhat flexible but has started to firm up a bit – not the brand-new, floppy tips, nor the old, woody stems. Think of it like this: the plant is bursting with energy, and that energy is exactly what we need for successful rooting.
What You’ll Need
Gathering your supplies beforehand makes the whole process smoother. Here’s what I usually have on hand:
- Sharp, sterile pruning shears or a sharp knife: Clean tools prevent disease.
- Rooting hormone powder or gel: This really gives your cuttings a boost, though some plants can manage without it.
- A well-draining potting mix: I often use a blend of perlite, coarse sand, and peat moss (about a 1:1:1 ratio) or a commercially available seed-starting mix.
- Small pots or seedling trays: Make sure they have drainage holes!
- A clear plastic bag or propagation dome: This creates a humid environment.
- Water mister: For keeping things moist.
- Labels and a marker: To keep track of what you planted and when.
Letting Nature Do Its Thing: Propagation Methods
For Melaleuca polandii, the stem cutting method is usually the most successful and straightforward.
- Take Your Cuttings: Select a healthy stem from your mature plant. Using your sterile shears, take cuttings that are about 4-6 inches long. Make a clean cut just below a leaf node (where leaves attach to the stem).
- Prepare the Cuttings: Gently remove the lower leaves from the bottom half of the cutting. This prevents them from rotting once planted. You can leave the top few leaves. If the remaining leaves are quite large, I sometimes cut them in half to reduce water loss through transpiration.
- Apply Rooting Hormone: Dip the cut end of each cutting into your rooting hormone powder or gel, tapping off any excess. This step isn’t always mandatory, but it certainly speeds things up and improves success rates.
- Plant Your Cuttings: Make a small hole in your prepared potting mix using a pencil or your finger. Insert the cutting into the hole, ensuring the leaf nodes are below the soil surface, and gently firm the soil around it. Don’t overcrowd your pots!
- Create a Humid Environment: Water the potting mix gently. Then, cover the pots with a clear plastic bag or place them under a propagation dome. This traps moisture, mimicking the humid conditions that cuttings crave. Make sure the plastic doesn’t touch the leaves. If it does, you can use small stakes to prop it up. Place the pots in a bright location, but out of direct sunlight.
My “Secret Sauce” for Success
After years of trial and error, I’ve picked up a few tricks that really make a difference:
- Bottom Heat is Your Buddy: If you can, place your pots on a heat mat designed for seedlings. This gentle warmth encourages root development from below, which is often the key when things are moving a bit slow.
- Don’t Mist Too Much: While humidity is vital, over-misting can lead to fungal issues. Once you’ve created your humid environment with the bag, I usually only mist lightly if the soil looks like it’s drying out, or if the leaves start to look a bit limp. The trapped moisture should do most of the work.
- Air it Out Occasionally: To prevent mold and mildew, I like to remove the plastic bag for an hour or so every few days. This also allows for some air circulation, which is surprisingly important.
Aftercare and What to Watch For
Once your cuttings have roots – and this can take anywhere from 4 weeks to a few months, so patience is crucial! – you’ll notice tiny roots poking out of the drainage holes or see new growth emerging.
- Gradual Acclimatization: When roots are well-established, slowly start removing the plastic bag or dome over a week or two. This helps the new plant adjust to your home’s humidity.
- First Potting Up: Once the roots are good and strong, you can transplant your new Melaleuca polandii into slightly larger pots using a well-draining, good-quality potting mix. Continue to keep them out of harsh, direct sun for a little while.
- Troubleshooting Rot: The most common sign of failure is rot. If your cutting looks black, mushy, or wilts dramatically and doesn’t perk up, it’s likely rotted. This is often due to too much moisture, poor drainage, or contaminated tools. If you see rot, sadly, that cutting is usually a goner. It’s best to discard it and try again with freshly sterilized tools and a drier mix.
Go Forth and Grow!
Propagating plants is a journey of learning and connection with nature. Don’t be discouraged if your first attempts aren’t perfect. Each time you try, you’re gaining valuable experience. Be patient with your Melaleuca polandii cuttings, enjoy the process, and soon you’ll be surrounded by your own beautiful paperbarks! Happy gardening!
Resource: