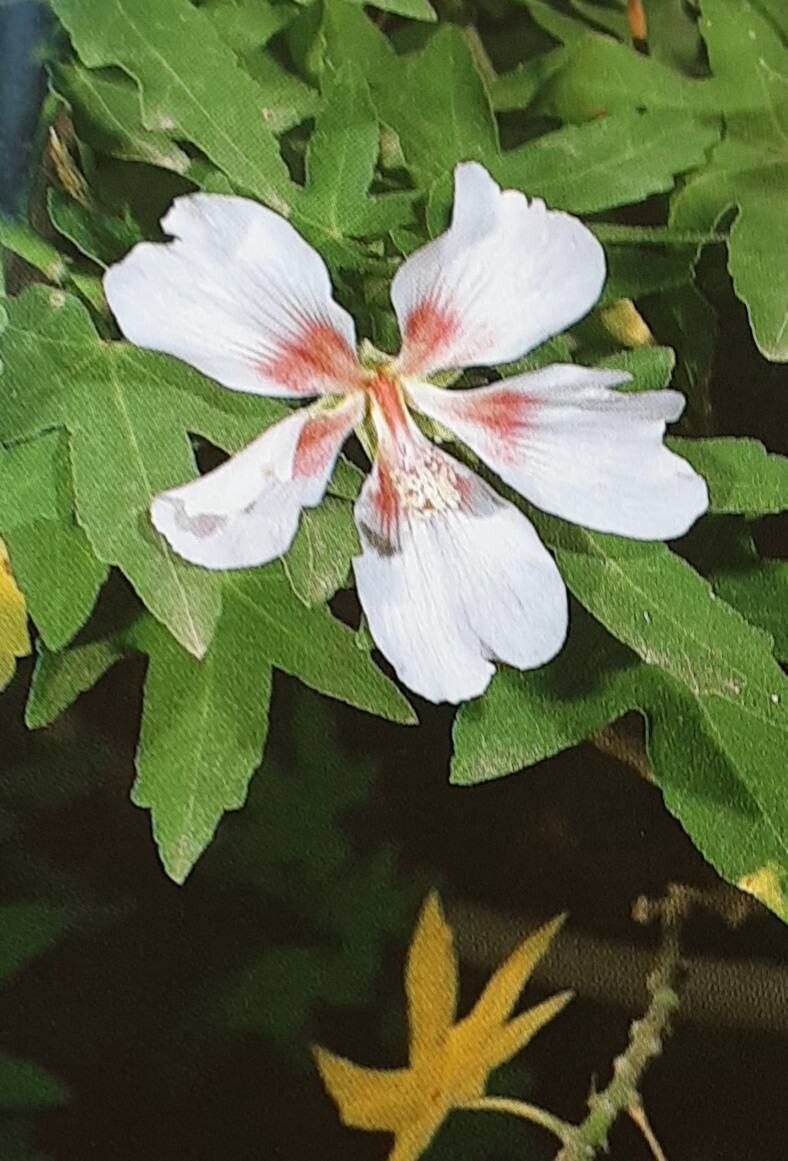
Hello there, fellow plant lovers! Today, we’re going to talk about a truly delightful plant: Malva acerifolia, or the Maple Mallow. I just adore these beauties! Their lovely, airy flowers, often in shades of pink and white, bring such a gentle charm to any garden or sunny windowsill. And the leaves! They’re so wonderfully shaped, like little maple leaves, which is where their name comes from.
What I find so rewarding about propagating Malva acerifolia is how accessible it makes this gorgeous plant. You can easily expand your collection, share with friends, or just enjoy the magic of watching a tiny cutting transform into a full-fledged plant. For beginners? I’d say it’s a moderately easy plant to propagate, with a little patience and a few key steps. Definitely doable and very satisfying!
The Best Time to Start
When it comes to giving your Malva acerifolia cuttings the best chance, late spring to early summer is your golden window. This is when the plant is actively growing, producing plenty of fresh, healthy stems that are full of vigor. You’re looking for new growth that’s firm but not woody. Think of it as capturing that peak, vibrant energy of the plant.
Supplies You’ll Need
To set yourself up for success, gather these handy items:
- Sharp pruning shears or a clean, sharp knife: For taking clean cuts.
- Small pots or seed trays: With drainage holes, naturally!
- A well-draining potting mix: I like a blend of seedling starter mix and perlite; about a 50/50 ratio works wonders. This prevents soggy roots, which the Malva really dislikes.
- Rooting hormone (optional but recommended): This little boost can significantly speed up root development.
- A clear plastic bag or humidity dome: To create a mini-greenhouse effect.
- Watering can or spray bottle: For gentle watering.
Propagation Methods
There are a couple of ways to coax new Malva acerifolia plants into existence. I find stem cuttings to be the most reliable and fastest method.
Stem Cuttings:
- Find the right stem: Go back to that late spring/early summer timeframe. Look for healthy, non-flowering stems. You want pieces that are about 4-6 inches long.
- Make the cut: Using your clean shears or knife, make a cut just below a leaf node. This is the little bump where a leaf attaches to the stem – it’s where the magic happens for root formation.
- Prepare the cutting: Gently remove the lower leaves from the bottom half of the cutting. Leave a few leaves at the top to help the cutting photosynthesize. If the remaining leaves are very large, you can cut them in half to reduce water loss.
- Dip in rooting hormone (if using): Lightly moisten the cut end of the stem and then dip it into your rooting hormone powder. Tap off any excess.
- Plant your cuttings: Fill your small pots with your prepared potting mix. Make a small hole in the center with your finger or a pencil. Insert the cutting into the hole, ensuring the leaf nodes are buried. Gently firm the soil around the cutting.
- Water gently: Water your pots thoroughly but gently, so you don’t dislodge the cuttings.
- Create a humid environment: Place the pots inside a clear plastic bag, zipping it up loosely, or cover them with a humidity dome. This keeps the moisture in, which is crucial for cuttings that don’t have roots yet. Place them in a bright spot with indirect sunlight. Avoid direct sun, which can scorch them.
The “Secret Sauce” (Pro Tips)
Here are a few little tricks I’ve learned over the years that really make a difference:
- Don’t let the leaves touch the water: If you’re trying water propagation (which I find less successful for Malva but some succeed!), make sure only the stem is submerged, not the leaves. Rot can set in quickly if leaves sit in water.
- Bottom heat is your friend: If you have a heat mat designed for seedlings, placing your pots on it can significantly speed up root development. Malva likes warmth to kickstart those roots.
- Be patient with trimming: When you’re taking cuttings, don’t be tempted to cut off too many leaves. Those leaves are the plant’s lifeline, providing the energy to grow roots. Just trim away the ones that would be underwater or getting in the way.
Aftercare & Troubleshooting
Once your new Malva acerifolia has rooted (you can often tell by seeing some new leaf growth or by gently tugging on the cutting – if there’s resistance, roots have formed!), it’s time to gradually transition it.
Care:
- Acclimatize: Slowly remove the plastic bag or humidity dome over a few days to get the new plant used to normal humidity.
- Watering: Water when the top inch of soil feels dry. They prefer to dry out slightly between waterings.
- Light: Gradually move them into brighter light, eventually into a sunny spot.
- Potting up: Once the cuttings are well-established and the pot is filling with roots, you can transplant them into slightly larger pots.
Troubleshooting:
The most common issue you’ll encounter is rot. This usually happens if the soil is too wet for too long or if they are in a spot with poor air circulation. If you see a cutting looking yellow and mushy at the base, it’s likely succumbed to rot. Don’t be discouraged! Just toss it and try again. Sometimes, a cutting might just dry out. If you catch it early, you can sometimes revive it with a good watering and a return to humidity.
A Encouraging Closing
There you have it! Propagating Malva acerifolia is a wonderful way to connect with your plants and enjoy their beauty. Be patient, enjoy the process of nurturing these new little lives, and celebrate every bit of success. Happy gardening!
Resource:
https://identify.plantnet.org/k-world-flora/species/Malva%20acerifolia%20(Cav.)%20Alef./data