Ah, Magnolia garrettii. Even saying the name brings to mind that exquisite, delicate fragrance and those perfectly formed, creamy blooms. It’s a magnolia that truly captures the heart, isn’t it? And the idea of coaxing a new life from your existing beauty? That’s where the real magic happens in the garden for me. Propagating it is a journey, and while it might not be the absolute easiest for a complete novice, it’s wonderfully rewarding when you get those first tiny roots to show for your efforts.
The Best Time to Start
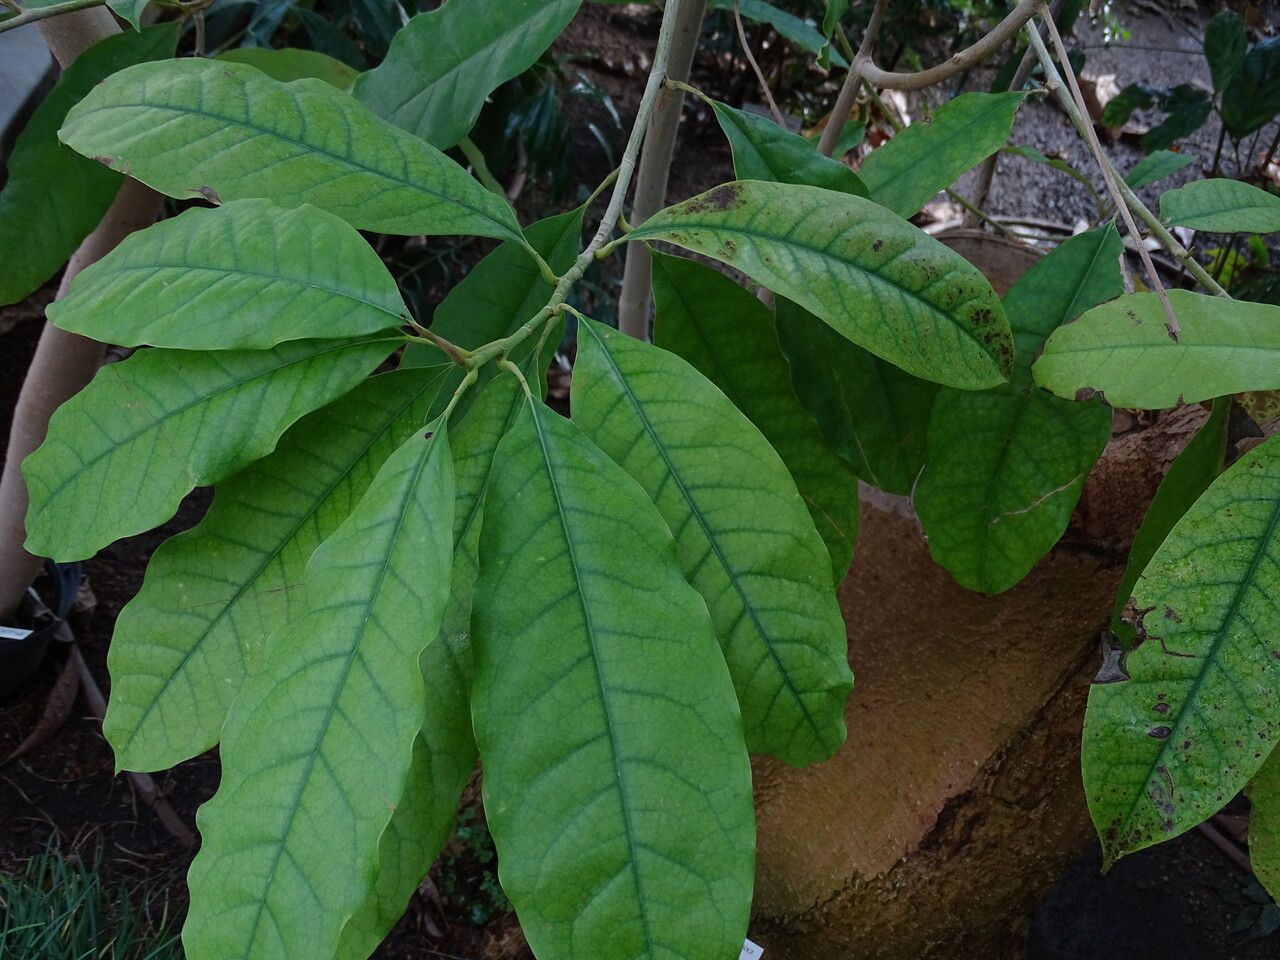
For Magnolia garrettii, I find summer is your best friend for propagation. Aim for late spring to mid-summer, when the plant is actively growing but before it puts all its energy into setting seeds. You want to take cuttings when they’re semi-hardwood – they’ll snap cleanly when bent, but won’t feel brittle. Think of it as catching them at that perfect moment of youthful exuberance.
Supplies You’ll Need
Here’s what I’ve found works best:
- Sharp Pruning Shears or a Craft Knife: Clean cuts are crucial.
- Rooting Hormone: A powdered or gel form works well. Look for one with a good amount of IBA (indole-3-butyric acid).
- Potting Mix: A well-draining blend is key. I like to use a mix of equal parts perlite and peat moss, or a good quality seed-starting mix.
- Small Pots or Trays: Clean, with drainage holes, of course.
- Plastic Bags or a Propagation Dome: To create a humid environment.
- Activated Charcoal (optional): A pinch mixed into the soil can help prevent fungal issues.
- Watering Can with a Fine Rose: For gentle watering.
Propagation Methods
The most reliable way I’ve found to propagate Magnolia garrettii is through stem cuttings. It’s a bit of a patient process, but incredibly satisfying.
- Take Your Cuttings: On a mild morning, select a healthy branch that’s about pencil-thick and about 6-8 inches long. Make a clean cut just below a leaf node (where a leaf attaches to the stem). Strip off the lower leaves, leaving just a couple at the very top. If the leaves are very large, you can cut them in half, which reduces water loss.
- Prepare the Cutting: Gently wound the bottom inch of the stem by scraping a thin layer of bark off one side. This encourages root formation. Dip the cut end into your rooting hormone, tapping off any excess.
- Plant the Cutting: Fill your pots with your prepared potting mix. Make a hole in the center with your finger or a pencil. Insert the cutting into the hole, making sure the bottom leaf node is below the surface. Gently firm the soil around the stem.
- Create Humidity: Water the soil thoroughly but gently. Place the pot inside a clear plastic bag and seal it, or cover it with a propagation dome. This traps moisture, which is vital for cuttings. Position the bag so it doesn’t touch the leaves.
The “Secret Sauce” (Pro Tips)
Now, for a couple of tricks I’ve learned over the years that really make a difference:
- Bottom Heat is Your Friend: If you have an old heating mat designed for seedlings, pop your pots on top of it. Consistent, gentle bottom heat encourages root development like nothing else. It’s like giving those tiny roots a cozy, warm hug to get them going.
- Keep it Clean, Keep it Bright (but not direct sun!): Always use sterilized tools and pots. Even a tiny bit of mold can spell disaster. Place your cuttings in a bright spot, but out of direct sunlight. Too much sun will scorch those tender leaves and dry out your cutting before roots even think about forming.
Aftercare & Troubleshooting
Once your cuttings are planted and humidified, the waiting game begins! Keep the soil consistently moist but not waterlogged. You should see condensation forming on the inside of the plastic bag – that’s a good sign!
After about 6-8 weeks, you can gently tug on a cutting. If you feel resistance, that’s your wonderful new root system starting to develop! Once rooted, gradually introduce them to open air by opening the bag a little each day over a week. Transfer them to slightly larger pots when they’ve developed a good amount of roots.
The most common issue you’ll face is rot. If you see any blackening or mushiness on the stem, it’s a sign of too much moisture and not enough air circulation. Sadly, these cuttings usually don’t recover. Make sure your soil is well-draining and don’t overwater.
A Encouraging Closing
Propagating Magnolia garrettii is a wonderful way to extend the joy of this beautiful plant. Be patient with yourself and your cuttings. Nature has its own timeline, and sometimes it takes a few tries to get it just right. But when you see those first roots, you’ll know that little piece of your garden has a whole new life ahead of it. Happy propagating!
Resource:
https://identify.plantnet.org/k-world-flora/species/Magnolia%20garrettii%20(Craib)%20V.S.Kumar/data