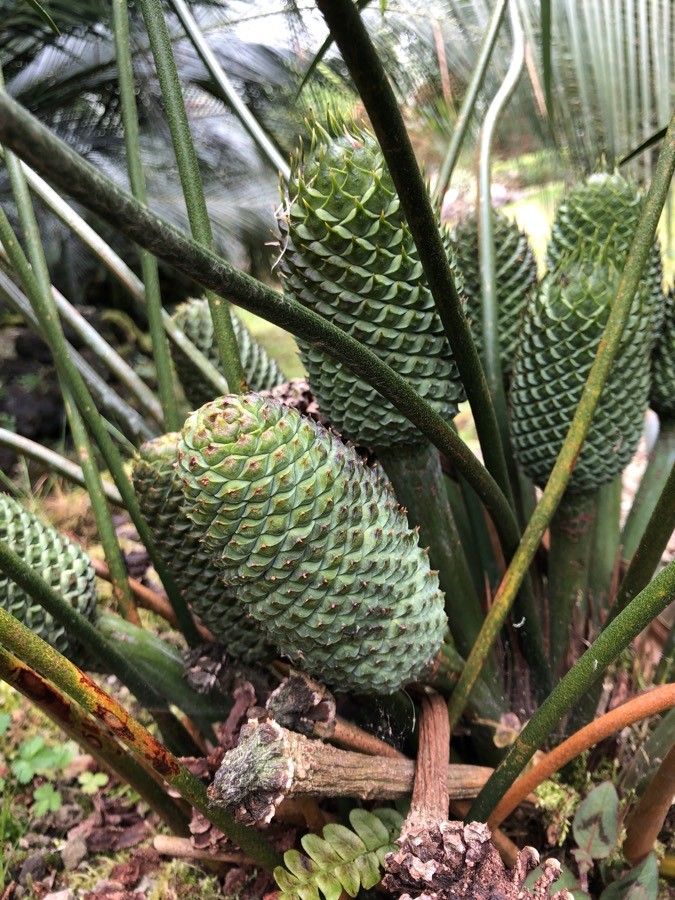
Oh, hello there, fellow plant enthusiast! Grab your favorite mug, because we’re going to chat about something truly special today: propagating Macrozamia lucida. If you’ve ever seen these magnificent cycads gracing a garden, with their architectural beauty and ancient vibe, you know just how captivating they are. Their glossy, deep green fronds unfurling from a central cone really transport you to a prehistoric landscape. And the best part? Bringing that beauty into your own space by propagating them is incredibly rewarding.
Now, I won’t lie to you – Macrozamia lucida isn’t quite as simple to propagate as, say, a begonia cutting. It’s a bit more of a project, but that’s exactly what makes the success so much sweeter! For beginners, it might be a touch more challenging, but with a little patience and these tips, you’ll be well on your way.
The Best Time to Start
When it comes to getting your Macrozamia lucida to sprout new life, spring is your best friend. This is when the plant is waking up from its winter rest and brimming with energy, ready to put on new growth. You’ll have the most success if you’re working with a healthy, established plant during its active growing season. Look for signs of new flush on the plant – shiny, vibrant new fronds are a good indicator it’s feeling robust.
Supplies You’ll Need
Before we get our hands dirty, let’s gather our tools. Having everything ready makes the process so much smoother:
- Well-draining potting mix: A good blend for succulents or cacti is ideal. You can also create your own mix with equal parts coarse sand, perlite, and peat moss or coco coir.
- Sharp, clean pruning shears or a knife: For taking cuttings and preparing them. Sterilize them with rubbing alcohol beforehand.
- Rooting hormone (optional but recommended): A powder or gel can give your cuttings a helpful boost.
- Small pots or trays: With drainage holes, of course!
- Plastic bags or a propagation dome: To create a humid environment.
- Watering can or spray bottle: For gentle watering.
- Labels: To keep track of your efforts!
Propagation Methods: Let’s Get Digging!
Macrozamia lucida are typically propagated by seed, but they also produce offsets or pups at the base. While they don’t grow from traditional stem cuttings like many plants, understanding how to manage their natural offsets is key!
Propagating from Offsets (Pups)
This is the most common and successful way to grow new Macrozamia lucida plants. Mature plants will often send up new shoots, or “pups,” from the base.
- Identify healthy pups: Look for pups that are at least 1/3 the size of the mother plant. They should have their own developed leaves and appear firm.
- Carefully unearth the pup: This is the trickiest part. You need to gently excavate around the base of the mother plant to expose the connection point of the pup. A trowel or even your hands might be sufficient, but if it’s deeply rooted, you might need to be a bit more deliberate.
- Sever the connection: Using your clean, sharp knife or pruning shears, carefully cut through the rhizome connecting the pup to the mother plant. Try to make a clean cut.
- Allow the offset to callus: This is crucial! Place the separated pup in a dry, shaded spot for a week or two. You want the cut surface to dry out and form a hard callus. This prevents rot when you plant it.
- Potting the offset: Fill your pot with your well-draining mix. Make a small hollow in the center and plant the callused end of the offset firmly into the soil. It should stand upright.
- Initial watering: Water very sparingly at first. You don’t want the soil to be soggy. A light misting might be enough.
The “Secret Sauce” (Pro Tips for Success!)
Here are a few little nuggets of wisdom I’ve picked up over the years that can make a big difference:
- Patience is paramount: These are slow growers. Don’t expect rapid results. It can take months, even a year, for an offset to show significant new growth. Trust the process!
- Air circulation is key: While we want to keep the offset humid once planted, avoid stagnant air. Good airflow around the pot helps prevent fungal issues. If you’re using a plastic bag, poke a few extra holes in it.
- Don’t overwater, ever! This is probably the #1 reason new propagations fail. Cycads, especially young ones, are incredibly susceptible to root rot. It’s always better to err on the side of too dry than too wet.
Aftercare & Troubleshooting
Once your Macrozamia lucida offset has settled in and you see signs of new root development (which you might not see for a while – look for a slight tug resistance when you gently try to move the plant), you can gradually increase watering. Water deeply but infrequently, allowing the soil to dry out completely between waterings.
Common signs of trouble include mushy stems, yellowing or browning fronds that are soft and limp, and a general lack of vigor. These are almost always indicators of overwatering and subsequent rot. If you suspect rot, carefully unpot the plant, trim away any affected mushy tissue with a clean knife, and allow it to callus again before repotting in fresh, dry soil. It’s a tough situation, but sometimes salvageable if caught early.
A Little Encouragement to Finish
So there you have it! Propagating Macrozamia lucida is certainly a labor of love, and it asks for your patience. But imagine the satisfaction of watching a new, beautiful cycad slowly unfurl its fronds, all thanks to your care. Don’t be discouraged by the pace; each new sprout is a triumph. Enjoy the journey, learn from every step, and get ready to welcome a little piece of ancient history into your garden! Happy propagating!
Resource:
https://identify.plantnet.org/k-world-flora/species/Macrozamia%20lucida%20L.A.S.Johnson/data