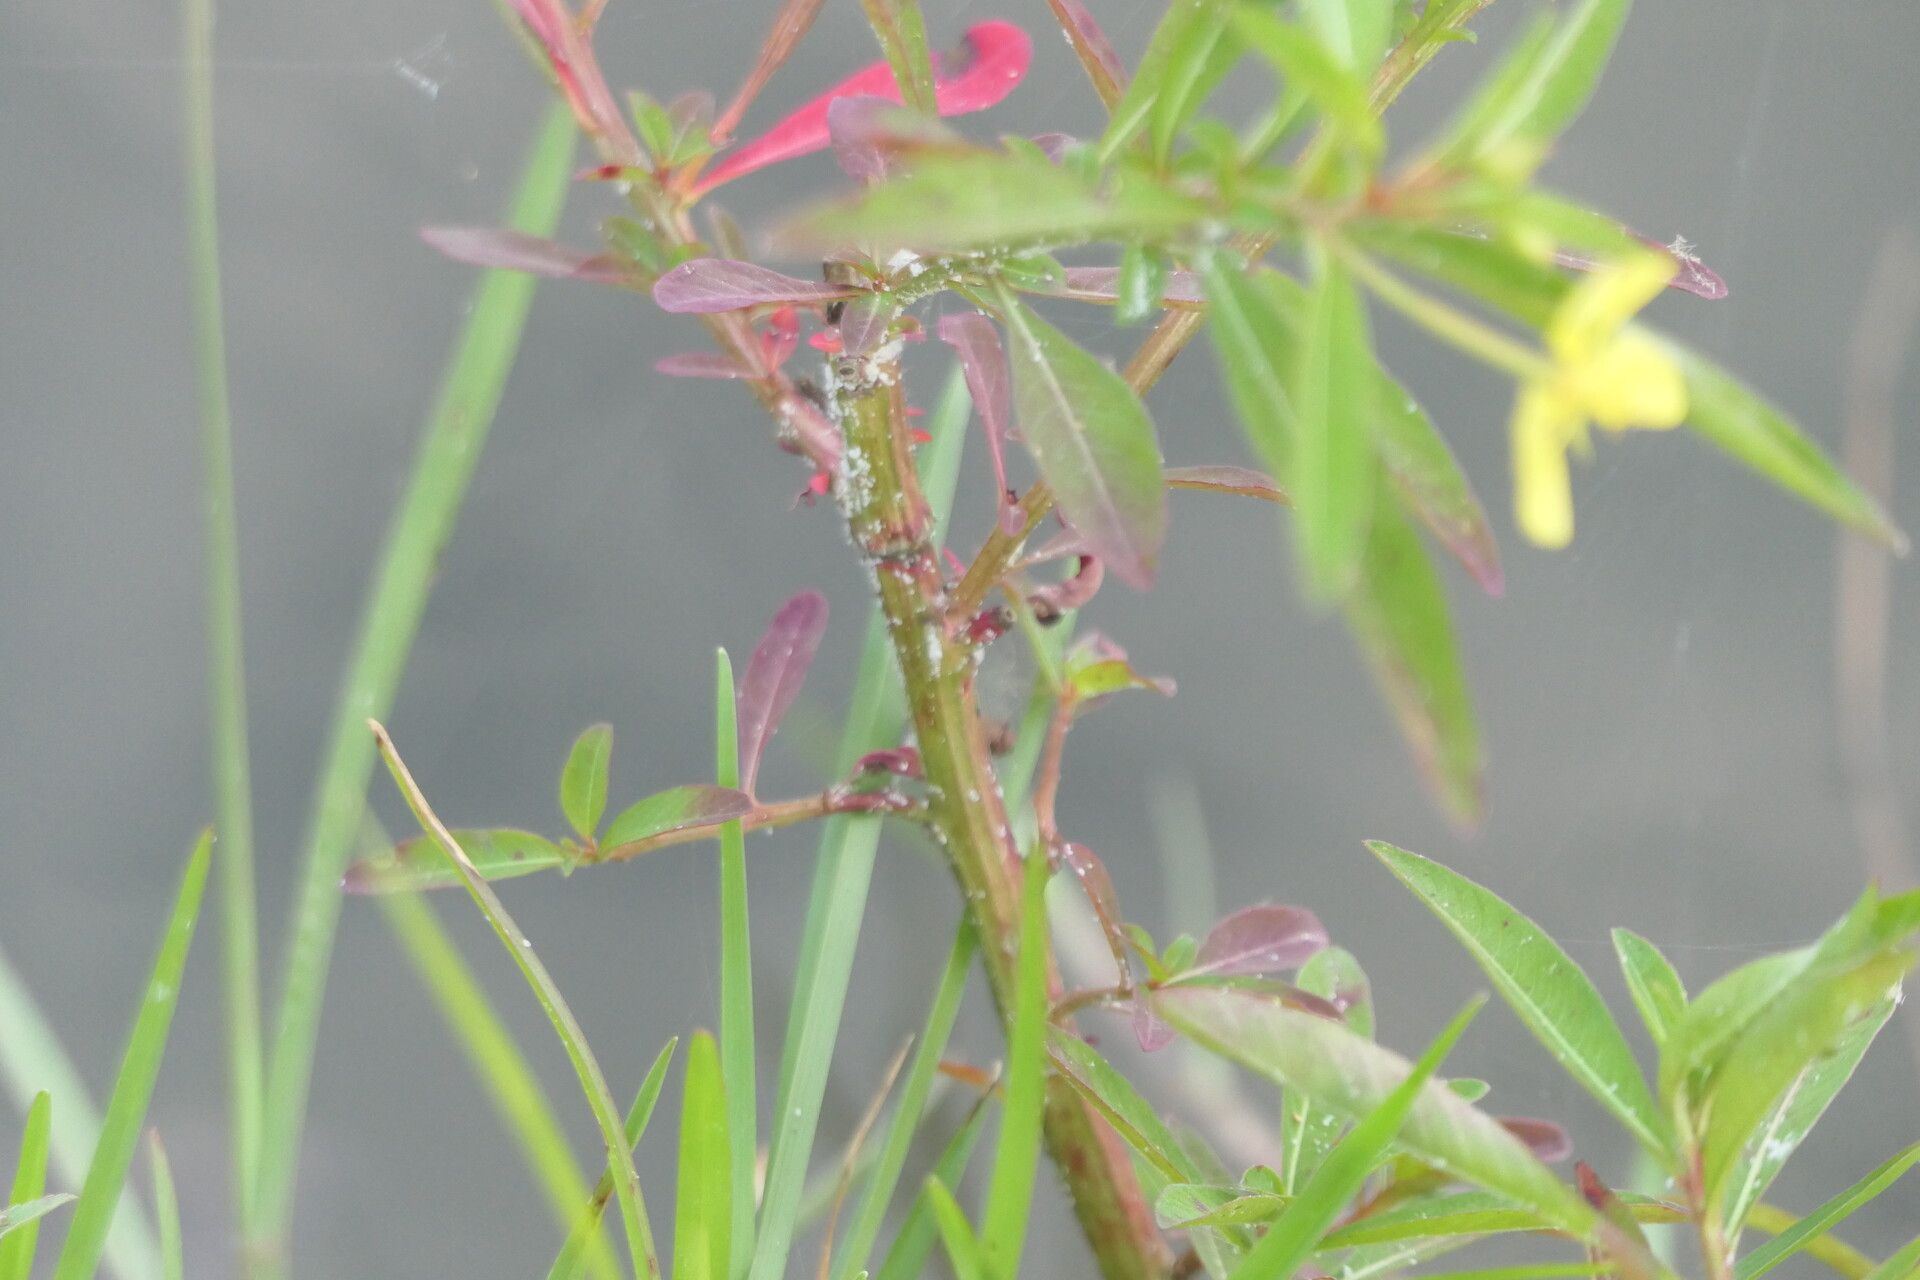
Oh, I’m so glad you’re curious about Ludwigia leptocarpa! It’s one of those plants that truly sings in the garden, with its vibrant, often fiery foliage that just pops. Watching new life spring from a tiny piece of your favorite specimen is one of the most satisfying parts of this hobby. And you know what? Ludwigia leptocarpa is surprisingly kind to beginners when it comes to propagation. Don’t let its exotic looks fool you; it’s a forgiving plant to start with!
The Best Time to Start
For Ludwigia leptocarpa, spring and early summer are your absolute golden windows for propagation. You want to catch the plant when it’s actively growing, full of vigor, and ready to surge ahead. New growth, the bits that are soft and pliable, will root much more readily than older, woody stems. Aim for the season when you’re seeing a lot of new shoots and leaves unfurling.
Supplies You’ll Need
Here’s a little toolkit to get you started:
- Sharp Pruning Shears or Scissors: Clean, sharp tools are crucial to make clean cuts and prevent disease.
- Rooting Hormone (Optional but Recommended): A little powder or gel can give your cuttings a helpful boost.
- Well-Draining Potting Mix: I usually go with a 50/50 mix of perlite and peat moss or coco coir. For aquatic setups, you might use sifted aquarium substrate or sand.
- Small Pots or Containers: Clean yogurt cups with drainage holes work wonderfully!
- Clear Plastic Bag or Dome: To create a humid microclimate.
- Water Tray or Container: For water propagation.
- Labeling Stakes: To remember what you’ve planted!
Propagation Methods
Ludwigia leptocarpa is pretty versatile, thankfully. Here are my favorite ways to make more of this beauty:
Stem Cuttings: Your Go-To Method
This is hands-down the easiest and most popular way to propagate Ludwigia leptocarpa.
- Take Your Cuttings: Select a healthy stem that has at least 2-3 nodes (the little bumps on the stem where leaves emerge). Using your sharp shears, make a clean cut just below a node. It’s best to take cuttings that are about 3-6 inches long. Remove the lower leaves, leaving only a couple at the very top.
- Dip in Rooting Hormone: If you’re using it, dip the cut end of the stem into your rooting hormone. Tap off any excess.
- Plant Them Up: Fill your small pots with your prepared well-draining mix. Make a small hole with your finger or a pencil, and gently insert the cutting, ensuring at least one node is buried in the soil. Firm the soil around the stem.
- Water Gently: Water the soil thoroughly but gently. You don’t want to dislodge the cutting.
- Create Humidity: Place the potted cuttings into a clear plastic bag or cover them with a plastic dome. This traps moisture and creates the humid environment they love.
- Provide Light and Warmth: Place the pots in a bright location but out of direct, harsh sunlight. Some gentle warmth from a windowsill or even a propagation mat underneath can speed things up.
Water Propagation: Simple and Visual
This method is super satisfying because you can see the magic happen!
- Prepare Your Cuttings: Follow the same steps as above for taking cuttings and removing lower leaves.
- Place in Water: Plunge the cut end of your cuttings into a clean container of water. You can use jars, glasses, or even small propagation tubes.
- The Crucial Detail: Make sure no leaves are submerged in the water. Leaves that sit in water will rot, which is the last thing you want. Position the leaves so they stay above the waterline.
- Change Water Regularly: Every few days, refresh the water. This prevents stagnation and keeps things clean.
- Observe Root Growth: In a week or two, you should start seeing little white roots emerging from the nodes. Once the roots are about an inch long, you can plant your cuttings into soil using the method above.
The “Secret Sauce” (Pro Tips)
Here are a few things I’ve learned over the years that really make a difference:
- Don’t Be Afraid to Use “Dying” Leaves: Sometimes, a leaf that looks a little sad or is starting to yellow can still be a strong source for propagation. If it’s still attached and has a bit of stem, give it a shot. You might be surprised!
- Bottom Heat is Your Friend: If you’re serious about getting faster rooting, especially in cooler conditions, a propagation mat is a game-changer. It provides gentle, consistent warmth to the base of your cuttings, mimicking springtime soil temperatures and encouraging roots to form much quicker.
- Air Circulation Matters: While you want humidity, don’t create a completely sealed, stagnant environment. If you’re using a plastic bag, open it for a few minutes each day to allow for some air exchange. This helps prevent fungal issues.
Aftercare & Troubleshooting
Once you see those tiny roots appearing, be gentle!
- Transitioning to Soil: If you water-propagated, wait until the roots are a good inch long. Then, carefully plant them into your well-draining potting mix as described earlier. Water gently.
- Acclimatizing: If your original plant was in a humid greenhouse or a very sheltered spot, you might need to gradually acclimate your new little ones to drier air. For the first week or so, keep them under that plastic dome or bag, but gradually increase the time you leave it off.
- Signs of Rot: The biggest enemy of cuttings is rot, which usually shows up as a mushy, dark stem base. This is often caused by too much moisture and poor drainage, or by those leaves constantly sitting in water. If you see rot, unfortunately, that cutting is likely lost, but don’t get discouraged. Remove it promptly to prevent it from affecting others.
A Little Patience Goes A Long Way
Propagating plants is a journey, not a race. Some cuttings will take root in weeks, others might take a bit longer. The key is to be patient, keep your conditions consistent, and trust the process. Seeing that first new leaf emerge on your propagated Ludwigia leptocarpa is a moment of pure gardening joy. Happy planting!
Resource:
https://identify.plantnet.org/k-world-flora/species/Ludwigia%20leptocarpa%20(Nutt.)%20H.Hara/data