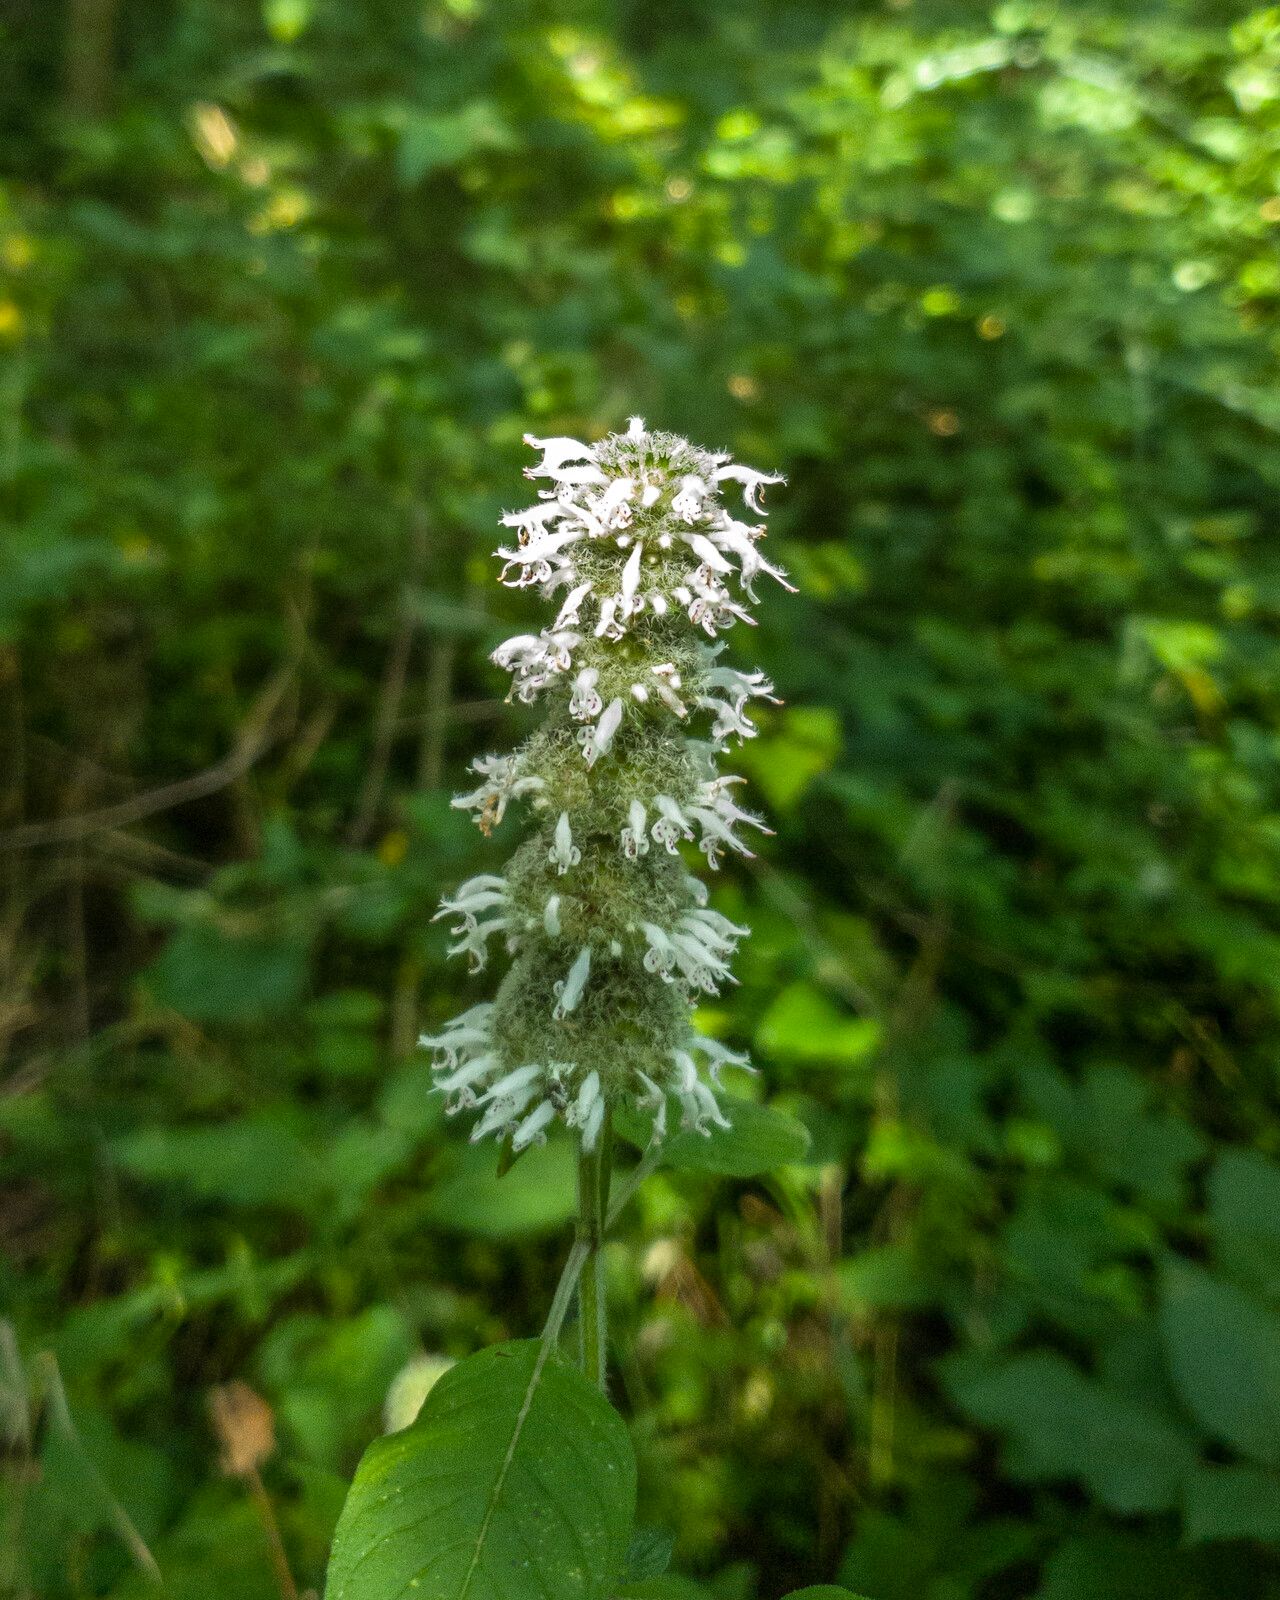
Oh, hello there! Grab a mug of your favorite brew, and let’s chat about a truly delightful native plant: Blephilia hirsuta, or the hairy wood mint. I’ve had the pleasure of growing this beauty for decades, and let me tell you, it’s a real quiet achiever in the garden. It’s got such lovely, soft, fuzzy leaves and produces these charming whorls of pale lavender-blue flowers that the pollinators just adore. Best of all, it’s not a fussy diva. I’d say for beginners looking to expand their plant collection, Blephilia hirsuta is a fantastic candidate to try propagating. It’s quite a rewarding journey seeing a little piece of a plant flourish into something new!
The Best Time to Start
For the highest success rate with Blephilia hirsuta, I really prefer to get started in late spring or early summer. This is when the plant is in its active growth phase. You’ll see lots of fresh, green shoots developing. Trying to propagate when the plant is stressed, like during a heatwave or right after flowering, is just making life harder for everyone involved – you and the plant!
Supplies You’ll Need
Here’s a little kit to get you going:
- Sterile pruning shears or a sharp knife: Cleanliness is paramount to avoid introducing diseases.
- Rooting hormone (optional, but helpful): A powdered or gel form can give cuttings a nice boost.
- Well-draining potting mix: I like to use a mix of equal parts peat moss or coco coir, perlite, and a little compost. For woodies, sometimes a bit more perlite helps with aeration.
- Small pots or seed trays: Clean ones, of course!
- Watering can with a fine rose: For gentle watering.
- Plastic bags or a propagation dome: To create a humid environment for cuttings.
- Labels: Don’t forget to label, or you’ll be playing detective later!
Propagation Methods
Blephilia hirsuta is happy to be propagated in a couple of ways. I find stem cuttings to be the most straightforward for increasing your stock.
Stem Cuttings:
- Select your cuttings: Look for healthy, non-flowering stems that are about 4-6 inches long. These are often referred to as “softwood” or “semi-hardwood” cuttings, depending on the exact stage of growth. Pinch off any leaves from the bottom half of the stem.
- Make the cut: Using your sterilized shears, make a clean cut just below a leaf node (the point where a leaf attaches to the stem). This is where the magic happens in terms of root development.
- Apply rooting hormone (if using): Dip the cut end into your rooting hormone powder or gel, tapping off any excess.
- Plant your cuttings: Fill your small pots with your prepared potting mix. Make a hole with your finger or a pencil and gently insert the cutting. Firm the soil around the stem so it stands upright. You can fit several cuttings into one pot, but give them some breathing room.
- Water gently: Water the soil thoroughly. You want it to be moist, but not waterlogged.
- Create humidity: Place a plastic bag over the pot, securing it with a rubber band, or use a propagation dome. This creates a mini-greenhouse effect, keeping the humidity high and preventing the cuttings from drying out. Place the pots in a bright location that receives indirect sunlight.
Division (for established plants):
If you have an older, established clump of Blephilia hirsuta, dividing it in the spring is another excellent way to multiply your plants.
- Gently dig up the clump: With a spade or trowel, carefully loosen the soil around the plant and lift the entire clump out of the ground.
- Separate the divisions: Gently tease apart the root ball with your hands. You’re looking for sections that have roots and at least a couple of healthy shoots. If the roots are tightly bound, you can use a clean, sharp spade or knife to cut through them.
- Replant immediately: Plant each division as you would a new plant, ensuring the crown (where the roots meet the shoots) is at soil level. Water well and keep them adequately hydrated as they establish.
The “Secret Sauce” (Pro Tips)
Here are a couple of things I’ve learned over the years that can really make a difference:
- The Importance of Bottom Heat: While not strictly essential, placing your pots on a heat mat can significantly speed up root formation, especially for Blephilia hirsuta. It mimics the warmth of summer soil and encourages those roots to get going. Just be sure to keep the soil consistently moist on the mat.
- Don’t Overcrowd: It’s tempting to stuff as many cuttings as possible into a pot, but resist the urge! Give them space. When they start to root, they need good air circulation, and overcrowding can lead to fungal issues. Also, ensure the leaves of one cutting don’t touch the leaves of another if possible, especially under the plastic.
Aftercare & Troubleshooting
Once your cuttings have been in their humid environment for a few weeks, give them a gentle tug. If you feel resistance, congratulations, they’ve rooted! Gradually acclimate them to lower humidity by opening the plastic bag a little each day over a week or so. Keep the soil consistently moist.
Now, what if things aren’t going as planned? The most common culprit is rot. This usually happens when the soil is too wet and there isn’t enough air circulation. If you see mushy, black stems or leaves that just wilt and die, that’s a bad sign. Unfortunately, you’ll likely have to discard those cuttings. Prevention is key here: don’t overwater, ensure your soil mix is well-draining, and don’t let the leaves sit in water if you’re doing water propagation. With stem cuttings, the humidity is your friend, but waterlogged soil is not.
A Encouraging Closing
Propagating plants is such a wonderful way to connect with nature and expand your garden without spending a fortune. Don’t be discouraged if you have a few failures along the way – every gardener does! Be patient, pay attention to your plants, and enjoy the process of nurturing new life. Happy propagating!
Resource:
https://identify.plantnet.org/k-world-flora/species/Blephilia%20hirsuta%20(Pursh)%20Benth./data