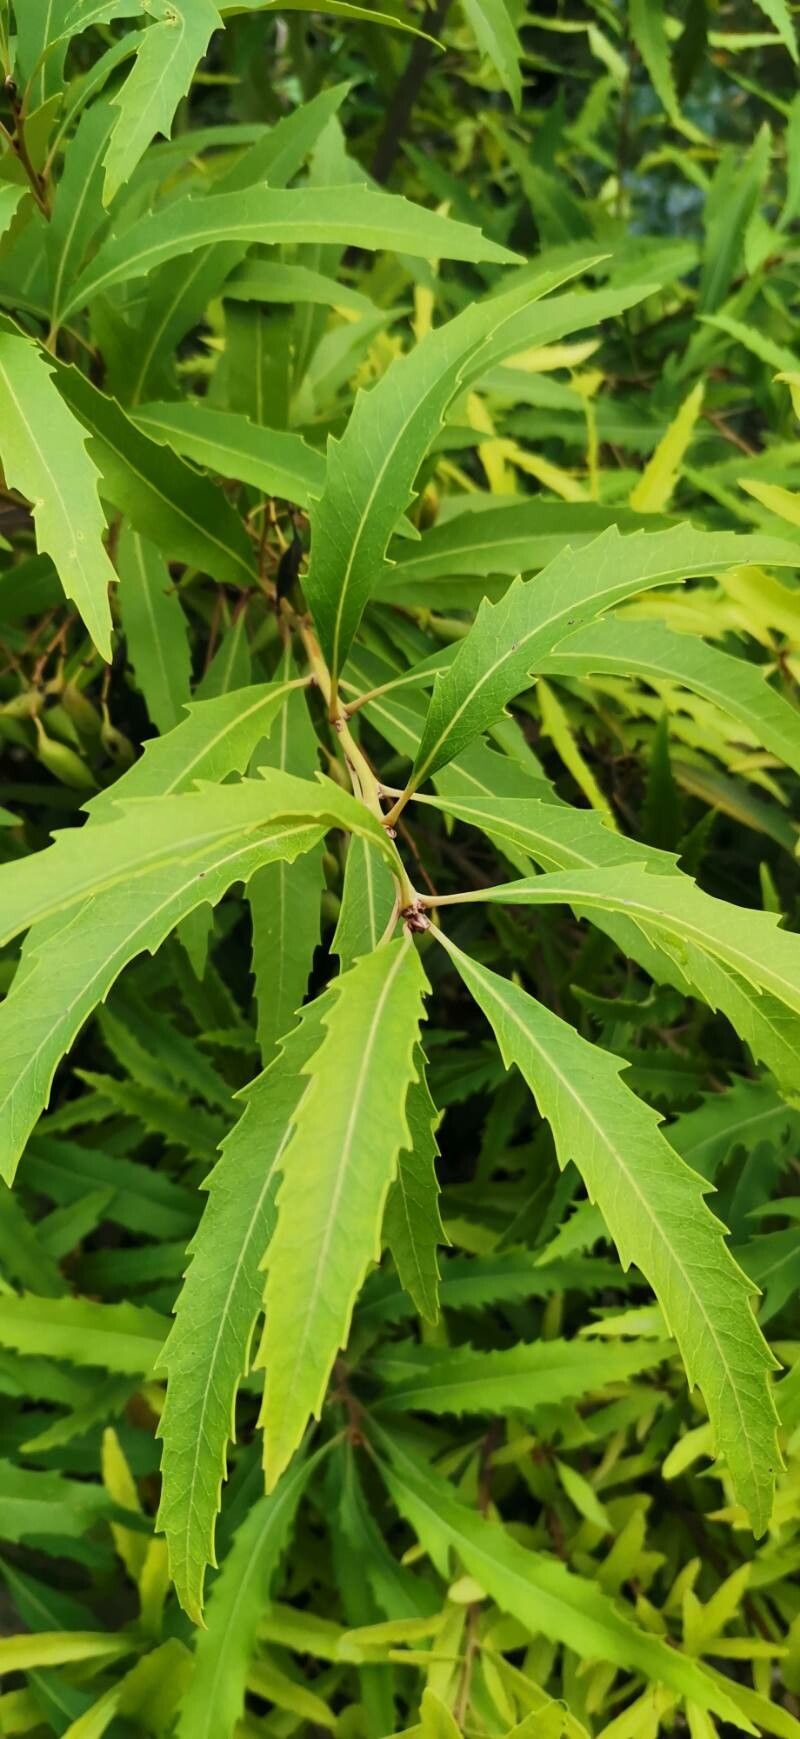
Hello fellow garden enthusiasts! Today, I want to introduce you to a real gem in the plant world: Lomatia fraseri, also known as the Dasyphyllum or Alpine Lomatia. This Australian native is a stunner with its beautiful, intricate foliage and lovely, often fragrant, flowers. For those of us who love unique textures and a bit of elegance in our gardens, it’s a truly rewarding plant to grow. Propagating your own Lomatia fraseri is a wonderful way to share this beauty, and while it might seem a little intimidating at first, I promise it’s a journey you’ll enjoy. It’s not the absolute easiest plant for a complete beginner to propagate, but with a little care and attention, you can absolutely succeed.
The Best Time to Start
Timing is everything, right? For Lomatia fraseri, you’ll have the best luck collecting cuttings in late spring or early summer. This is when the plant is actively growing, but the stems have started to mature a bit. You’re looking for new shoots that are firm but still have a bit of flexibility – not the floppy soft new growth, and definitely not old woody stems.
Supplies You’ll Need
Before we get our hands dirty, let’s gather our tools:
- Sharp, clean pruning shears or a sharp knife: For making clean cuts.
- Rooting hormone powder or gel: This is a big help in encouraging root formation.
- A well-draining potting mix: I like a blend of perlite, coir, and a small amount of compost. Sterilized seed-starting mix works well, too.
- Small pots or trays: Clean pots are essential to prevent disease.
- A plastic bag or propagator lid: To create a humid environment.
- Warmth: A heated propagator or just a warm windowsill will do.
- Watering can or spray bottle: For gentle watering.
Propagation Methods: Stem Cuttings
This is my go-to method for Lomatia fraseri. It’s reliable and gives you the best chance of success.
- Take Your Cuttings: Choose those healthy, semi-hardwood stems I mentioned. Aim for cuttings that are about 10-15 cm (4-6 inches) long. Make a clean cut just below a leaf node (where a leaf joins the stem). Remove the lower leaves, leaving just a few at the top.
- Prepare the Cuttings: Dip the cut end into rooting hormone. Gently tap off any excess.
- Plant the Cuttings: Make small holes in your prepared potting mix with a pencil or skewer. Insert the cuttings, ensuring the nodes where you removed leaves are buried. Firm the soil gently around them.
- Create Humidity: Water the mix thoroughly but gently. Then, cover the pots with a clear plastic bag or place them in a propagator with a lid. Make sure the leaves don’t touch the plastic if possible.
- Provide Warmth and Light: Place your cuttings in a bright spot out of direct, harsh sunlight. If you have a heated propagator, use it – bottom heat really speeds things up.
The “Secret Sauce” (Pro Tips)
Here are a few things I’ve learned over the years that make a real difference:
- Cleanliness is King: I cannot stress this enough. Sterilize everything – your secateurs, your pots, your hands! A clean cut and clean tools are your first line of defense against fungal diseases that can easily take out tender cuttings. A quick wipe with rubbing alcohol does wonders.
- Don’t Overwater: It’s tempting to keep things super moist, but soggy soil is the enemy of developing roots. Let the surface of the potting mix dry out slightly between waterings. A gentle misting of the leaves can also help keep them turgid without waterlogging the base.
- Patience with Bottom Heat: If you’re using bottom heat (like from a heated propagator mat), keep it consistent. This warmth is like a little incubator for your cuttings, encouraging roots to form much more vigorously than room temperature alone.
Aftercare & Troubleshooting
Once your cuttings have been planted, be patient. You’re looking for signs of new growth, which usually indicates roots are forming. This can take anywhere from 4-8 weeks, sometimes longer.
- Watering: Continue to water gently, allowing the soil to dry slightly between waterings.
- Ventilation: Once you see new leaves appearing, you can start to gradually increase ventilation. This means poking a few holes in your plastic bag or opening the propagator lid for a few hours each day. This helps the new plant acclimatize to normal air.
- Signs of Failure: The most common problem is rot, which will manifest as the stem turning black and mushy at the soil line. This is usually caused by overwatering or poor air circulation. If you see this, unfortunately, that cutting is likely lost. You might also see leaves shriveling or turning yellow – this can be due to too much direct sun, not enough humidity, or simply the cutting not being viable.
A Little Patience Goes a Long Way
Propagating plants is a magical process. It’s about taking a piece of something beautiful and nurturing it into a new life. Don’t get discouraged if your first few attempts aren’t perfect. Every cutting you take teaches you something new about the plant and about your own gardening skills. So, grab your secateurs, embrace the process, and enjoy watching your Lomatia fraseri babies begin their journey. Happy gardening!
Resource:
https://identify.plantnet.org/k-world-flora/species/Lomatia%20fraseri%20R.Br./data