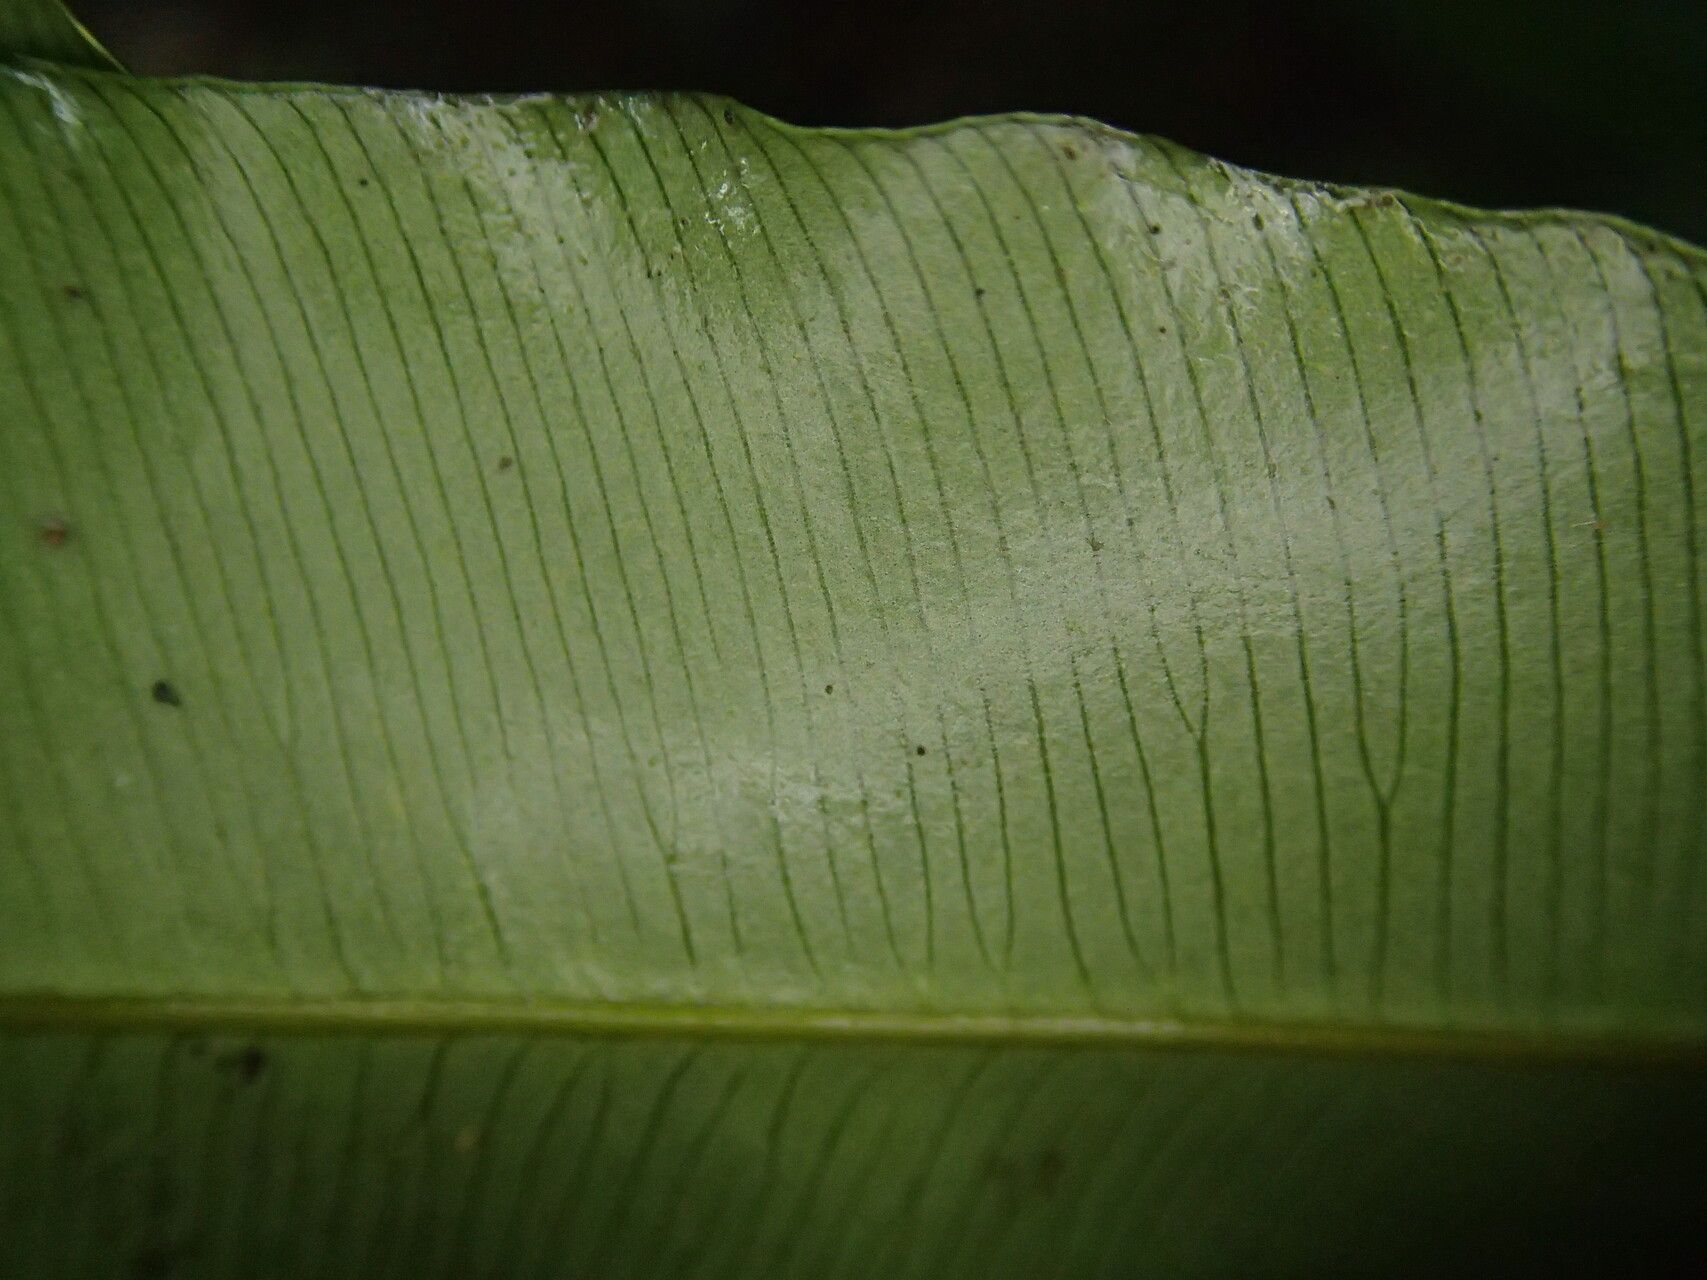
Oh, Lomariopsis muriculata! If you’ve ever seen this fern, you know its charm. It’s got this beautifully delicate, almost lacy frond structure that just brings a touch of the wild, a whisper of the rainforest, right into your home. And the best part? Growing more of these beauties from your existing plant is absolutely doable, and honestly, incredibly satisfying. Think of it as nurturing life, one tiny new fern at a time. For beginners, it’s a moderately rewarding plant to propagate; with a little patience and attention, you’ll be a pro in no time.
The Best Time to Start
When it comes to Lomatia, timing is key. You’ll see the best results if you propagate during its active growing season. For most of us, that means spring and early summer. The plant is buzzing with energy then, ready to put out new growth, and those new bits are usually the most vigorous and eager to root.
Supplies You’ll Need
Gathering your tools beforehand makes the whole process so much smoother. Here’s what you, my fellow plant enthusiast, will want to have on hand:
- Sharp, clean pruning shears or a knife: Essential for clean cuts.
- A well-draining potting mix: I like to use a blend of equal parts perlite, peat moss, and a good quality potting soil. Some folks swear by orchid bark mixed in for Lomatias too!
- Small pots or propagation trays: Clean, of course!
- Plastic bags or a propagation dome: To keep humidity up.
- Rooting hormone (optional but recommended): This can give your cuttings an extra boost. I usually opt for a powder form.
- A spray bottle: For misting.
- Water: Room temperature is best.
Propagation Methods
Lomariopsis muriculata is a forgiving plant, and while division is often the easiest route for ferns, we can also try our hand at stem cuttings, which is always exciting!
Division (The Easiest Route)
This is the most straightforward way to multiply your fern friends.
- Gently remove your Lomariopsis muriculata from its current pot. You might need to coax it out a bit.
- Carefully inspect the root ball. You’re looking for natural divisions, places where the plant has grown into multiple clumps.
- Using your clean shears or a knife, separate the clumps. Try to keep as much of the root system intact for each new division as possible. Don’t be afraid to be decisive here; a clean cut is better than tearing.
- Pot up each division into its own clean pot filled with your well-draining mix. Water them in well.
Stem Cuttings (A Bit More Patience)
This method, while requiring a tad more nurturing, can yield great results if done correctly.
- During the growing season, look for healthy, new fronds that are at least a few inches long. These are your best bet.
- Using your sharp shears, take a cutting that includes a small piece of the rhizome (that chunky, creeping stem part) if you can. Aim for a cutting with at least two or three well-formed fronds.
- Remove the lower fronds from the cutting, leaving just a couple at the top. This helps the plant put its energy into rooting, not into trying to support leaves it can’t yet feed.
- If you’re using rooting hormone, dip the cut end into the powder, tapping off any excess.
- Plant the cutting into your prepared, moist potting mix. You want to bury the rhizome piece just slightly.
- Lightly water the potting mix and then cover the pot with a plastic bag or place it under a propagation dome to create a humid environment.
The “Secret Sauce” (Pro Tips)
Here are a couple of little tricks I’ve picked up that really make a difference:
- Don’t let the fronds touch the bag! If you’re using the plastic bag method for cuttings, try to prop the bag up a bit so it doesn’t rest directly on the fronds. This prevents potential fungal issues and keeps the leaves drier.
- Warmth is your friend. Many ferns, including Lomariopsis muriculata, love a little warmth to get their roots going. Placing your pots on a heat mat (set to a gentle warmth, not scorching hot!) can significantly speed up the rooting process for cuttings.
Aftercare & Troubleshooting
Once your divisions are potted or your cuttings show signs of rooting (you might see new frond growth!), they’re still babies. Keep them in a spot with bright, indirect light. Water them when the top inch of soil feels dry, but never let them sit in soggy conditions – that’s a fast track to rot.
The most common issue you’ll encounter is rot. If you see your cuttings going brown and mushy, or if your divisions are wilting severely and the soil is consistently damp, that’s rot setting in. Usually, this means too much moisture and not enough air circulation. You might need to pull out a rotted cutting, allow the soil to dry out more before watering again, and perhaps improve air flow around your plants.
A Little Encouragement to Finish
Propagating plants is a journey, and sometimes there are a few less-than-perfect attempts along the way. But don’t get discouraged! Be patient with your new little Lomariopsis muriculata babies. Watch them grow, learn from each step, and most importantly, enjoy the wonderful process of creating new life from something you already love. Happy gardening!
Resource:
https://identify.plantnet.org/k-world-flora/species/Lomariopsis%20muriculata%20Holttum/data